

 |  |  | ||
 |  |
 |  |
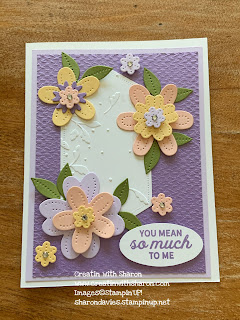
You mean so much to me.
The is the third and final card from my In Bloom card class from this morning.
Thinking this one definitely screams SPRING!
The soft colours are definitely spring to me. I love all tone of purple. Probably because purple is one of my favourite colours. Do you have a favourite colour? If so, what is it?
 | |  | ||
 |  |  |  | |
 |  | |  |


Cardstock
Gray Granite 5.5” X 8.5” Card base and a scrap for the centre of the flower
Whisper White 4.75”x 3.5”
Basic Gray for Sentiment I use a piece of scrap
Designers Series Paper
Peony Garden DSP 4” x 5.25” for the inside
Peony Garden DSP 4 7/8” x 3 3/8” Card front
Peony Garden DSP 4.5” x 3.25” Card front
Assembly Instructions
Card base
Fold the card base in half and burnish with your bone folder.
Adhere the larger piece of Peony Garden DSP to the card front off to the side.
Adhere the smaller piece of Peony Garden DSP to the card front off to the other side.
With a piece of Petal Pink card stock the measures 3” x 9” you want to cut out your flower. You’ll need to cut out all four pieces from the Die.
Cut out the centre of the flower with the Gray Granite.
With the Soft Sea Foam card stock cut our the larger of the leaves along with the trim for the flowers with Granny Apple Green. You’ll need three leaves for this project.
With your liquid glue and a dauber sponge around the edges of the flower. There is four of them. Do it sparingly and try not to get too much on your finger. LOL
While the liquid glue is tacky you want to place the flower pieces in the Gilded Leafing Embellishment. And rub off the excess.
Stamp your sentiment in Versamark. Sprinkle the heat and stick and heat lightly with your heat tool. Once the heat and stick is tacky you want to add to the Gilded Leafing and rub off excess firmly. Adhere to the front of your card.
With another dauber you want to hilight the flower with Petal Pink ink. Ink up the dauber and hiight the edges of the flower pieces.
Now to assemble your flower. You want to start with the smaller pieces and go to the larger pieces. Place them one at a time inside of each other. I did adhere using a little of my Liquid glue.
Don’t forget your centre piece. Place it the third layer of your flower.
Add a few dimensionals add to the backside of your flower and adhere to the centre of your card base.
With a 10 inch piece of Organdy Stripped Ribbon tie a bow. And adhere to your card, just under the flower with a glue dot.
I took the liquid glue and dab the tip around the card and added some Gilded Leafing to add that bling.
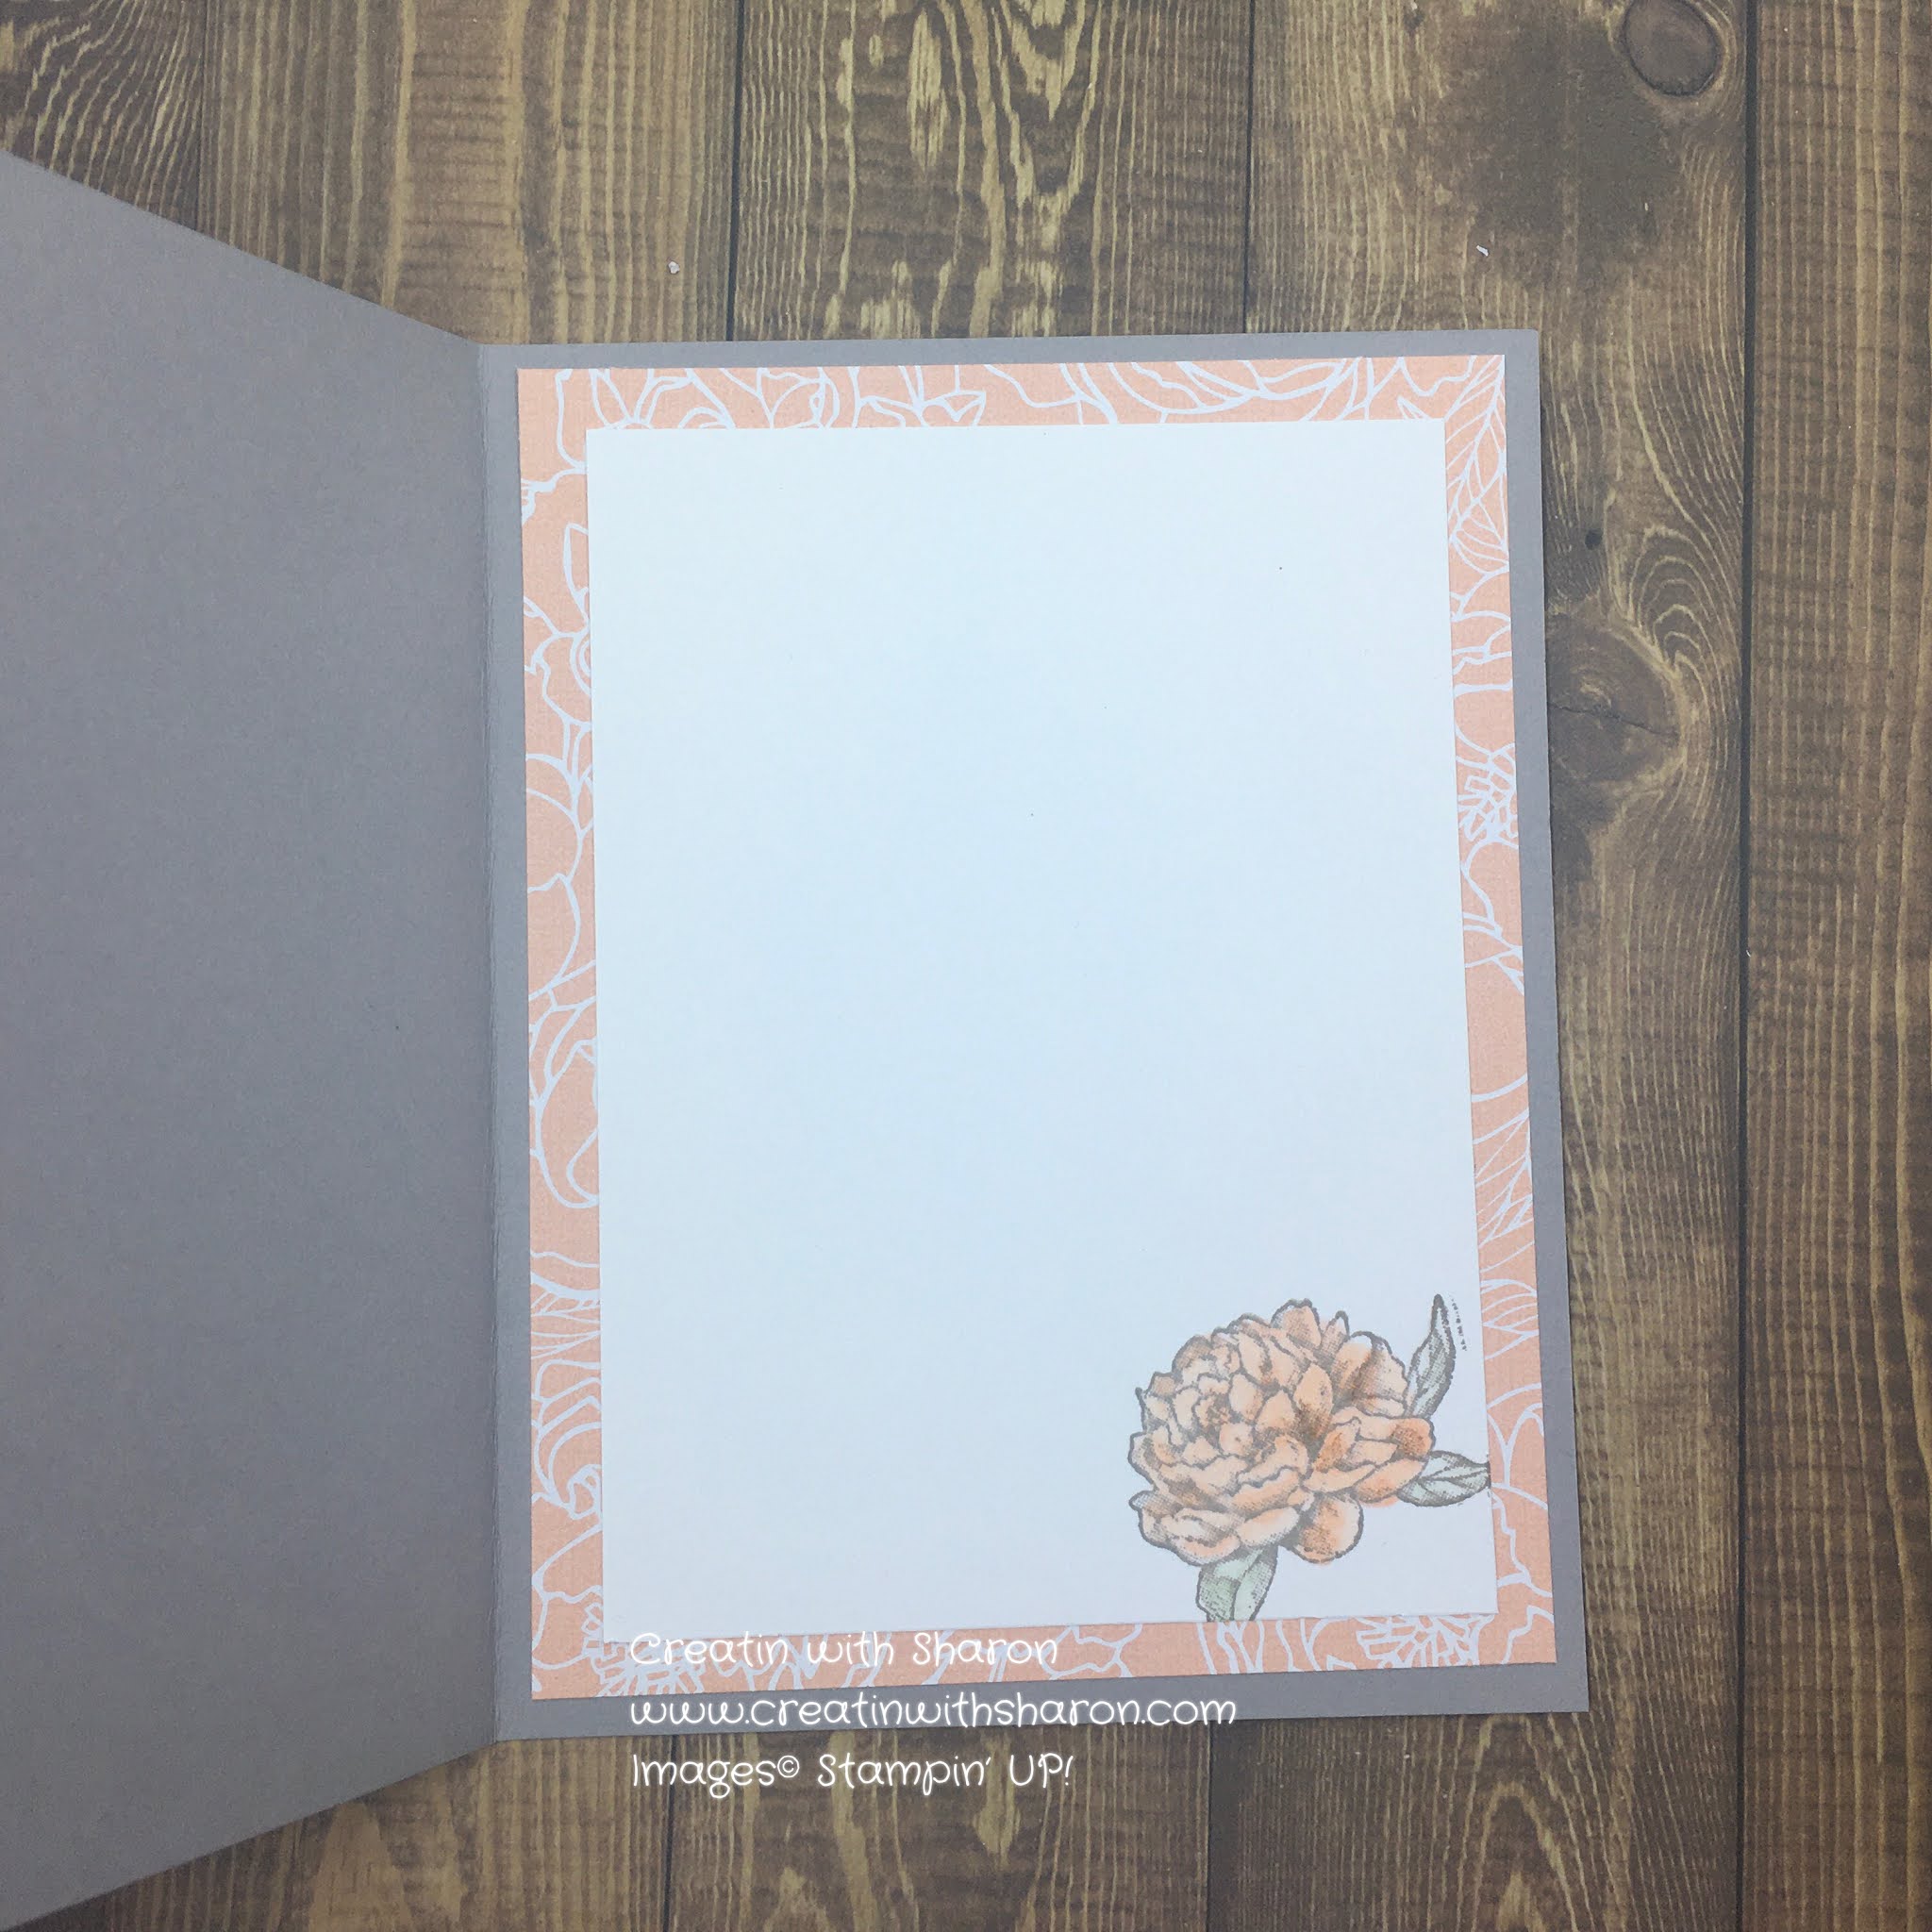
Now to do the inside. Add your DSP to the inside. With the Whisper White card stock stamp the the right corner with the smallest flower from the stamp set with the Gray Granite ink. And colour with Petal Pink and Soft Sea Foam blends. Once completed colouring adhere to the inside of your card.
Here's the video on how I made the card
 | |  |  | |
| |  |  | ||
 | |  | ||
 |  |  |  |  |


.jpeg)
.jpeg)


