Showing posts with label double oval punch. Show all posts

Sunday, 30 January 2022

Butterflies & Flowers

Butterflies & Flowers

All images © 1990-2022 Stampin’ Up!


Supplies:


• Stamp Set: Celebrating You (158028)
• Card Stock and Paper: Thick Basic White Card Stock (159229); Basic White Cardstock (159276); Granny Apple Green Card Stock(146990); Highland Heather Card Stock 146986); 
• Stamp Pads: Fresh Freesia Classic Stampin’ Pad (155611); Highland Heather Classic Stampin’ Pad (147103); Granny Apple Green Classic Stampin’ Pad (147095); Garden Green Classic Stampin’ Pad (147089)
• Tools: Stitched So Sweetly Dies (151690); Double Oval Punch (154242)
• Miscellaneous: Iridescent Rhinestone Basic Jewels (158130); Butterflies & Flowers Layering Decorative Masks (158142); Shimmery White Finish Embossing Paste (145645) Stampin’ Dimensionals(104430); Stampin’ Seal Adhesive (152813)


Measurements:


• Thick Basic White Card Stock: 8 1/2” x 5 ½
• Basic White Card Stock: 3 ½” x 4 ½”
• Granny Apple Green 3 ¾” x 5” 
• Highland Heather Card Stock: Scrap for punching 


Instructions:


1. Fold your Thick Basic White Card Base in half.  Scoring first helps the fibers so your card stock edge does not break.  
2. Using your decorative mask and the shimmery white embossing paste apply paste to the opposite corners of the Granny Apple Green Cardstock in a small patch, fairly random.  Scrap off excess and remove mask.  Set aside to dry. (Make sure you wash mask and tools immediately in cold water or the paste will harden.)  
3. Stamp the greeting in Highland Heather on Highland Heather scrap; punch with the oval punch. Set aside.
4. Adhere Butterflies and Flowers Mask to the Basic White Cardstock with some painter’s tape or washi tape.  Block out any images you do not want to color with sticky notes or tape.  Using the larger, more open, image and your blending brush with Fresh Freesia add color with a circular motion.
5. Do the same with the detail floral mask image but use Highland Heather Ink.
6. Using the leaves place them around your flower coloring some with granny apple green and some with garden green to get a variety of green colors around your flowers
7. Cut the image with the largest Stitched So Sweetly Dies.  
8. Adhere the now dry granny apple green layer to the front of your card base with stampin’ seal.
9. Mount the die cut piece with Stampin’ Dimensionals on a slight angle to expose part of the shimmer embossing paste.
10. Mount the punched image in the lower right corner as shown in image.
11. Add Iridescent Rhinestone Jewels to center of flowers and randomly on image


Continue Reading
No comments
Share:

Tuesday, 20 April 2021

Wishing you all the Best.

                                                                        Wishing you all the Best.


I am soooo happy that the Garden Wishes bundle isn’t retiring. Yay! 
I love this bundle. It’s such an easy bundle to work with cause you can colour. And I do love to colour!
I must say that the Dandy Garden DSP is one of my favourite also. The colours in it are gorgeous and work so well together.


Here’s the BITs  and BOBs  for this cards.
Base 8.5” x 5.5” scored and folded at the 4.25” on the longer side
The DSP is 3.5” x 5.5” adhere to the card base. 
The next layer is 3”x 5.5” and I embossed this piece. Once it’s embossed adhere to the DSP on the front of the card.
With a scrape piece of either Basic White or Very Vanilla you’ll stamp the dandelion and bumblebee with the Memento ink. Once you colour them with your blends, you’ll use the coordinating dies and cut them out with your Stampin cut and embossing machine. Place onto the front of the card with dimensionals.☺️
Stamp your sentiment in the coordinating ink on either Basic White or Very Vanilla.
Punch out with the Double Oval punch.
And the second layer with the scallop punch with the coordinating card stock. 
You want to place the sentiment onto the coloured card stock. And guess what I used...you got it dimensionals! 


Inside of the card. 
Adhere the DSP to the base. With your bumblebee stamp it in the bottom right of you insert. Colour the bumblebee and adhere on top of the DSP.


Hoping you enjoyed my card.
Thank you so much for stopping by.

Stay healthy and safe.

Cheers 🍻
Sharon
XOXO


                                                                           Product List

Continue Reading
No comments
Share:

Saturday, 27 March 2021

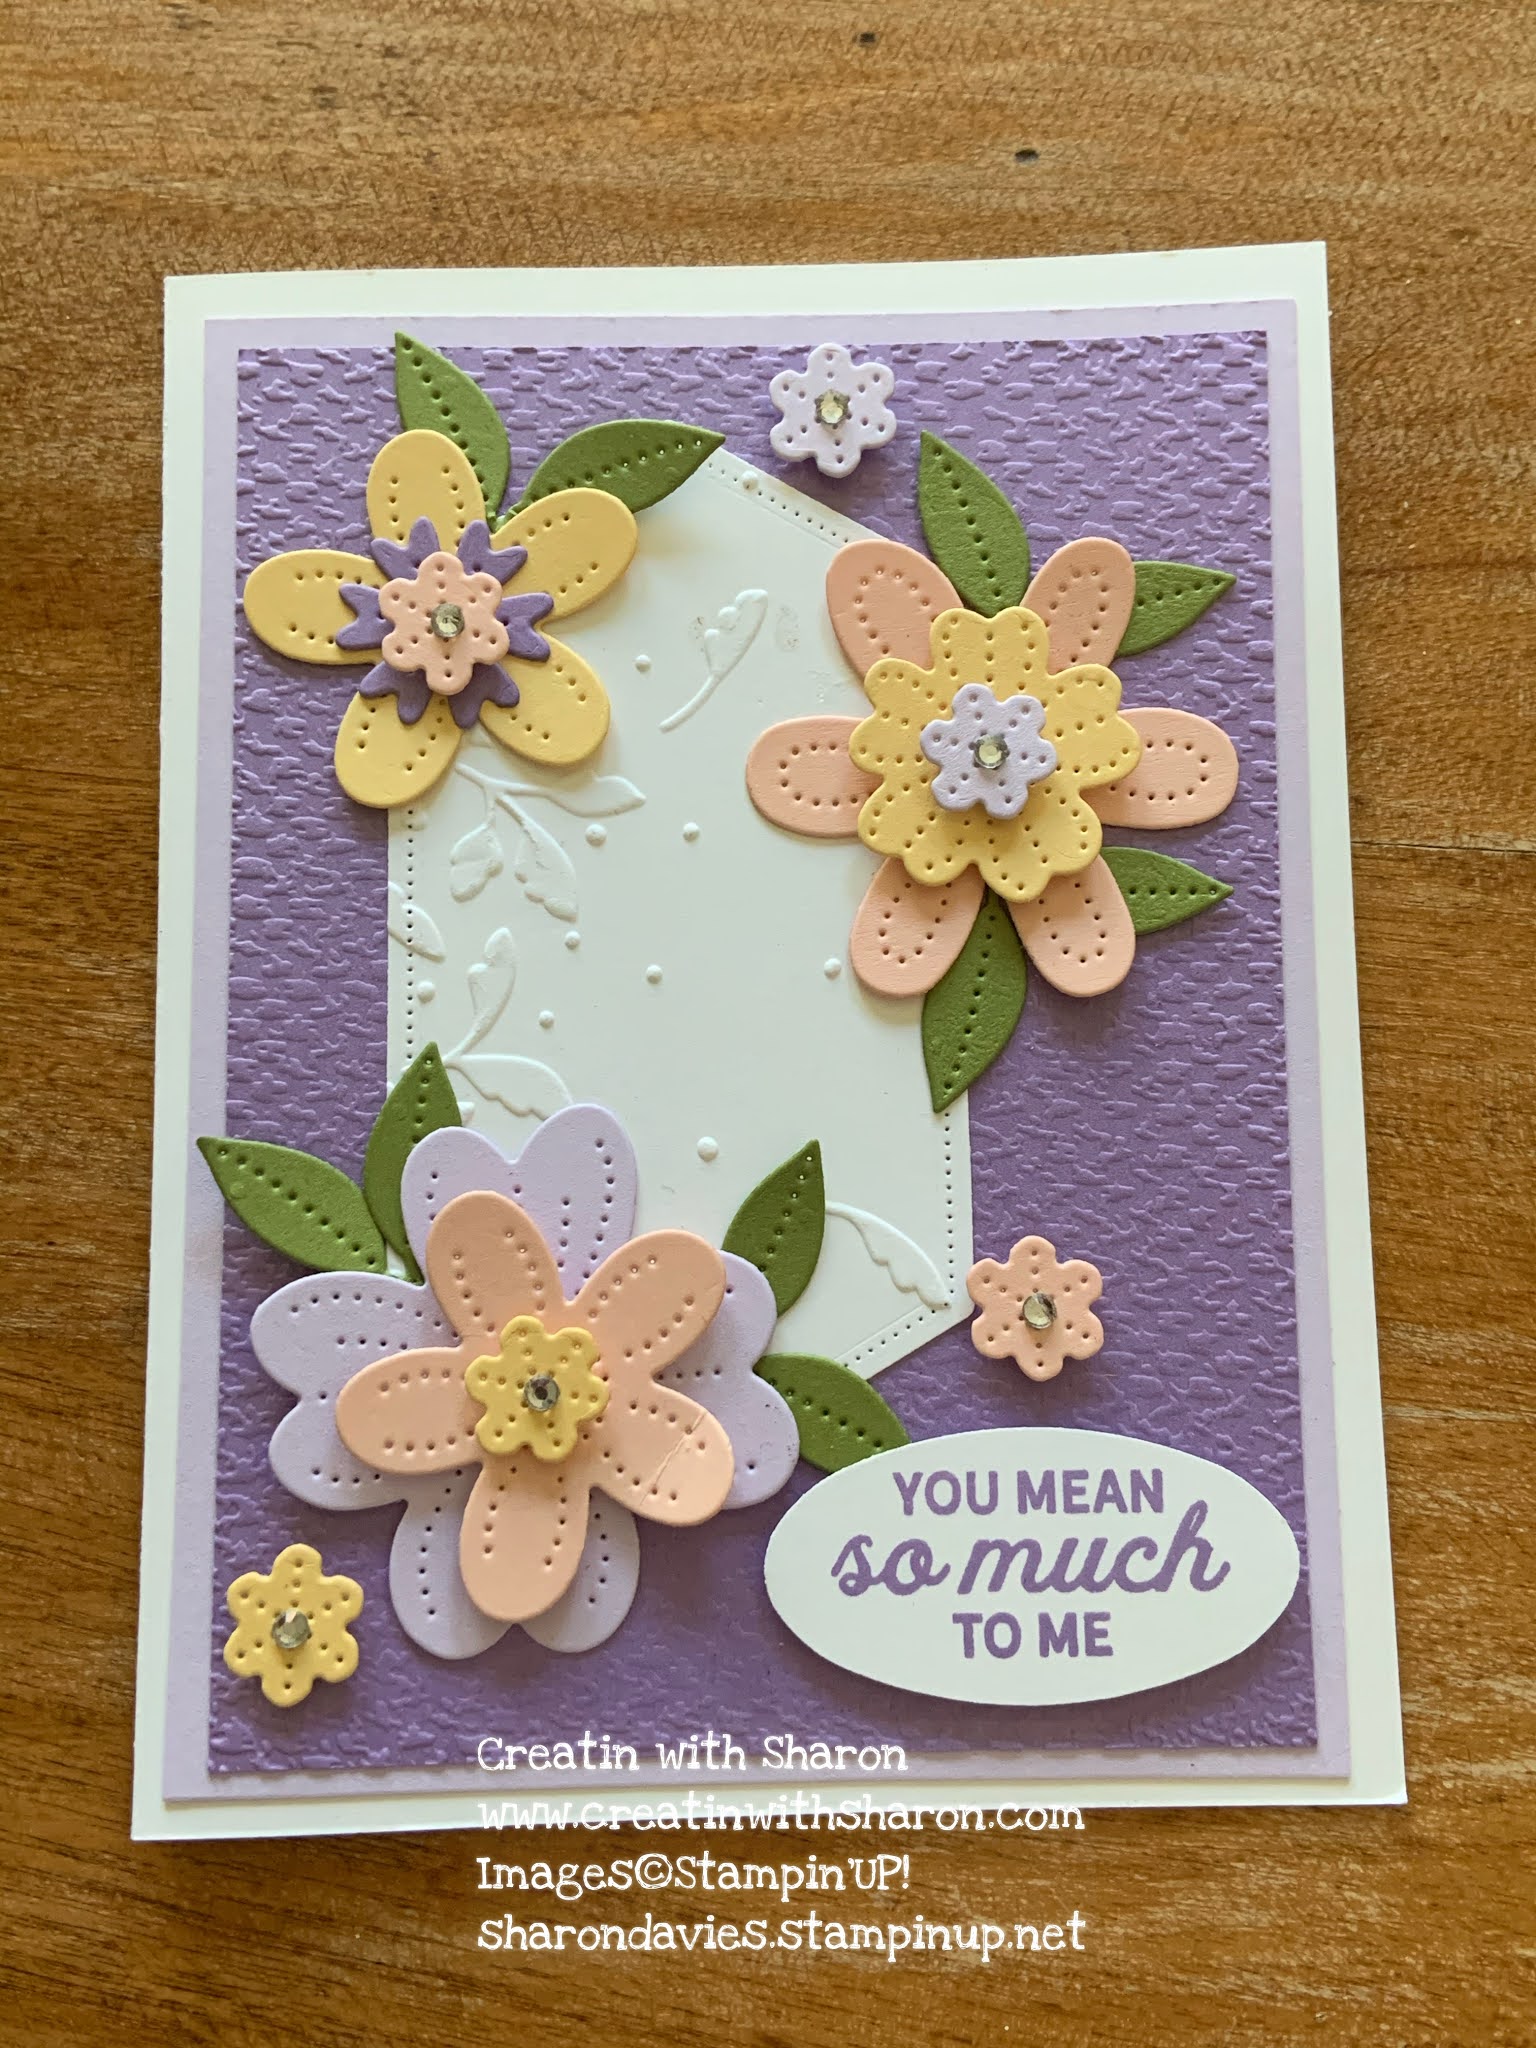
You mean so much to me.


The is the third and final card from my In Bloom card class from  this morning. 

Thinking this one definitely screams SPRING! 

The soft colours are definitely spring to me.  I love all tone of purple. Probably because purple is one of my favourite colours. Do you have a favourite colour? If so, what is it? 


Wanting the PDF for all three In Bloom cards?
                                Hit that shop button above and place an order of $40 in product 
                                                               using this Hostess Code QSBSWUGH
                                     and I’ll email you the PDF for all three of the In Bloom cards within 24 hours.

A HUGE THANK YOU a for stopping by.

Stay safe and healthy.

Cheers 🍻 
Sharon
XOXO

Product List 
center>

Continue Reading
No comments
Share: