Showing posts with label calypso coral. Show all posts

Tuesday, 22 March 2022

You’re A Peach!


Letting you know a little secret....I’m not a orange fan. 

But the You’re A Peach suite has definitely changed my mind. 

Thinking it is one of my favourites. 

The colours in the DSP are gorgeous! 

And works so well together.                                               


And the best part is from now until March 31/ 2022 the bundle is 20% off.

And is on sale for just $44! 

To good of a deal to pass up. 


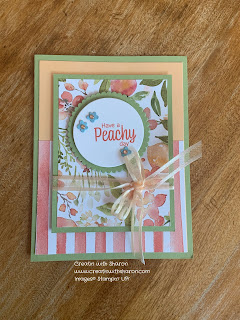
Top card Bits and Bobs 

Card Base: 4 1/4”x 5 1/2”
First layer 4”x 5 1/4”
Large Strip: 1 3/4” x 5”
Small Strip: 1”x 3 3/4”
Scalloped circle 2 3/4”
Basic white 2 1/2”
 

So here’s the Bits and Bobs for the cards.

 Card base 8 1/2“ x 5 1/2“. Score on the long side at 4 1/4”.

The first layer is 4“ x 5 1/4“.

The next layer is 3 3/4”  by 3 inches. I use card stock for this layer.

Then I adhered a piece of designer series paper is 3 5/8” x 2 7/8” onto the above card stock.

ON a scrap piece of Basic White. Stamp the leafs in Pear Pizzazz and cut with the coordinating die.

Stamp the peaches in pale papaya. Now with your blending brush and Calypso Coral ink, ink around the edges of the peach’s. Cut up with the coordinating die. 

Stamp you sentiment with Calypso Coral.

                                                           Now let’s put everything together. 


Here's my video on how the cards were put together


Product List

Continue Reading
No comments
Share:

Friday, 18 March 2022

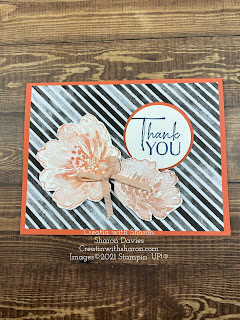
Cactus Cuties

Cactus Cuties

All images © 1990-2022 Stampin’ Up!®


Supplies:

• Stamp Sets: Cactus Cuties (158056)
• Card Stock and Paper: Evening EvergreenCard Stock (CS) (155574)Just Jade CS(153079)Basic White CS (159276); Artfully Composed Designer Series Paper (DSP) (157750)
• Stamp Pads: Evening Evergreen Classic Stampin’ Pad (155576); Just Jade Classic Stampin’ Pad (153115); Calypso Coral Classic Stampin’ Pad (147101); Polished Pink Classic Stampin’ Pad (155712)
• Tools: Beautiful Shapes Dies (158046); Cactus Builder Punch (158057)
• Miscellaneous: Adhesive-Backed Hexagons(158148); Stampin’ Dimensionals (104430)Stampin’ Seal Adhesive (152813)


Measurements:


• Evening Evergreen CS: 8 1/2” x 5 1/2” (score on the long side at 4 1/4")
• Just Jade CS: 4” x 5 1/4"
• Artfully Composed DSP: 2” x 5 ¼”
• Artfully Composed DSP: 3” x 3” (die cut shape)
• Basic White CS: 3” x 4” (stamp / punch cactus pieces)
• Basic White CS: 3/8” x 2 1/8” (sentiment)


Instructions:


1. Adhere Just Jade CS to card front
2. Adhere Artfully Composed DSP to card front
3. Stamp cactus images and punch out
4. Stamp sentiment
5. Die cut largest hexagon from Artfully Composed DSP square
6. Layer items onto card front using Stampin’ Dimensionals
7. Add black Adhesive-Backed Hexagons


Continue Reading
No comments
Share:

Tuesday, 1 February 2022

Flowing Flowers Card 1


SUPPLY LIST
Stamps: 157880 Flowing Flowers
Paper: 158039 Abstract Beauty Designer Series Paper, 159276 Basic White Cardstock, 119793 Calypso Coral Cardstock
Ink: 132708 Memento Ink Pad, 147050 Calypso Coral Ink Pad, 147108 Petal Pink Ink Pad
Embellishments: 158140 Cotton Ribbon Combo Pack, 158134 Polished Dots, 104430 Stampin' Dimensionals, 103683 Mini Glue Dots
Tools: 149653 Stampin’ Cut & Emboss Machine, 151770 Layering Circles Dies, 103579 Paper Snips Scissors
DIRECTIONS
1. Cut Calypso Coral Cardstock to 8-1⁄2” x 5-1⁄2” and fold in half.
2. Cut Designer Series Paper to 5-1⁄4” x 4” and Die Cut the 2 inch circle from the front. attach to card base.
3. Die-cut 1 3⁄4 inch circle from Basic White Cardstock with Layering Circle Dies. Stamp flowers in Petal Pink and
sentiment in Memento on Basic White circle. Layer in the circle.
4. Stamp flowers on Basic White Cardstock in Calypso Coral and Petal Pink, cut out with Paper Snips and
attach to card with Dimensionals.
5. Tie a double bow of Petal Pink Ribbon and attach to flower with Mini Glue Dots.
6. Cut Basic White Cardstock to 5” x 3-3⁄4” and stamp flowers in Petal Pink. Stamp sentiment in Calypso Coral
and attach to inside of card.
7. Embellish card front with Polished Dots.

Here’s the video for you.


Continue Reading
No comments
Share:

Wednesday, 2 June 2021

You’re a Peach


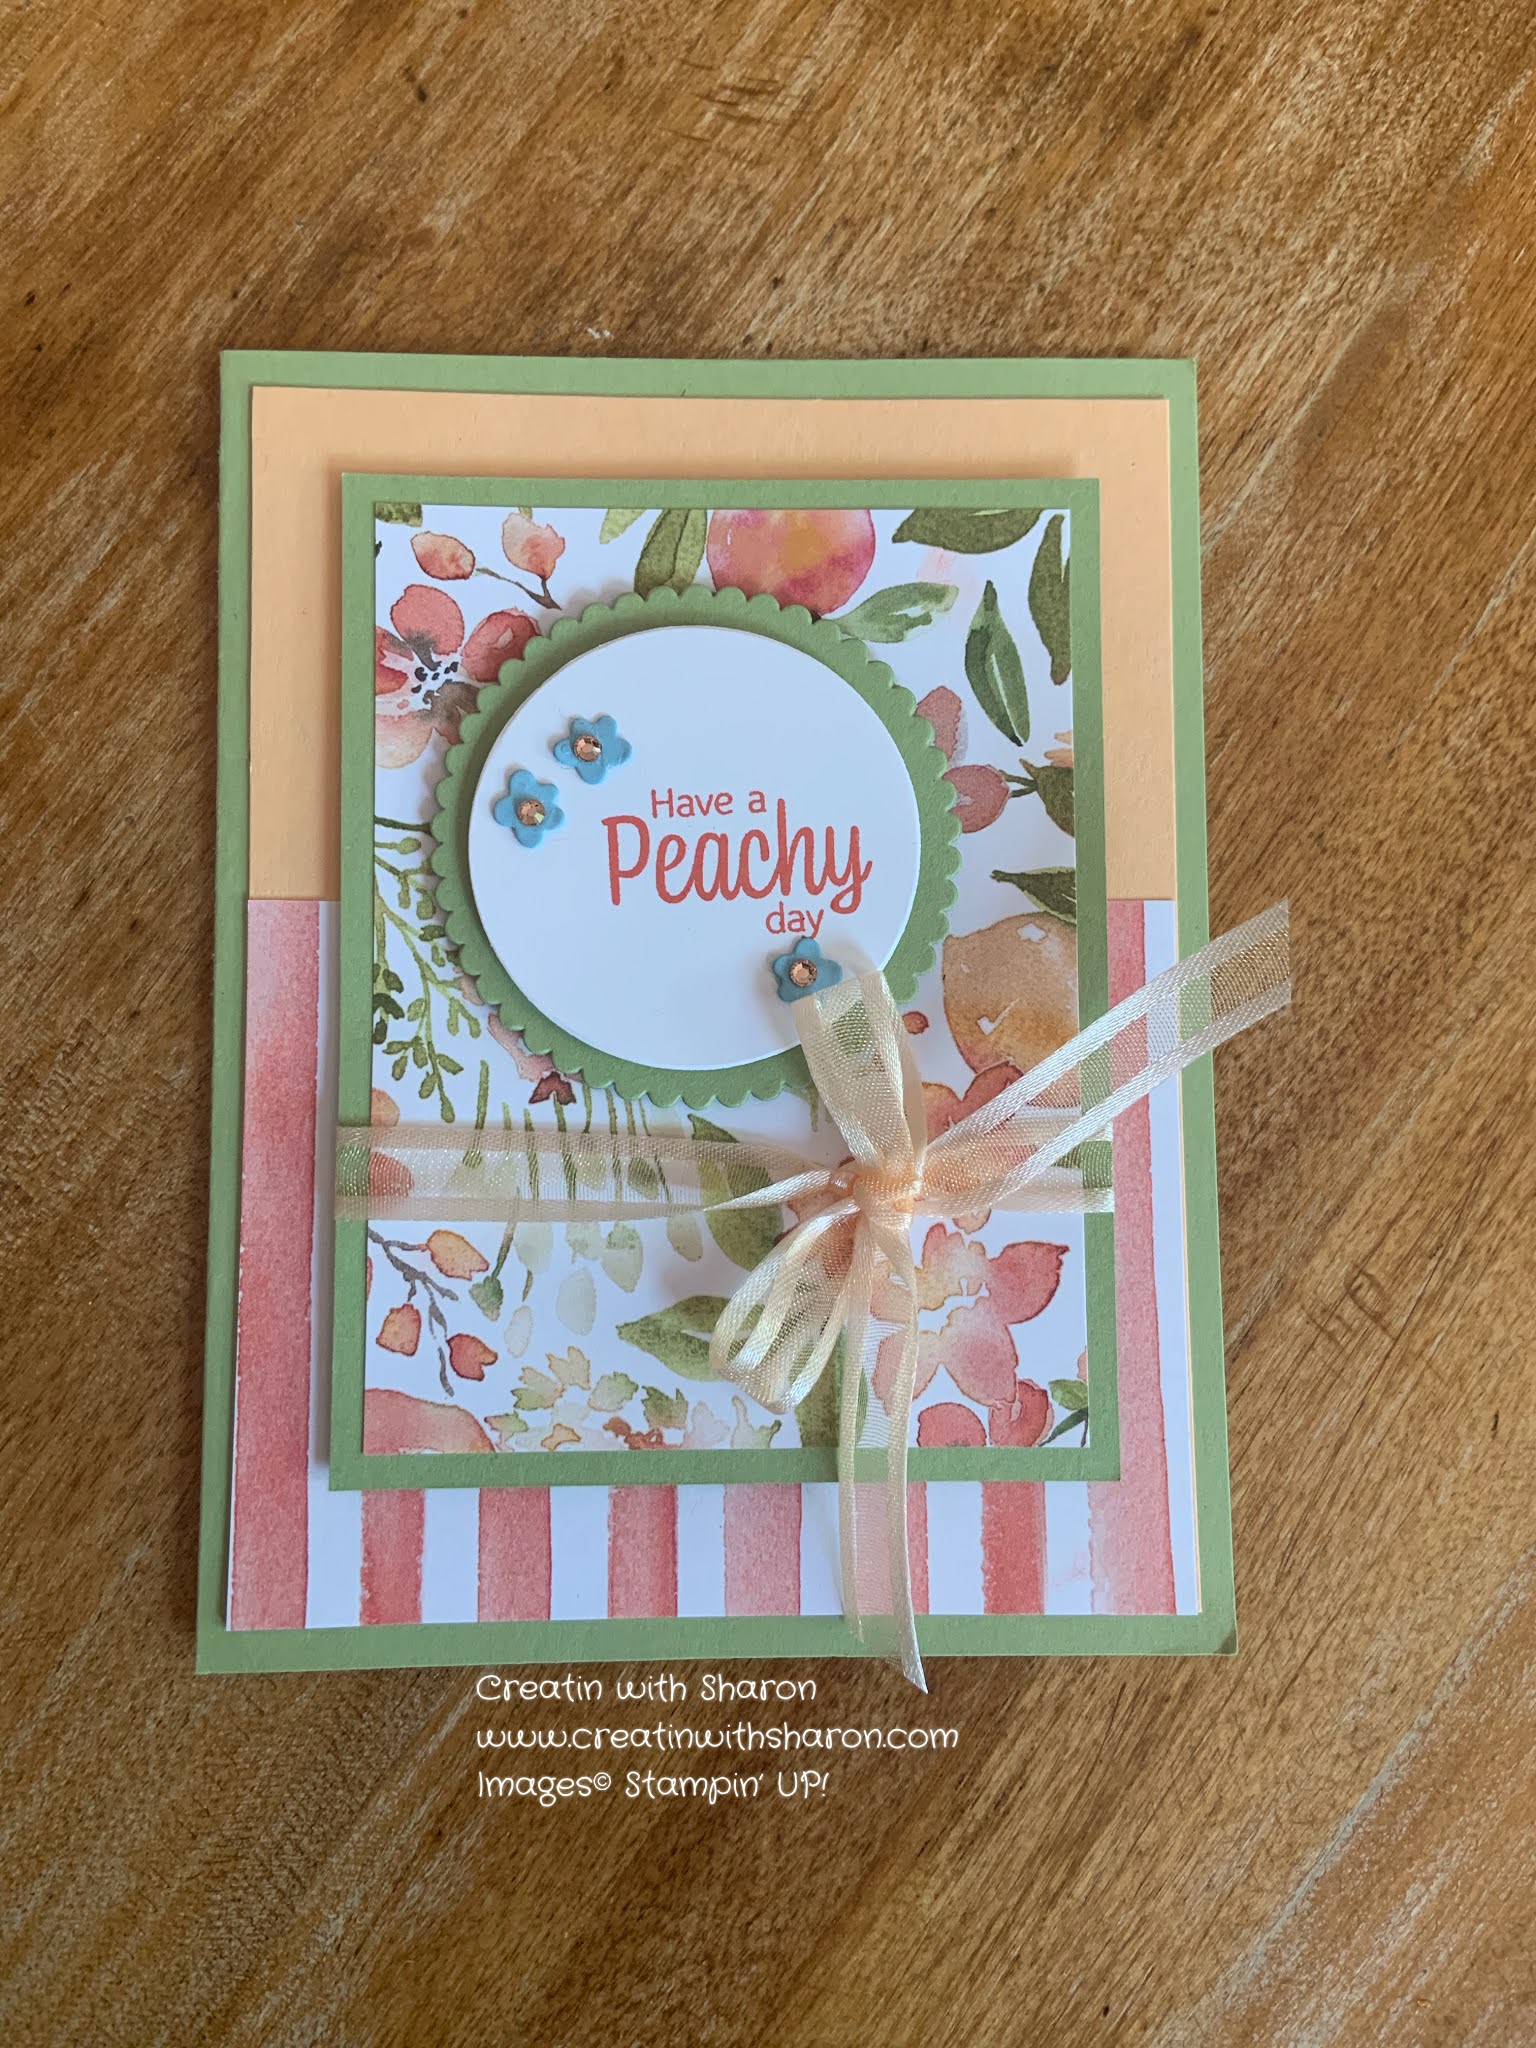
Have a Peachy Day


Base 8.5”x5.5” scored on the long side at 4.25”

1st layer 4”x 5.25” 

DSP is 3”x 4” 

And adhered onto the 1st layer of card stock. 

2nd layer 3.25”x 4.25

2nd layer DSP 3”x4” and adhered onto the 2nd layer of card stock.

With you layering circles cut out a scallop circle using the same colour of  card stock as your card base. Now cut circle using Basic White. This piece you’ll stamp you sentiment on. 

Wrap a piece of 16” ribbon around the 2nd pieces and tie a pretty bow. 

Cut a few flowers using the larger flower die. And add you bling using the Champagne Rhinestones.

Aren’t you loving your pretty card!💕


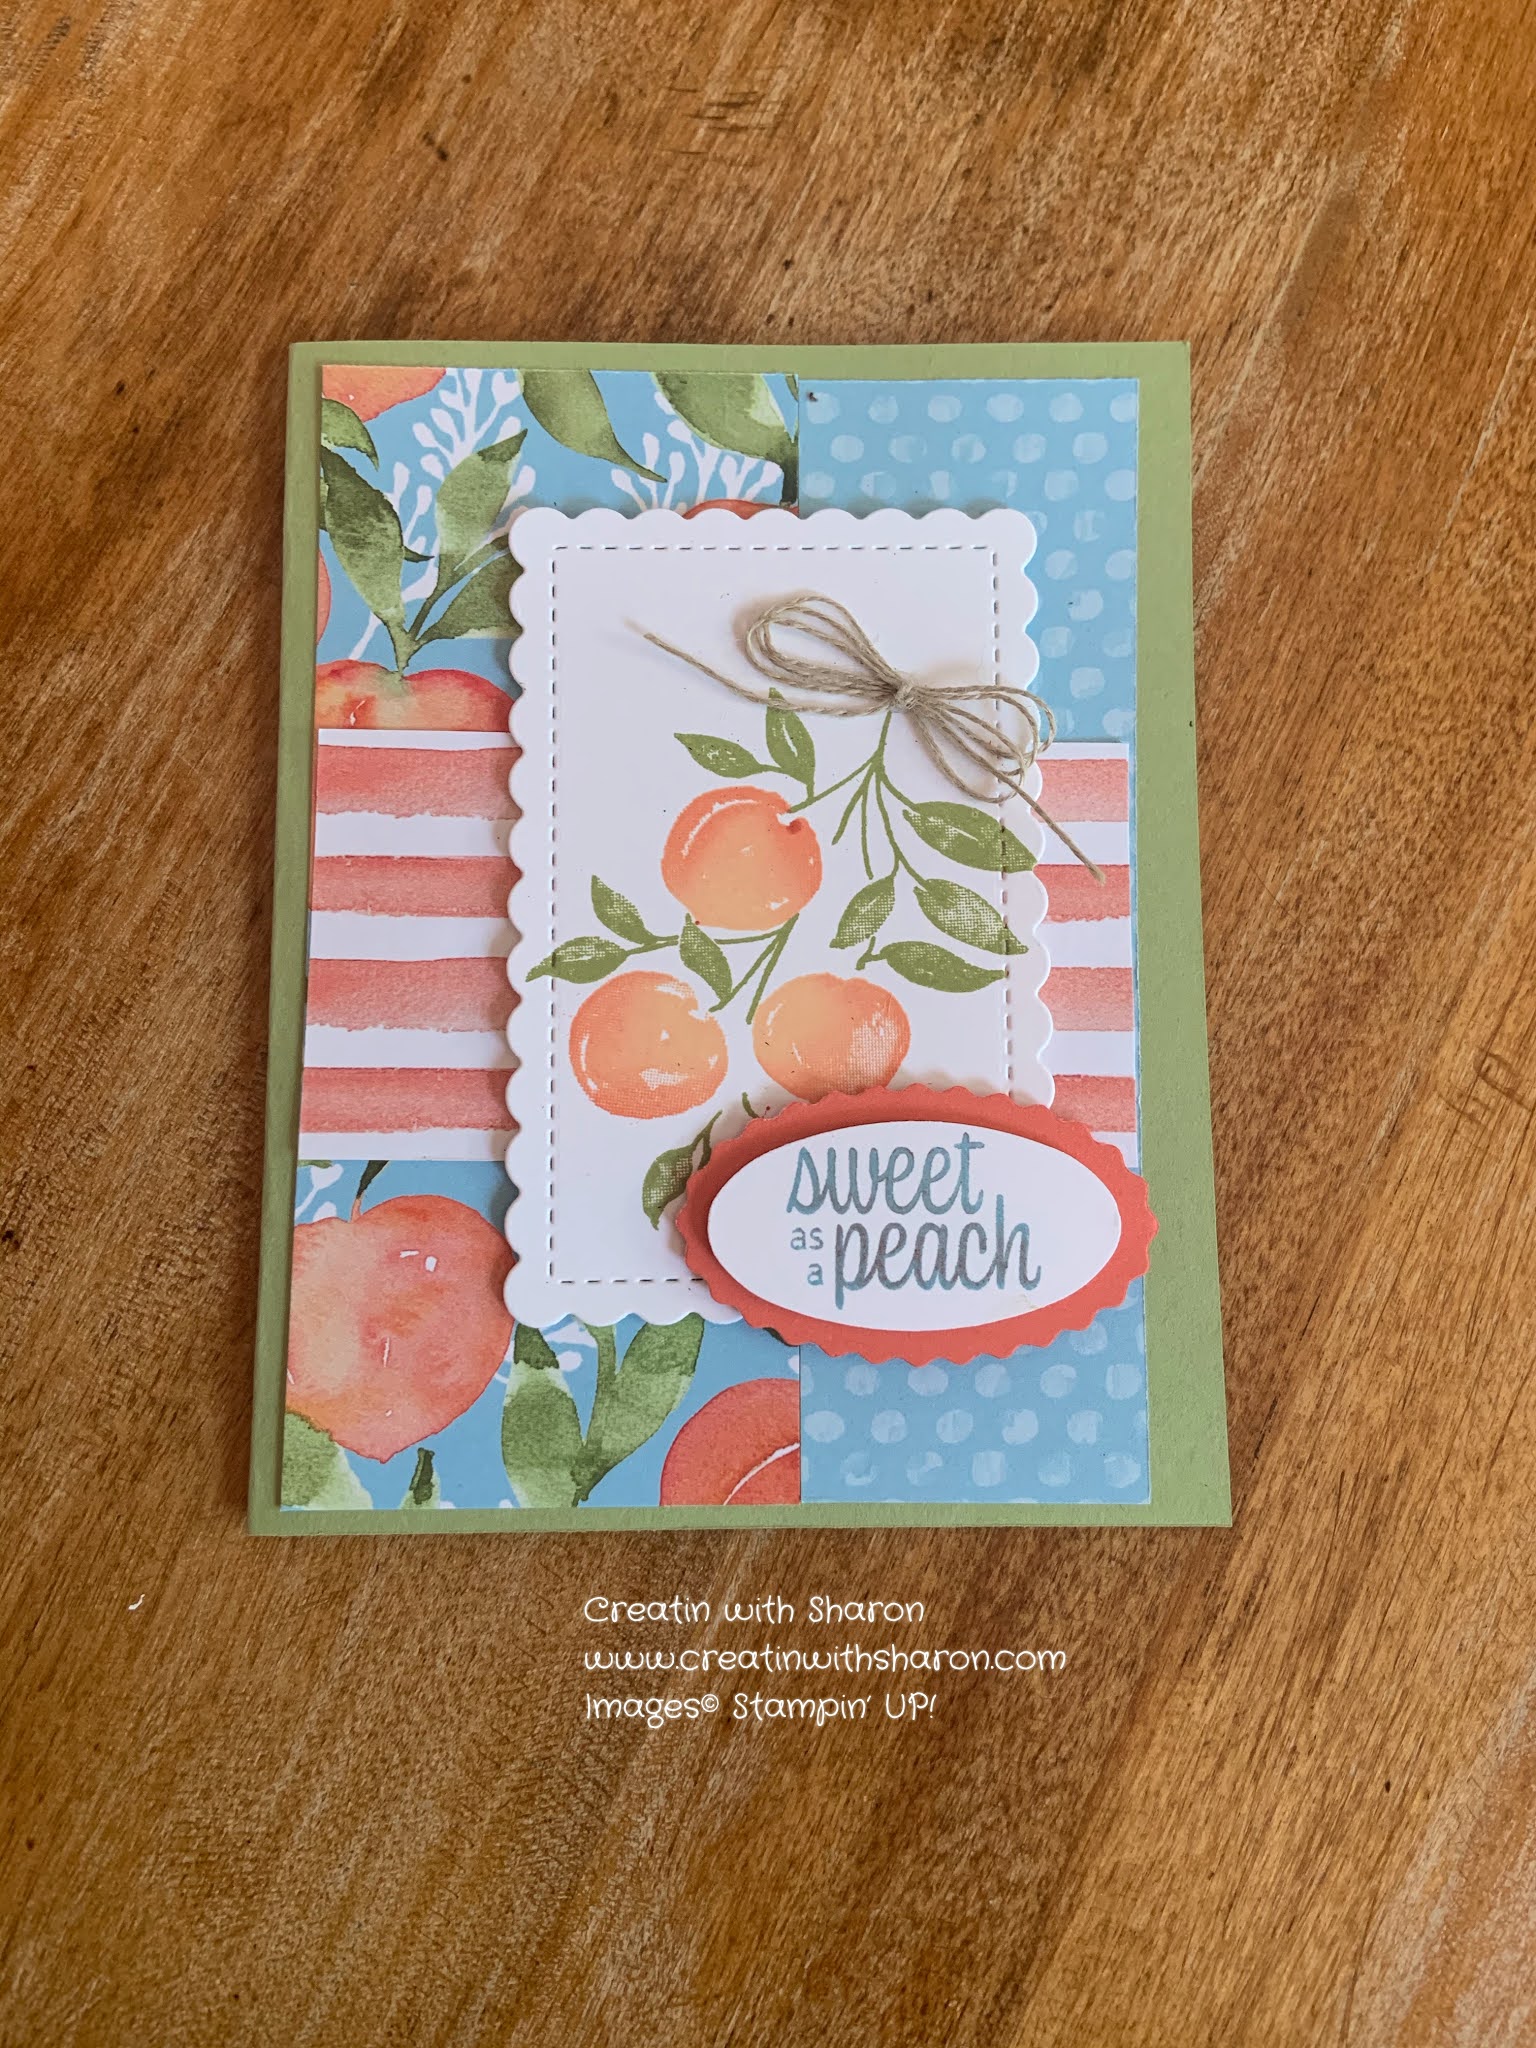
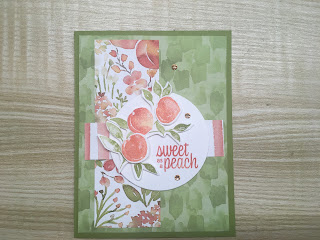
Sweet as a Peach Card


                                            Base 8.5”x5.5” scored on the long side at 4.25”

                                                               Cut two pieces of DSP. 

                                                     One 2.25”x4” and the other 1.5”x4”

                                                      The striped piece of DSP is 4”x2”

                              Adhere the first to pieces of DSP centre of your card base.

                                         Then adhere the striped piece onto the base. 

                                        With a piece of 3”x4” Basic White card stock. 

                     Stamp with the branch in Pear Pizzazz and stamp in the centre of card stock. 

                                         Ink up your peaches and stamp a among the leaves. 

                                 With the 2.5x 3.75” scallop die from Stitched So Sweetly die

                                                       Cut out the Peach stamped images.

               Stamp your sentiment on a scrape of Basic White and punch with the Double Oval punch.

                                 With the same punch, punch a scallop piece using Calypso Coral . 

                                               Assemble using the sample as your guide. 


Thanks so much for stopping by. 


Cheers 🍻 


Sharon

XOX

                                                    Product List 

Continue Reading
2 comments
Share:

Tuesday, 1 June 2021

Thank you. You’re a Peach!

   Whenever I see a peach it reminds me of my childhood. Our parents would take us to the B.C. Okanagan Valley for our summer holidays. 

The best part was eating the super fresh peach’s and cherries from the fruit stands.

 Oh my they were so good. I just couldn’t get enough. 

I’d eat them when ever I could.


Letting you know a little secret....I’m not a orange fan. 

But the You’re A Peach suite has definitely changed my mind. 

Thinking it is one of my favourites. 

The colours in the DSP are gorgeous! 

And works so well together.                                               

 
 So here’s the Bits and Bobs for the cards.

 Card base 8 1/2“ x 5 1/2“. Score on the long side at 4 1/4”.

The first layer is 4“ x 5 1/4“.

The next layer is 3 3/4”  by 3 inches. I use card stock for this layer.

Then I adhered a piece of designer series paper is 3 5/8” x 2 7/8” onto the above card stock.

ON a scrap piece of Basic White. Stamp the leafs in Pear Pizzazz and cut with the coordinating die.

Stamp the peaches in pale papaya. Now with your blending brush and Calypso Coral ink, ink around the edges of the peach’s. Cut up with the coordinating die. 

Stamp you sentiment with Calypso Coral.

                                                           Now let’s put everything to.

                                                         Use the above photo to help you out.


Thanks so much for stopping by. 


Stay safe and keep smiling 
Cheers 🍻 

Sharon 
XO


   Product List 

Continue Reading
No comments
Share: