Showing posts with label gilded leafing embellishment. Show all posts

Tuesday, 23 March 2021

Peony Garden Love & Thanks Card

 Peony Garden Love & Thanks      


                                                                   Cutting Instructions

                                                                      Cardstock

Gray Granite  5.5” X 8.5” Card base and a scrap for the centre of the flower

Whisper White 4.75”x 3.5”

Basic Gray  for Sentiment  I use a piece of scrap 

Designers Series Paper 

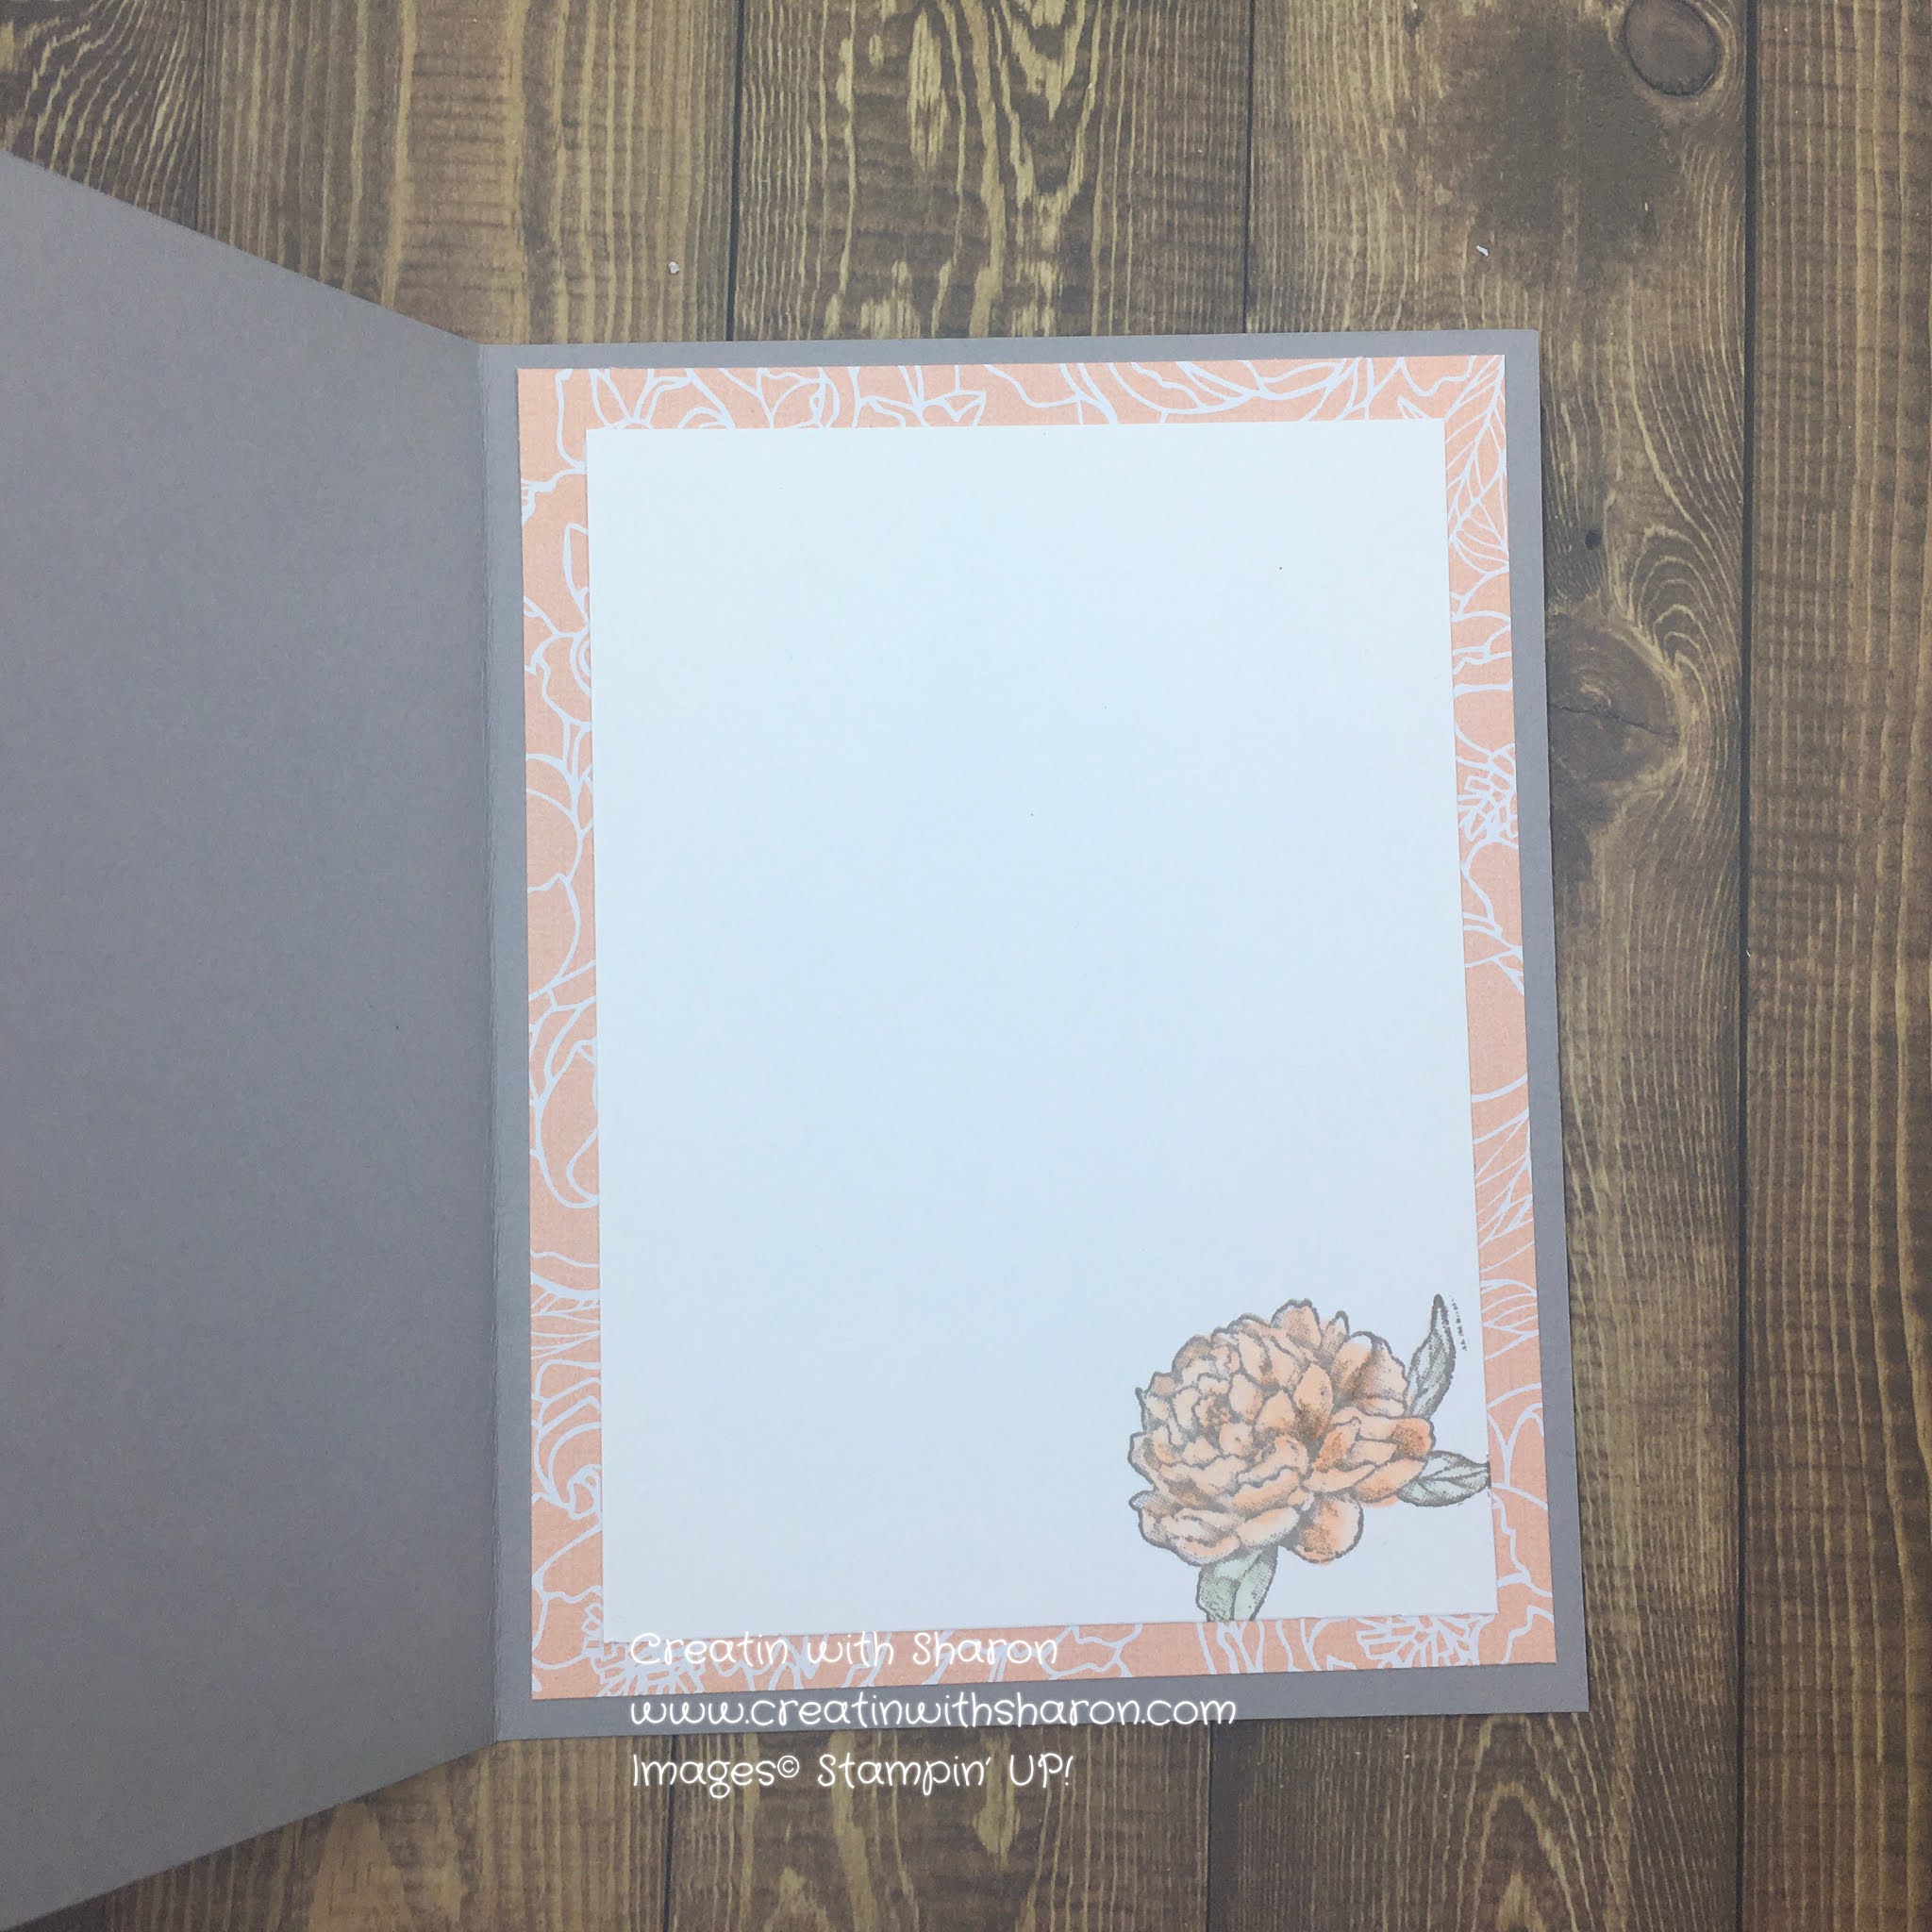
Peony Garden DSP 4” x 5.25” for the inside

Peony Garden DSP 4 7/8” x 3 3/8” Card front

Peony Garden DSP 4.5” x 3.25” Card front


Assembly Instructions

Card base

                   Fold the card base in half and burnish with your bone folder.

Adhere the larger piece of Peony Garden DSP to the card front off to the side. 

Adhere the smaller piece of Peony Garden DSP to the card front off to the other side. 

With a piece of Petal Pink card stock the measures 3” x 9” you want to cut out your flower. You’ll need to cut out all four pieces from the Die.

Cut out the centre of the flower with the Gray Granite.

With the Soft Sea Foam card stock cut our the larger of the leaves along with the trim for the flowers with Granny Apple Green. You’ll need three leaves for this project. 

With your liquid glue and a dauber sponge around the edges of the flower. There is four of them. Do it sparingly and try not to get too much on your finger. LOL

While the liquid glue is tacky you want to place the flower pieces in the Gilded Leafing Embellishment.  And rub off the excess.

Stamp your sentiment in Versamark. Sprinkle the heat and stick and heat lightly with your heat tool. Once the heat and stick is tacky you want to add to the Gilded Leafing and rub off excess firmly. Adhere to the front of your card. 

With another dauber you want to hilight the flower with Petal Pink ink. Ink up the dauber and hiight the edges of the flower pieces. 

Now to assemble your flower. You want to start with the smaller pieces and go to the larger pieces. Place them one at a time inside of each other. I did adhere using a little of my Liquid glue. 

Don’t forget your centre piece. Place it the third layer of your flower. 

Add a few dimensionals add to the backside of your flower and adhere to the centre of your card base. 

With a 10 inch piece of Organdy Stripped Ribbon tie a bow. And adhere to your card, just under the flower with a glue dot. 

I took the liquid glue and dab the tip around the card and added some Gilded Leafing to add that bling. 

Now to do the inside. Add your DSP to the inside. With the Whisper White card stock stamp the the right corner with the smallest flower from the stamp set with the Gray Granite ink. And colour with Petal Pink and Soft Sea Foam blends. Once completed colouring adhere to the inside of your card.


Here's the video on how I made the card

Peony Garden Card


These are the Stampin’ Up! products I used for this project:                                                           

                  Product List 
center>

Continue Reading
No comments
Share:

Tuesday, 2 March 2021


Art Floral Happy Birthday 


This was a fun card to make. I am loving the Gilded Leafing. A little definitely goes a long way.

And easy to work with. Letting you know that it can be a little messy. Make sure that you don’t breathe over top of the leafing. Just saying. I had it every where.😂 And it will stick to your  stamps that have been stamped with Versamark. 

I would definitely have that firm brush or sponge to remove the Gilded Leafing. 

It will make you live so much easier. Just saying.


Cutting Instructions

Cardstock

Merry Merlot 5 ½” x 8 ½” Card base

Mossy Meadow 4” x 5 ¼” Card front

Crushed Curry 3” x 3” Card front

Basic White 3 ½” x 4 ¾” Card inside

Scrap Sentiment

Designer Series Paper

Fine Floral 2 3/8” x 2 3/8” Card front Note: Cut the piece of DSP to include the large red flower

4” x 5 ¼” Card inside

Assembly Instructions

Card base

1. Fold the card base in half and burnish with your bone folder.

2. Place the piece of Mossy Meadow cardstock into the Painted Texture 3D embossing folder and run through your cut and emboss machine.

Gilded Leafing

3. Very gently rub the Versamark Pad over the top of the embossed Mossy Meadow cardstock.

4. Sprinkle the cardstock with Heat and Stick Powder and heat gently with your Heat Tool.

5. Place some Gilded Leafing into a container large enough to fit the card.  Press the front of the card base gently onto the Gilded Leafing so some of it sticks to the card front. Brush off excess leafing with a small brush.

6. Adhere this layer to the card front.

7. Next, take the small piece of DSP.  Stamp the flower on the DSP with the large flower from the Art Gallery stamp set using Versamark ink.

8. Repeat the Gilded Leafing process in steps 4-5.  Set this layer aside.

? is the heat and stick powder and heat tool also used on the DSP layer?

9. Take the piece of Crushed Curry cardstock and place it into the Meadow Moments embossing folder and run through your cut and emboss machine.

10. Adhere the Crushed Curry layer to the card front using dimensionals.

11. Now, you can adhere the small DSP layer on top of the Crushed Curry layer leaving a small border on the bottom and right side.

Sentiment

12. Using a scrap of Basic White, stamp the sentiment in Poppy Parade ink and run through your cut and emboss machine using the ‘postage stamp’ edged die from the Art Gallery Bundle.

13. Add a Basic Rhinestone Jewel to each end of the sentiment and adhere the sentiment to the card front using dimensionals.


Card inside


                                 14. Adhere the larger piece of DSP to the inside of the card.

                 15. Stamp the piece of Basic White cardstock with the flower from the Art Gallery Stamp             set using Merry Merlot ink and adhere to the inside of the card.


                                                         Thanks so much for stopping by.

Stay safe.

Cheers 🍻 

Sharon

XOXO 


                      These are the Stampin’ Up! products I used for this project:


                                                                          Product List 

Continue Reading
No comments
Share: