Showing posts with label stitched so sweetly. Show all posts

Sunday, 30 January 2022

Butterflies & Flowers

Butterflies & Flowers

All images © 1990-2022 Stampin’ Up!


Supplies:


• Stamp Set: Celebrating You (158028)
• Card Stock and Paper: Thick Basic White Card Stock (159229)Basic White Cardstock (159276); Granny Apple Green Card Stock(146990)Highland Heather Card Stock 146986)
• Stamp Pads: Fresh Freesia Classic Stampin’ Pad (155611); Highland Heather Classic Stampin’ Pad (147103); Granny Apple Green Classic Stampin’ Pad (147095); Garden Green Classic Stampin’ Pad (147089)
• Tools: Stitched So Sweetly Dies (151690); Double Oval Punch (154242)
• Miscellaneous: Iridescent Rhinestone Basic Jewels (158130); Butterflies & Flowers Layering Decorative Masks (158142); Shimmery White Finish Embossing Paste (145645) Stampin Dimensionals(104430)Stampin’ Seal Adhesive (152813)


Measurements:


• Thick Basic White Card Stock: 8 1/2” x 5 ½
• Basic White Card Stock: 3 ½” x 4 ½”
• Granny Apple Green 3 ¾” x 5” 
• Highland Heather Card StockScrap for punching 


Instructions:


1. Fold your Thick Basic White Card Base in half.  Scoring first helps the fibers so your card stock edge does not break.  
2. Using your decorative mask and the shimmery white embossing paste apply paste to the opposite corners of the Granny Apple Green Cardstock in a small patch, fairly random.  Scrap off excess and remove mask.  Set aside to dry. (Make sure you wash mask and tools immediately in cold water or the paste will harden.)  
3. Stamp the greeting in Highland Heather on Highland Heather scrap; punch with the oval punch. Set aside.
4. Adhere Butterflies and Flowers Mask to the Basic White Cardstock with some painter’s tape or washi tape.  Block out any images you do not want to color with sticky notes or tape.  Using the larger, more open, image and your blending brush with Fresh Freesia add color with a circular motion.
5. Do the same with the detail floral mask image but use Highland Heather Ink.
6. Using the leaves place them around your flower coloring some with granny apple green and some with garden green to get a variety of green colors around your flowers
7. Cut the image with the largest Stitched So Sweetly Dies.  
8. Adhere the now dry granny apple green layer to the front of your card base with stampin’ seal.
9. Mount the die cut piece with Stampin’ Dimensionals on a slight angle to expose part of the shimmer embossing paste.
10. Mount the punched image in the lower right corner as shown in image.
11. Add Iridescent Rhinestone Jewels to center of flowers and randomly on image


Continue Reading
No comments
Share:

Monday, 13 December 2021

Snowman Season


Snowman Season

All images © 1990-2021 Stampin’ Up!®


Supplies:


Stamp Sets: Snowman Season (158341), Many Messages (154510)

• Card Stock and Paper: Blushing Bride (131198), Shimmery White (101910)
• Stamp Pads: Basic Gray (149165), Pool Party (147107)
• Tools: Stitched So Sweetly (151690)Blending Brushes (153611)
• Miscellaneous: Rhinestone Basic Jewels (144220), Real Red Stampin’ Blends (154899), Flirty Flamingo Stampin’ Blends (154884), Smoky Slate Stampin’ Blends (154904), Pumpkin Pie Stampin’ Blends (154897), Pool Party Stampin’ Blends (154894), Mossy Meadow Stampin’ Blends: (154890), Soft Suede Stampin’ Blends (154906), Wonderful Snowflakes (156340), Wintry 3D embossing folder (155433), StampinDimensionals (104430)Stampin’ Seal Adhesive (152813)


Measurements:


• Shimmery White 5 ½” x 7 ½”
• Blushing Bride 3 3/8” x 5 ¼”
• Shimmery White (2) 3 ¼” x 4 ½”


Instructions:


1. Cut a 5 ½” x 7 ½” Shimmery White card base. Fold in half.
2. Cut a 3 3/8” x 5 ¼” Blushing Bride panel.
3. Emboss the panel using the Wintry snowflake embossing folder.
4. Adhere the panel to the card front.
5. Cut a 3” x 4” scallop rectangle from Shimmery White cardstock.
6. Using a blending brush and Pool Party ink, lightly blend ink at the top half of the rectangle.
7. Stamp the snowman at the bottom of the scallop rectangle using Basic Gray ink.
8. Stamp a second snowman onto Shimmery White cardstock using Basic Gray ink.
9. Color the snowman hat/scarf using Real Red & Flirty Flamingo Stampin’ Blends.
10. Color the arms and the tree trunk using Soft Suede Stampin’ Blends.
11. Color the nose using Pumpkin Pie Stampin’ Blends.
12. Color the branches using Mossy Meadow Stampin’ Blends.
13. Color the rocks using Smoky Slate Stampin’ Blends.
14. Outline the snowman using Pool Party Stampin’ Blends.
15. Cut the snowman.
16. Adhere a snowflake to the top right of the scallop rectangle.
17. Adhere the snowman to the top of the stamped snowman using Stampin’ Dimensionals.
18. Adhere the scallop rectangle to the card base using Stampin’ Dimensionals.
19. Stamp the sentiment onto Shimmery White cardstock using Basic Gray ink. Cut to size.
20. Adhere the sentiment to the top of the snowflake using Stampin’ Dimensionals.
21. Color (5) Rhinestone Basic Jewels using Pool Party Stampin’ Blends.
22. Adhere the (5) Rhinestone Basic Jewels randomly to the snowflakes.


Continue Reading
No comments
Share:

Wednesday, 2 June 2021

You’re a Peach


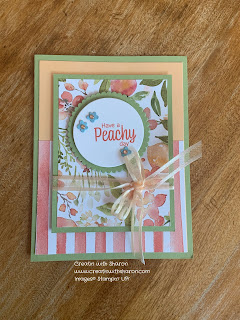
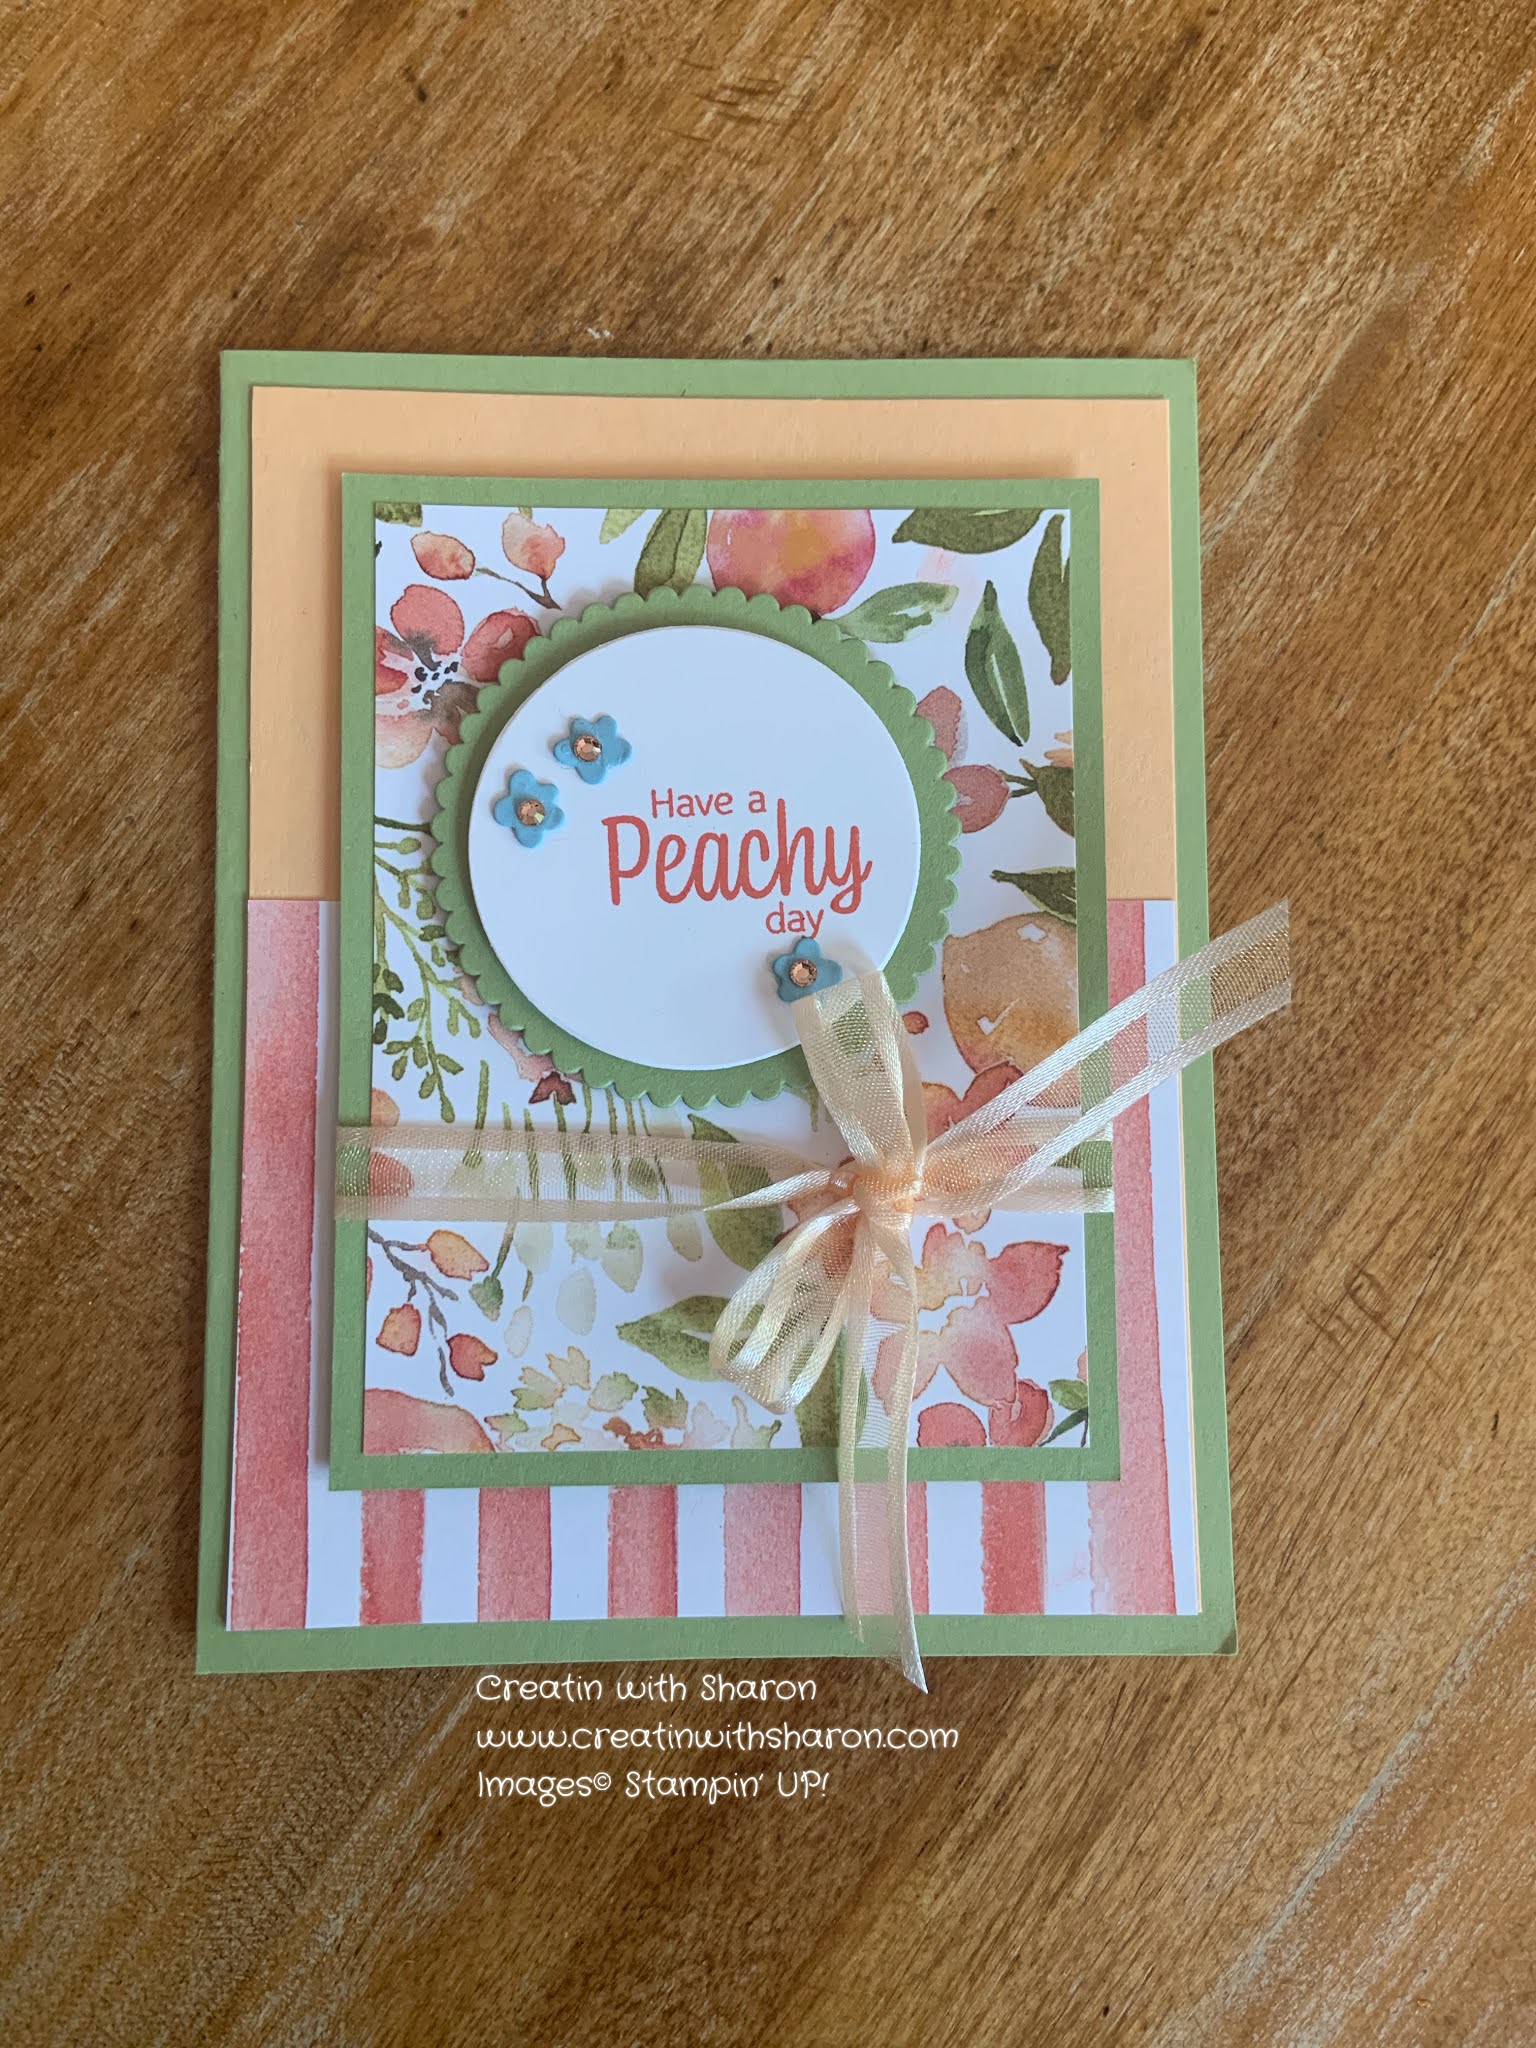
Have a Peachy Day


Base 8.5”x5.5” scored on the long side at 4.25”

1st layer 4”x 5.25” 

DSP is 3”x 4” 

And adhered onto the 1st layer of card stock. 

2nd layer 3.25”x 4.25

2nd layer DSP 3”x4” and adhered onto the 2nd layer of card stock.

With you layering circles cut out a scallop circle using the same colour of  card stock as your card base. Now cut circle using Basic White. This piece you’ll stamp you sentiment on. 

Wrap a piece of 16” ribbon around the 2nd pieces and tie a pretty bow. 

Cut a few flowers using the larger flower die. And add you bling using the Champagne Rhinestones.

Aren’t you loving your pretty card!💕


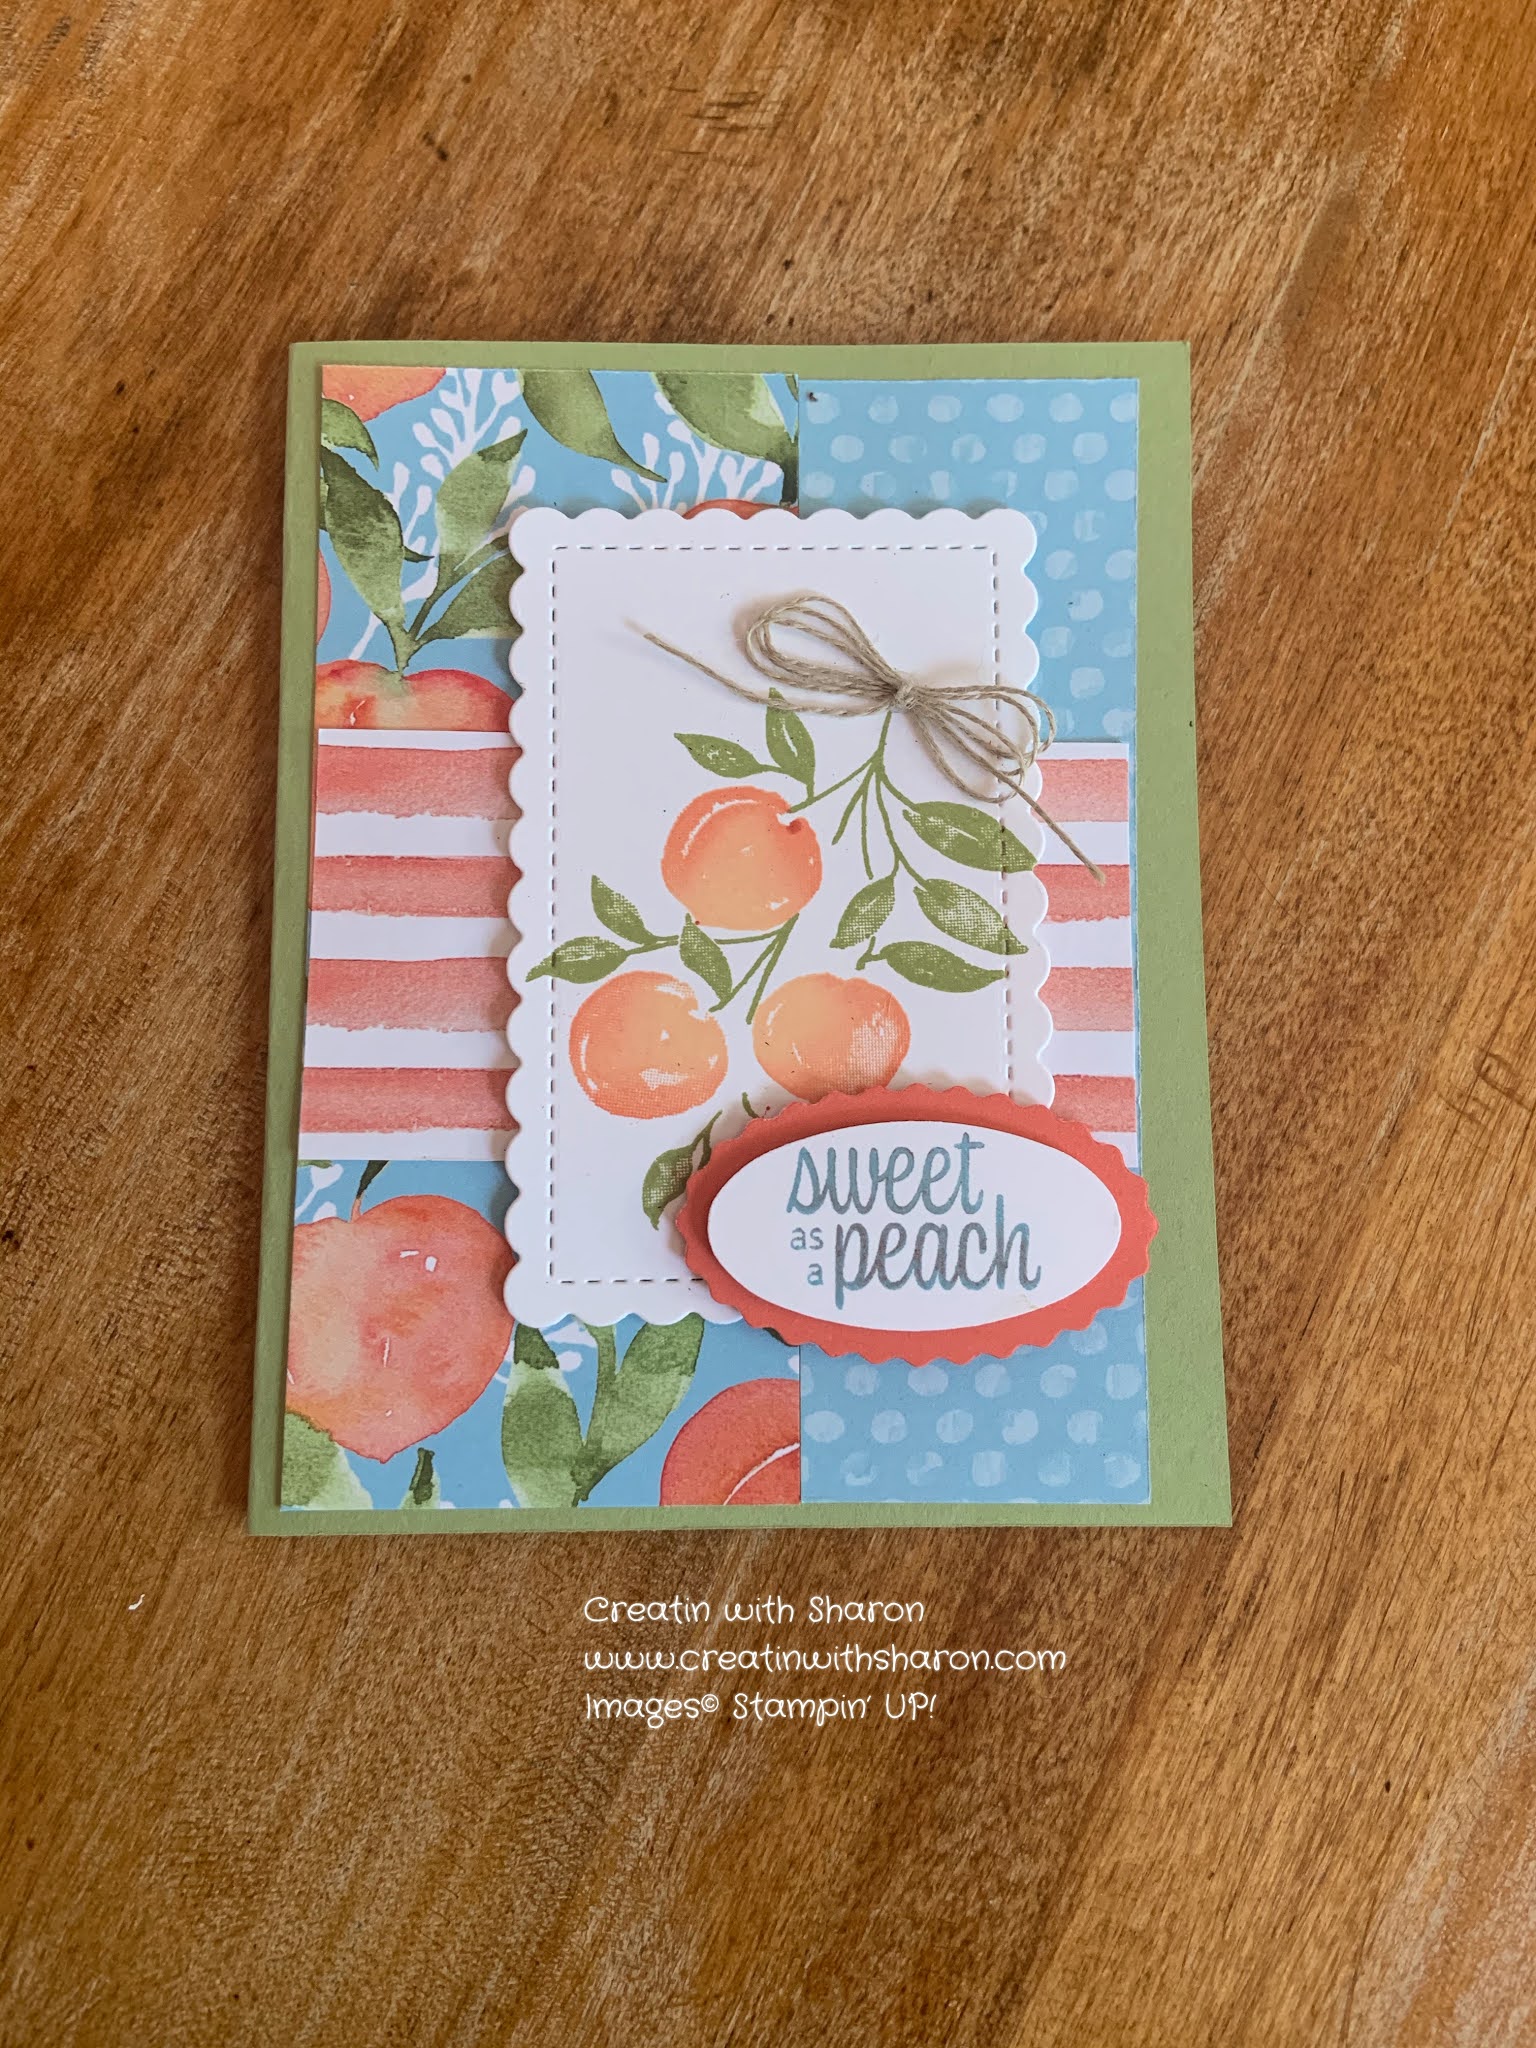
Sweet as a Peach Card


                                            Base 8.5”x5.5” scored on the long side at 4.25”

                                                               Cut two pieces of DSP. 

                                                     One 2.25”x4” and the other 1.5”x4”

                                                      The striped piece of DSP is 4”x2”

                              Adhere the first to pieces of DSP centre of your card base.

                                         Then adhere the striped piece onto the base. 

                                        With a piece of 3”x4” Basic White card stock. 

                     Stamp with the branch in Pear Pizzazz and stamp in the centre of card stock. 

                                         Ink up your peaches and stamp a among the leaves. 

                                 With the 2.5x 3.75” scallop die from Stitched So Sweetly die

                                                       Cut out the Peach stamped images.

               Stamp your sentiment on a scrape of Basic White and punch with the Double Oval punch.

                                 With the same punch, punch a scallop piece using Calypso Coral . 

                                               Assemble using the sample as your guide. 


Thanks so much for stopping by. 


Cheers 🍻 


Sharon

XOX

                                                    Product List 

Continue Reading
2 comments
Share:

Wednesday, 1 April 2020

Dress to Impress

   Dress to Impress.
Here’s the cards I completed in my Facebook Live over the last couple of days.
Loved how these turned out. 

 Here’s the how to’s for this card 
1. Base is 8 1/2”x 5 1-2” scored on the longer side at 4 1/4”
2. Whisper white is 5 1/8"x3 7/8"
3. DSP 5"x 3 3/4"
4. Pool Party (layer 3) cut from the Scalloped rectangle which is 4 1/2" x 3 1/2"
5. Sentiment layer is from the Stitched So Sweetly. Which is about 4' X 2 1/2"
6. Stamp two lipstick and three flowers with your Memento ink onto a scrap piece of whisper white.
And cut them our using the dies from the All Dressed Up dies.
7. Add colour with the Flirting Flamingo and Melon Mambo with the "blub" stamps from the set.
8. Then I colour the leaves with my Granny Apple Green Blends.
Now assemble in number order.
I did use dimensionals on the lipsticks and flowers to give the card some dimension.
And you know every card needs some dimension, right!

Here's my YouTube Video.
Be sure to subscribe.
https://youtu.be/W2SRQ36GQWs
Enjoy!
 And the how to’s for this one...

Base is 8 1/2”x 5 1-2” scored on the longer side at 4 1/4” I used Highland Heather  for this card.
Stamp the flowers using either Versamark or Gorgeous Grape ink randomly of the front of the card.
Your banner is next which is a piece of DSP that is 2"x 5". Punch one end  using the Banner Punch. Adhere to the card base.
Now take a piece of Whisper White Card Stock that is 4 1/4" x 3 1/4".
And randomly stamp with the Flower images from the stamp set. With the Blub stamp, stamp the flowers in Lovely Lipstick and Flirty Flamingo. Colour your leaves with the Granny Apple Green blends. Add to the card as shown.
The Perfume bottle is stamped onto a piece of Gorgeous Grape with Memento. And cut out with the Perfume bottle die or is you want you can always fussy cut!.
Adhered with dimensionals.
I stamped the sentiment using Black Memento ink onto a piece of Highland Heather that measures
2 1/2' X 1 1/2"
It is adhered using liquid glue.
Take a piece of ribbon and had to the Perfume Bottle.
WOW! second card completed!
Here's the link to my YouTube video
Be sure to subscribe.


Last but not least.
First thing I did was stamp, cut  and colour the shoes. I used my blends to colour the shoes. You can choose which colour you'd like to use.
 With the Shimmery Crystal Effects I coloured over top of the shoes.
This will give the shoes a patent look!
 And who doesn't like shiny shoes! The shoes with take a time to dry.
 Be sure to place them aside where they can die.
Base is 4 1/4" x 8 1/2" Scored on the left hand side at 3"
You will also need a piece of card stock that is same colour that is 3"x 5 1/4".
Now make a scored line on long side at 1/4"
Run a bead of liquid glue on the 1/4" and adhere on the right hand side of the base. Be sure that it is centred. Now add a piece of DSP that is 4 7/8"x 2 7/8" to the flap.
With the other piece of DSP that is 4 x 2 7/8" adhere with liquid glue to the 3 inch flap of the card base.
Cut strip of card stock using the long stitched die from the dies and adhere it to the flap.  Stamp and cut your sentiment adhere with dimensionals.
With your shoes, you want to glue one onto the strip and dimensional the other.  Just over lapping slightly.
The inside is a piece of card stock that is 5 1/4" x 4". I did stamp the bottom left corner with a shoe and coloured it with one of my blends.

Here's my Youtube video. Enjoy!
Be sure to subscribe.
https://youtu.be/nLIDOWpk2C0
Thanks so much for stopping by.

Product List


Continue Reading
No comments
Share: