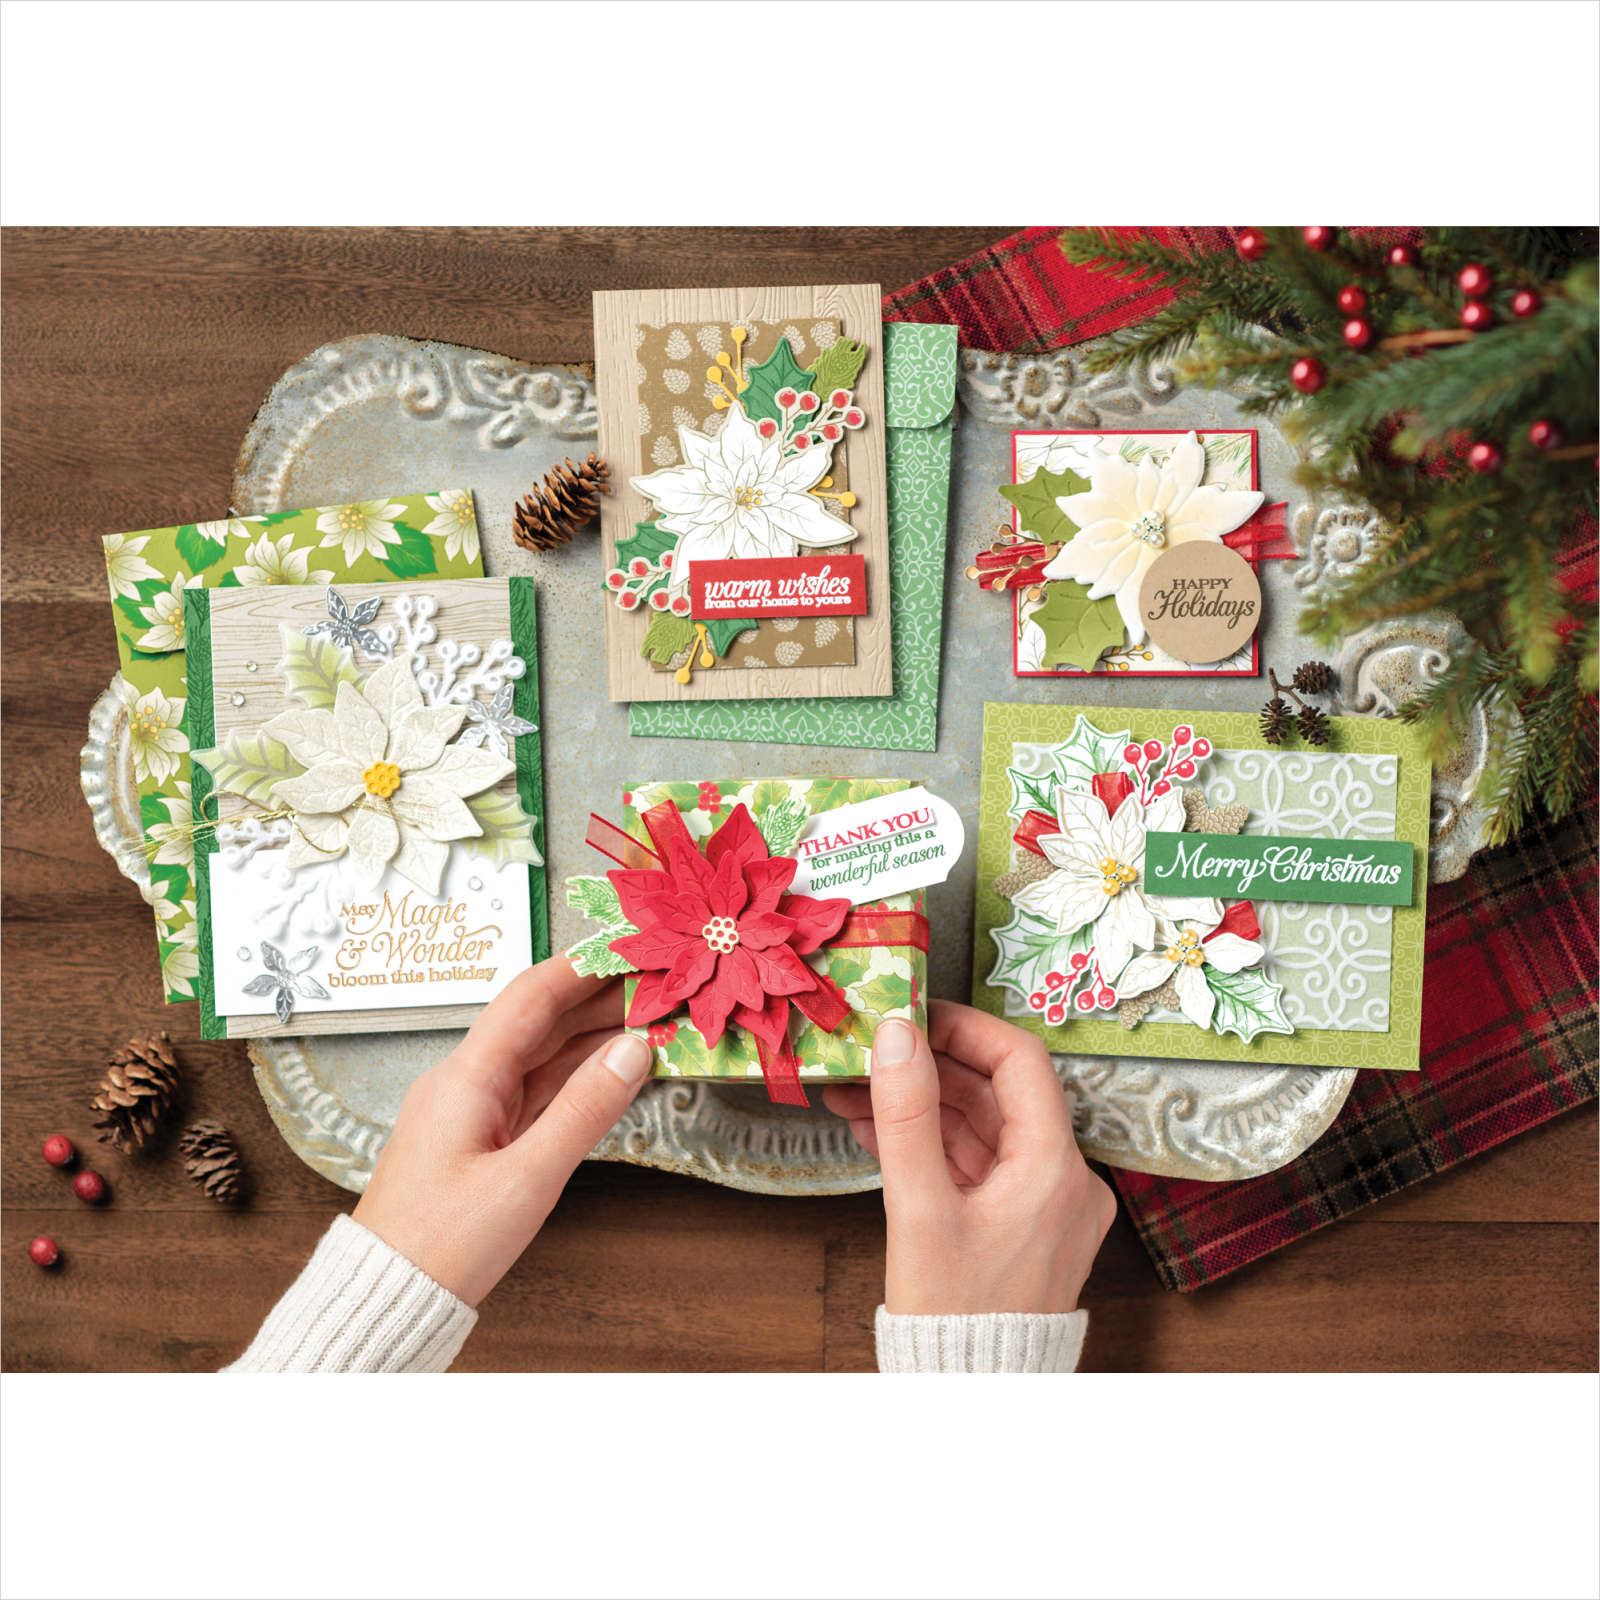
 POINSETTIA PLACE SUITE
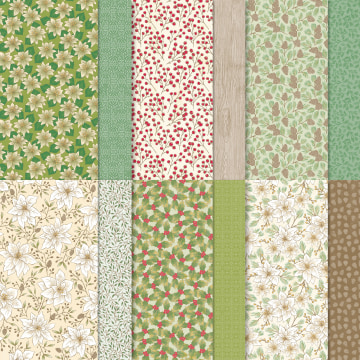
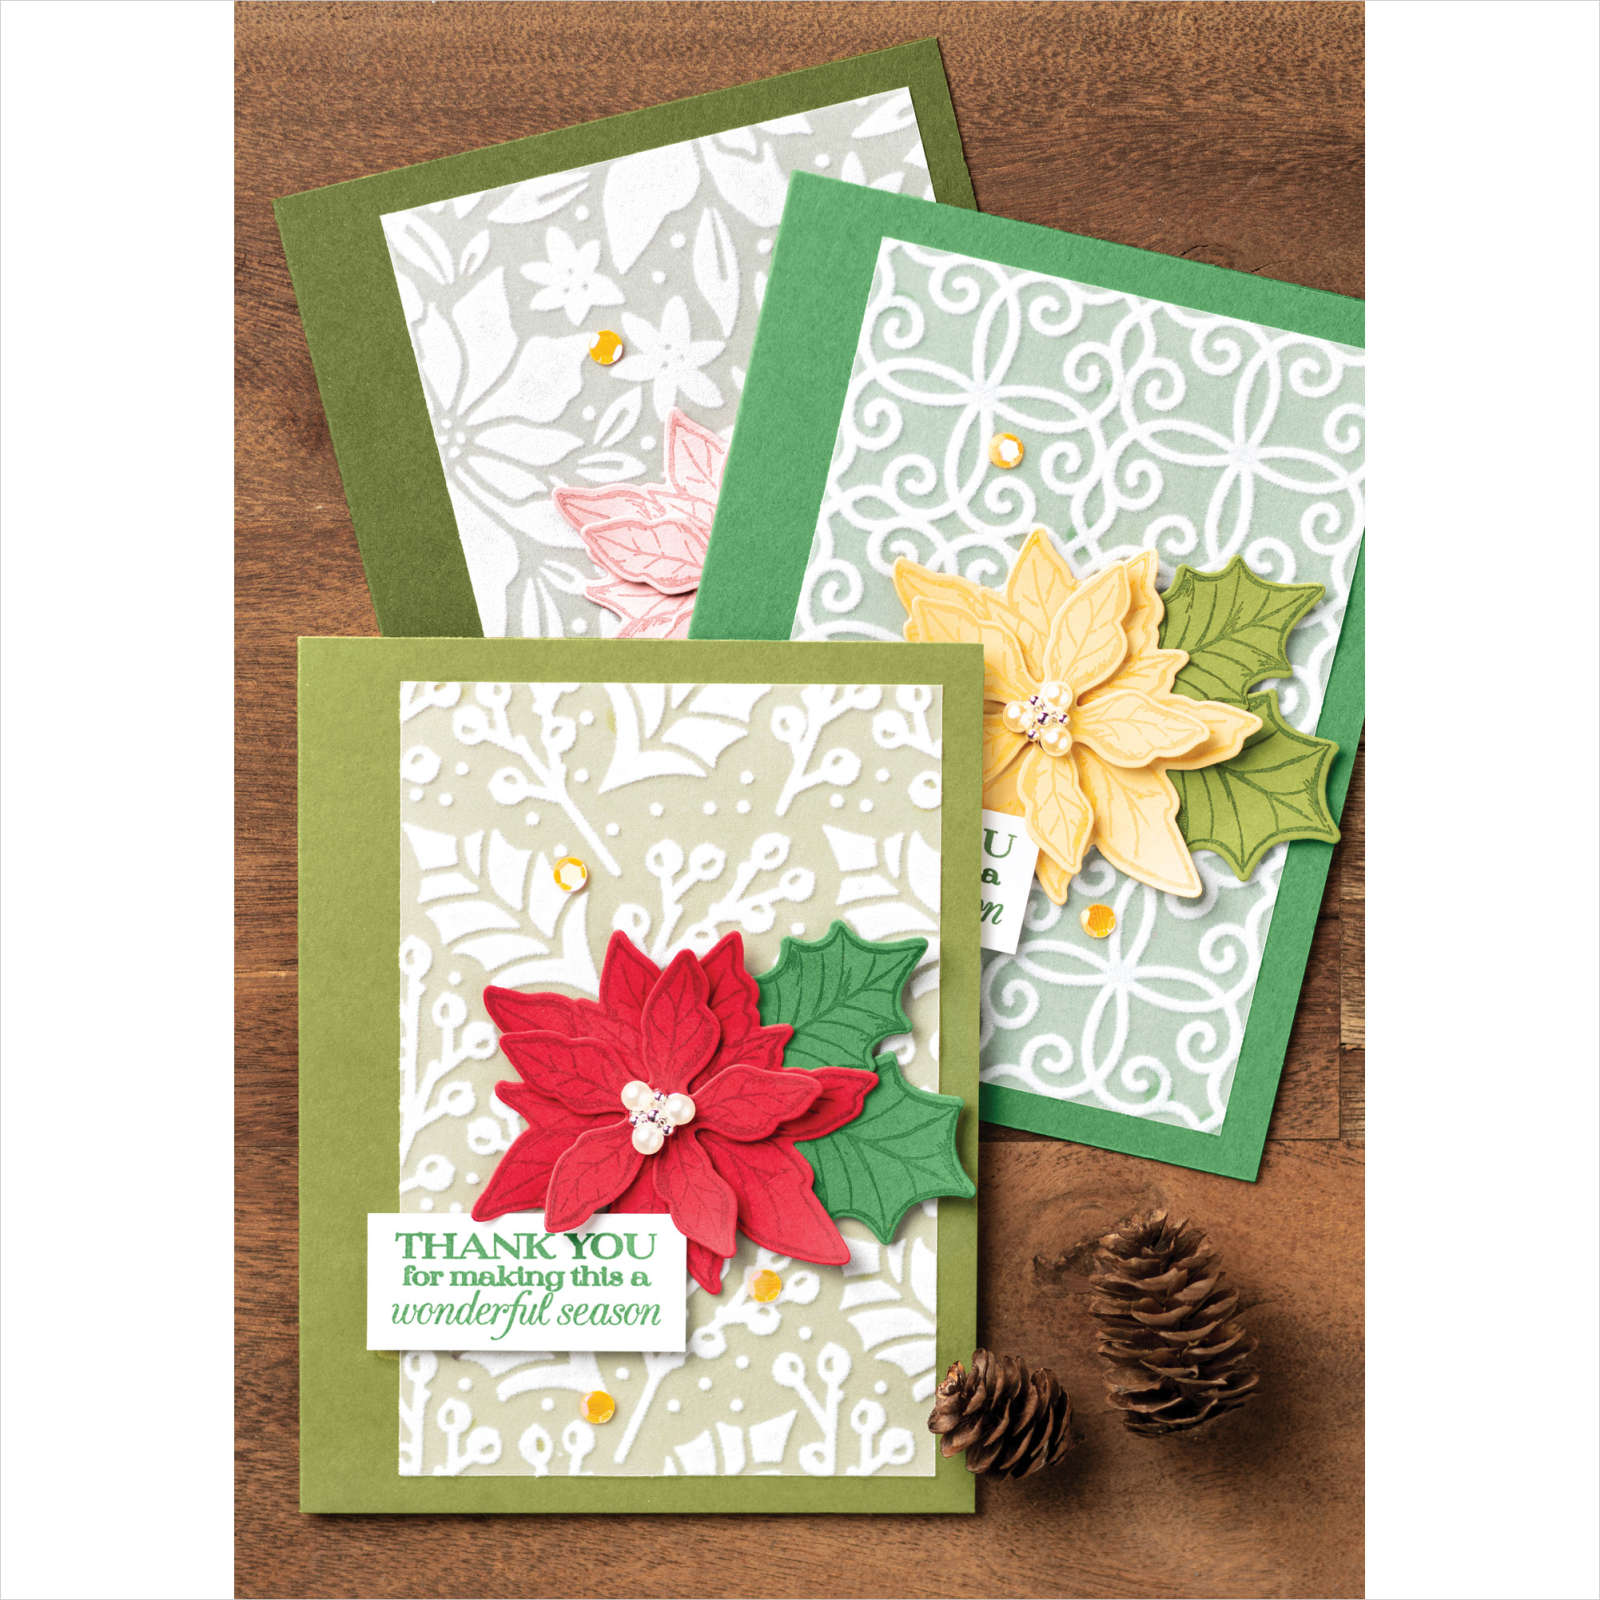
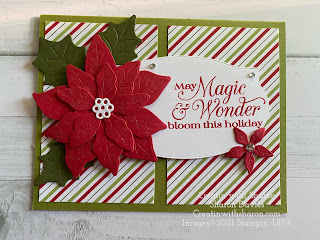
When you are looking to create traditional and elegant Christmas cards, the Poinsettia Place Suite is one you'll reach for year after year.
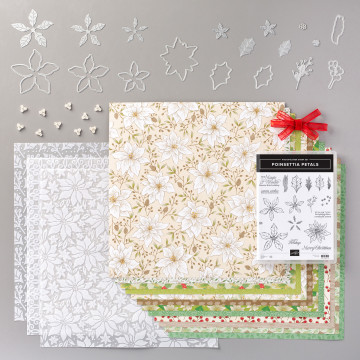
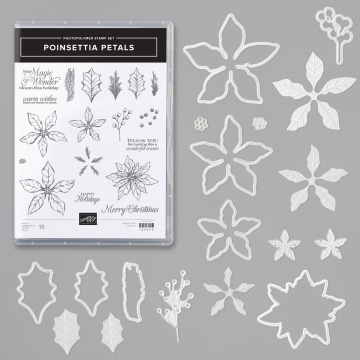
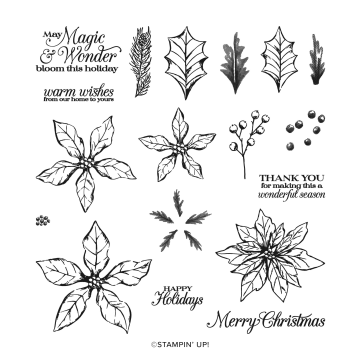
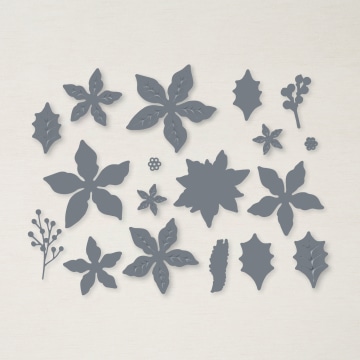
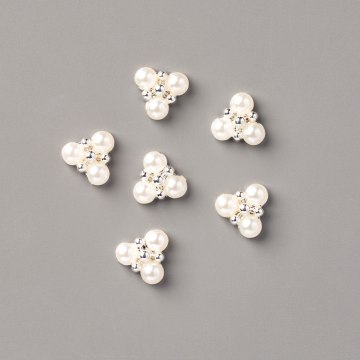
Special touches like the flocked vellum in the Plush Poinsettia Specialty Paper (#153486), the dazzling Beaded Pearls (#153534), and the elegant Real Red Sheer Ribbon (#153535) make this suite stand out and shine. I also love that the Poinsettia Dies (#153522) have duplicates of several dies. That means when you stamp the layering poinsettia and leaf images from the coordinating Poinsettia Petals stamp set (#153475), you can save time by cutting out two of each at one time. We all love to save time!
From traditional colours to modern, monochrome elegance you'll be amazed at all the different styles you can create with this suite.
Below, I'm sharing a tutorial that combines a bit of rustic charm with elegant gold and embossed accents. I can't wait to see what you'll create with this gorgeous suite!
Escape the Ordinary...Come Create with Me

Sharon Davies
--------------------------------------------------
Poinsettia Petals Rustic Heat Embossed Card

Join my Email Newsletter List and receive my tutorials by email. With each mailing you will receive a picture of the finished project, a supply list, card layout, and a step-by-step tutorial.
SUPPLIES:
BUNDLE
Poinsettia Petals Bundle (#155148)
PAPER
Very Vanilla (#101650)
Crumb Cake (#120953)
Mossy Meadow (#133676)
Merry Merlot (#146979)
Gilded Autumn Specialty Designer Series Paper (#153520)
Brushed Metallic Cardstock (#153524)
INK
VersaMark Pad (#102283)
Mossy Meadow (#147111)
TOOLS
Heat Tool (#129053)
Paper Snips (#103579)
ADHESIVE
Stampin’ Dimensionals (#104430)
Stampin' SEAL (#152813)
Glue Dots (#103683)
EMBELLISHMENTS
Stampin’ Emboss Powder Clear (#109130 )
Stampin’ Emboss Powder White (#109132)
Wonder Of The Season Ribbon Combo Pack (#153537)
TIPS: Use the Scoring Tip of Take Your Pick Tool (#144107) to hold cardstock in place when heat embossing to avoid burning your fingers or smudging the image.
Coordinating Products


 VIEW OUR SUITES ONLINE
DOWNLOAD OUR LATEST CATALOGUE



.heic)


