
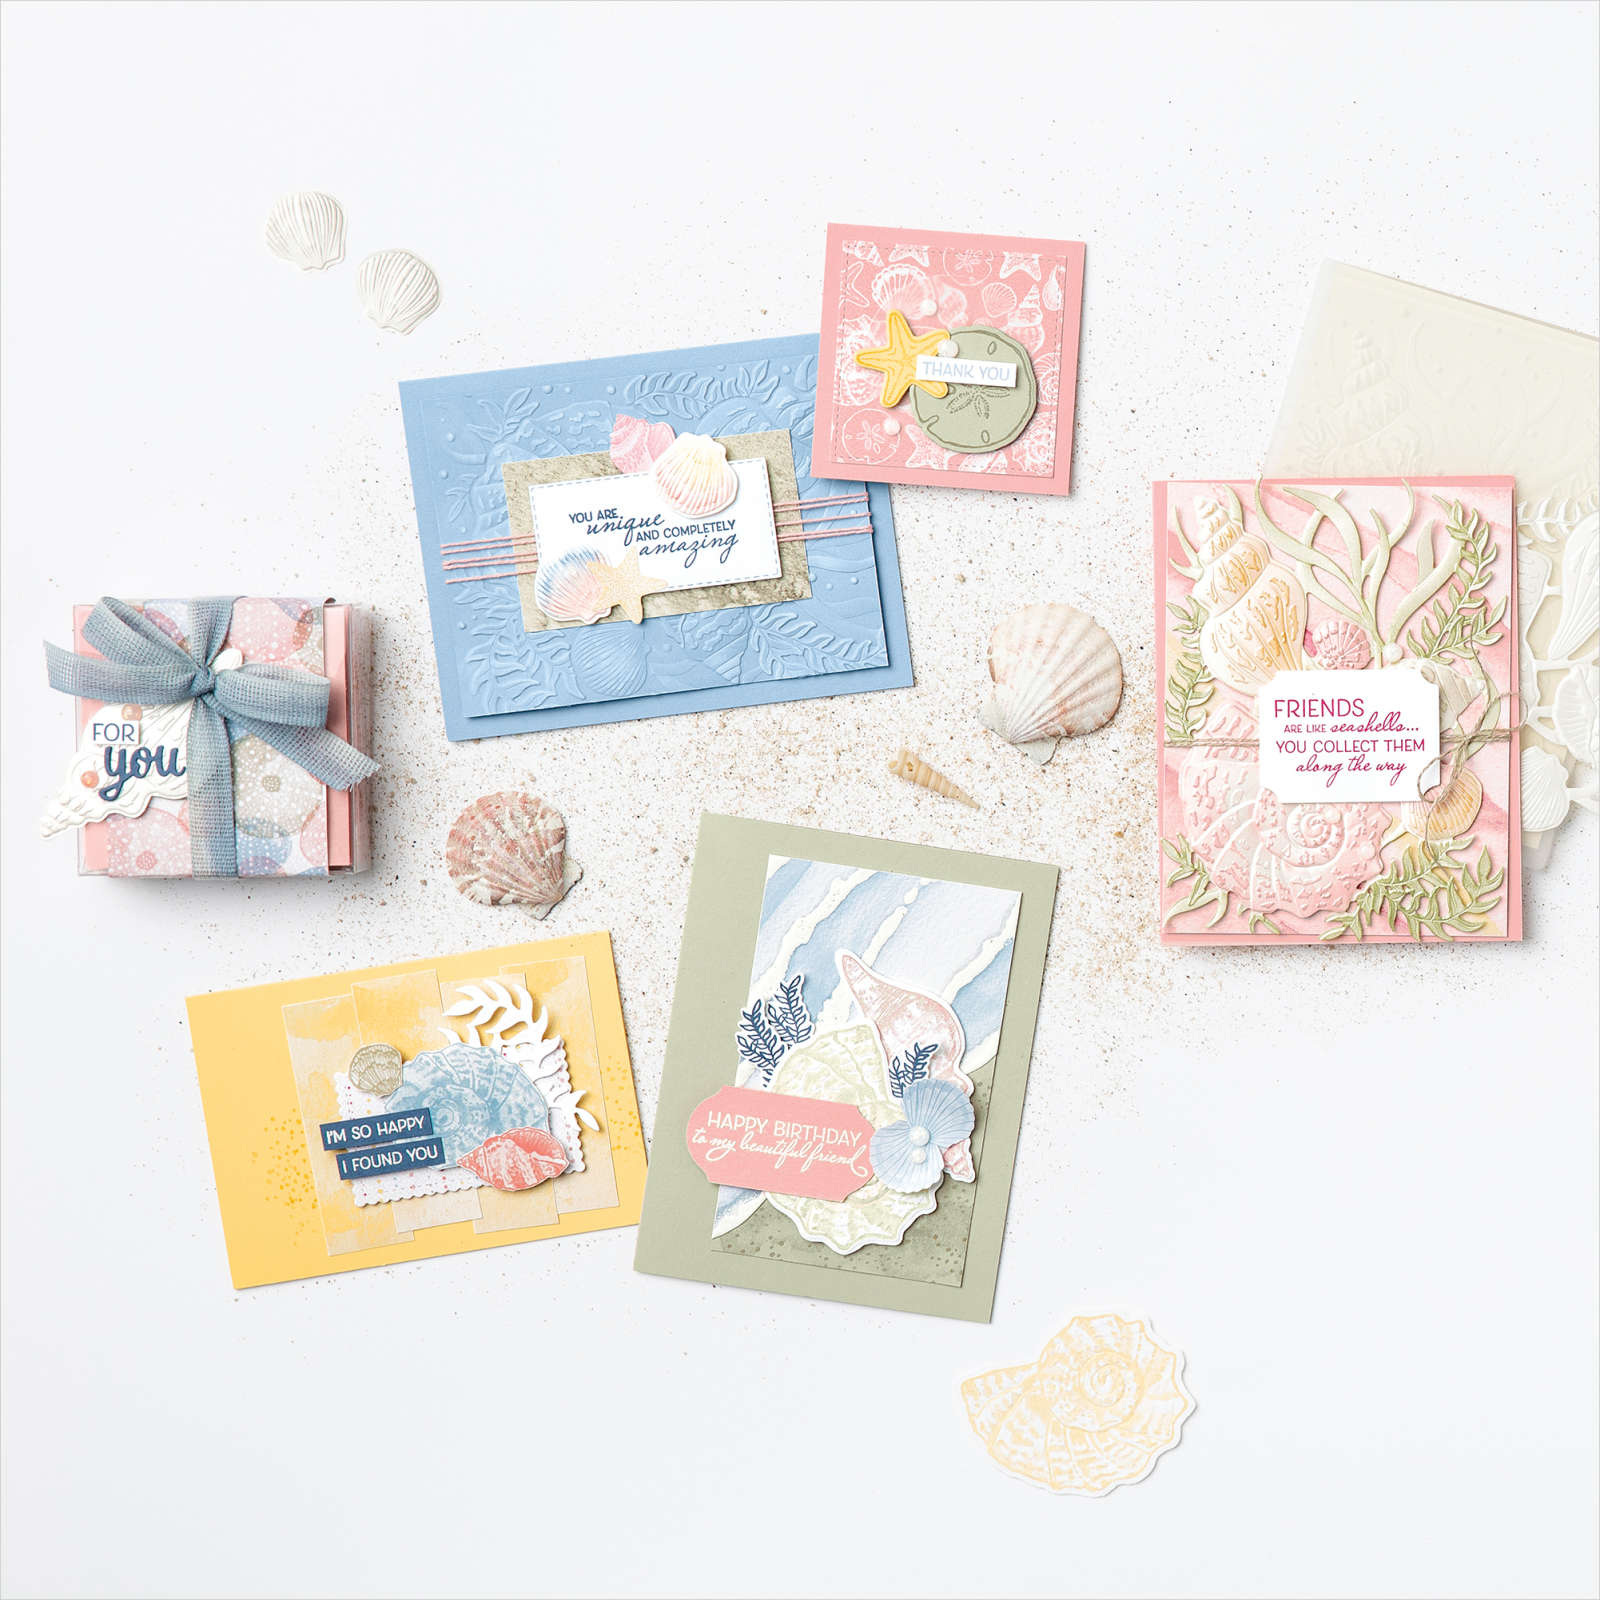
 Sand and Sea Suite
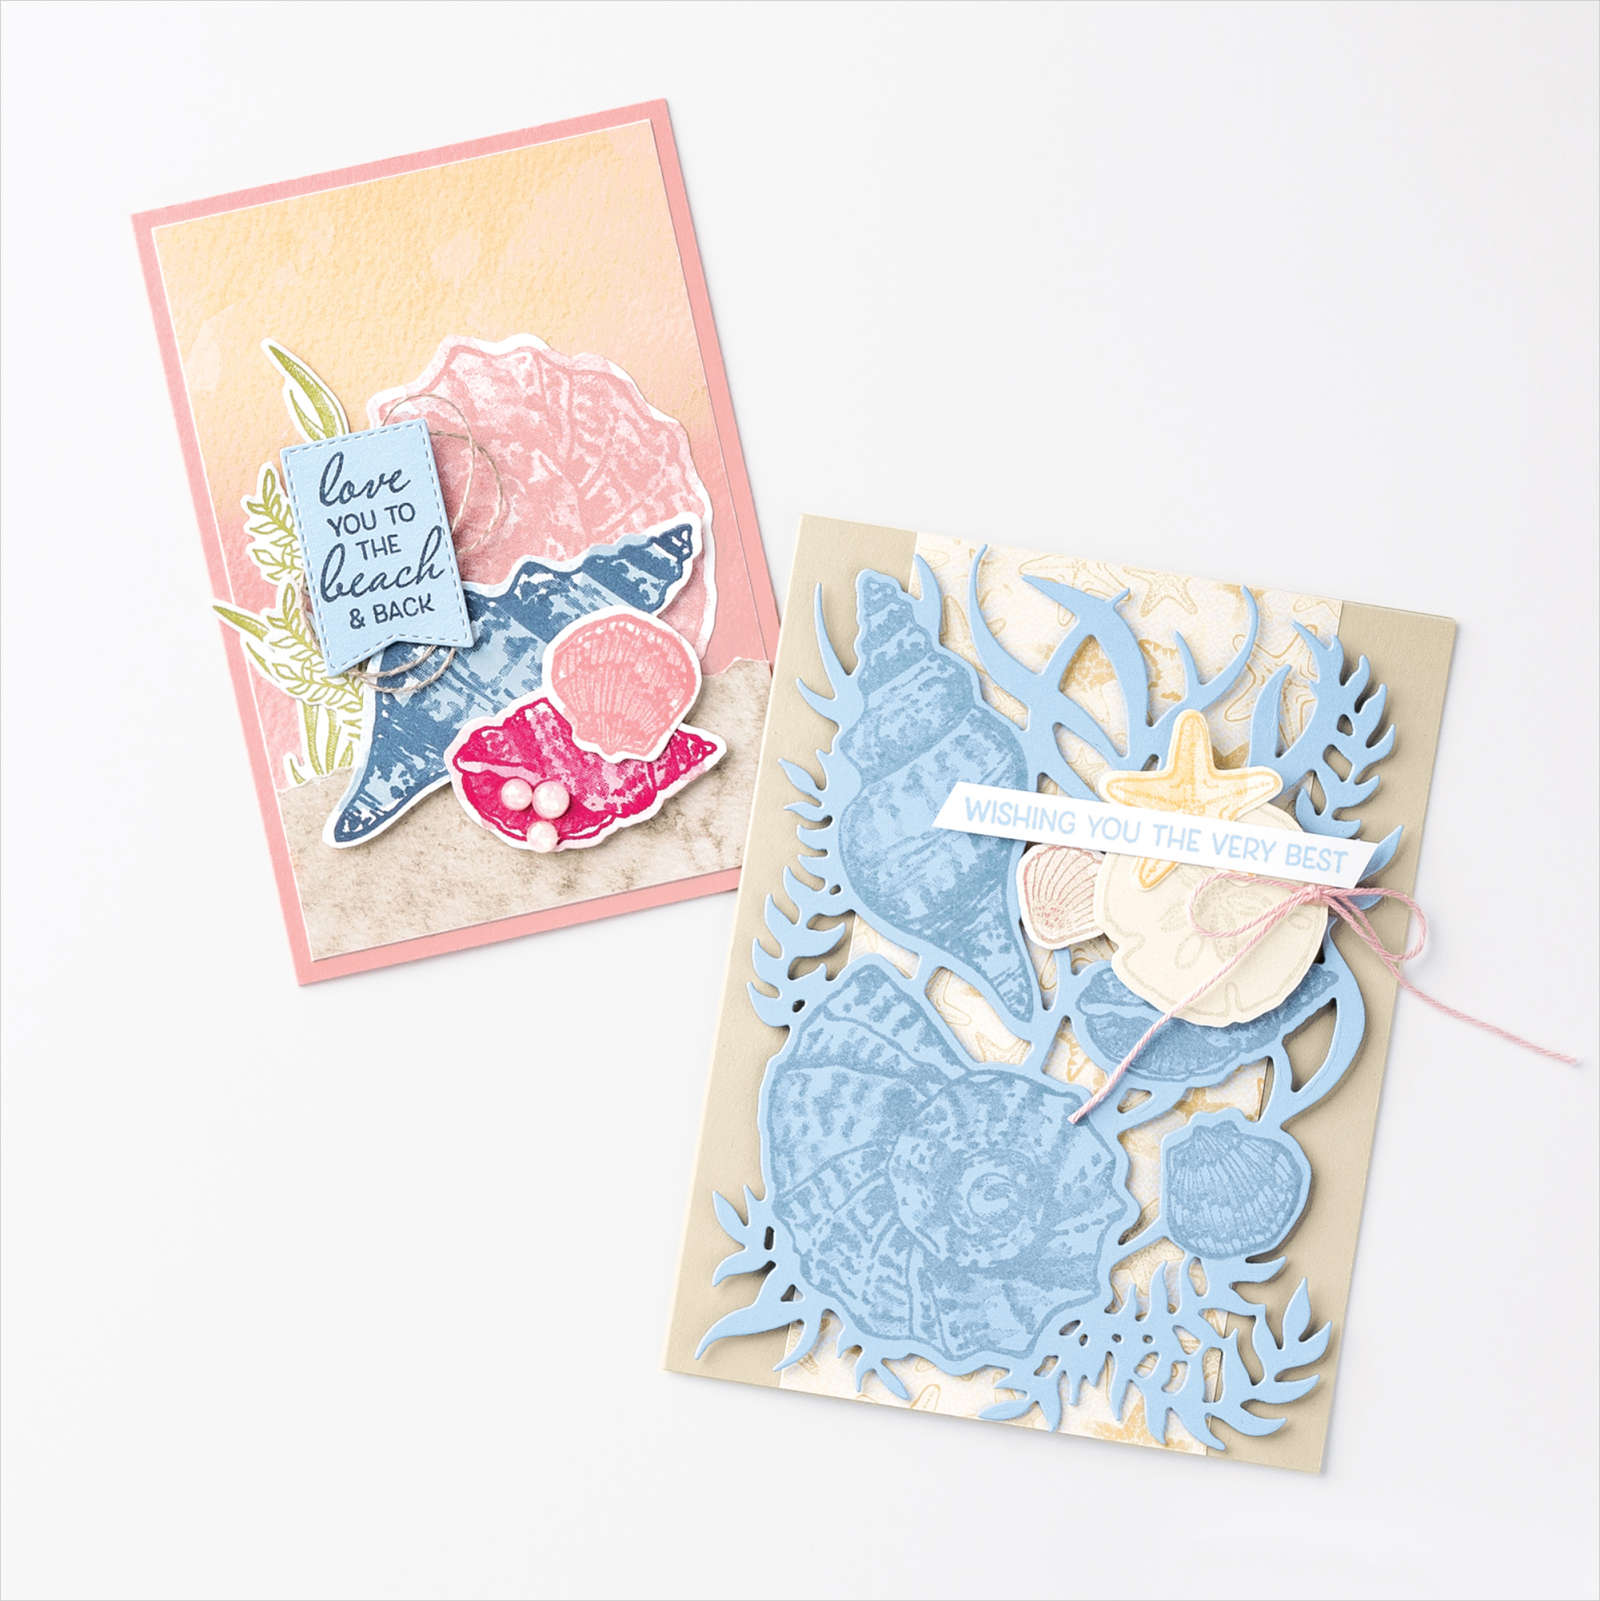
Bring on the beach! Even when the seashore is far away, you can make it feel like a beach holiday with the Sand & Sea Suite. Whether you are chasing away winter blues with a beachy card or reliving vacation fun with memory keeping, you'll love the ultimate coordination of the Sand & Sea Suite.
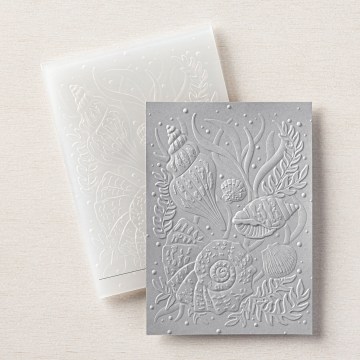
This suite is unlike any other! The largest die in the coordinating die set can create a card-front-sized focal design or background. It can also be snipped into smaller individual die cuts. All of which coordinate with stamp images. Plus, the Seashells 3D Embossing Folder can emboss the large die cut with incredible detail or it can be used to emboss the smaller coordinating images. This is next-level coordination that you've got to try to believe!
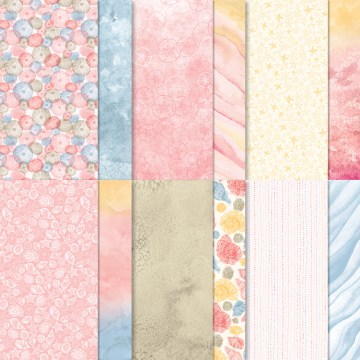
If that wasn't enough, there's a whole collection of gorgeous Designer Series Paper, sticker sheets, Pearlescent Specialty Paper, and Opal Rounds embellishments that will add luxurious luster to your Sand & Sea projects.
You'll love letting your creativity set sail with the Sand & Sea Suite!
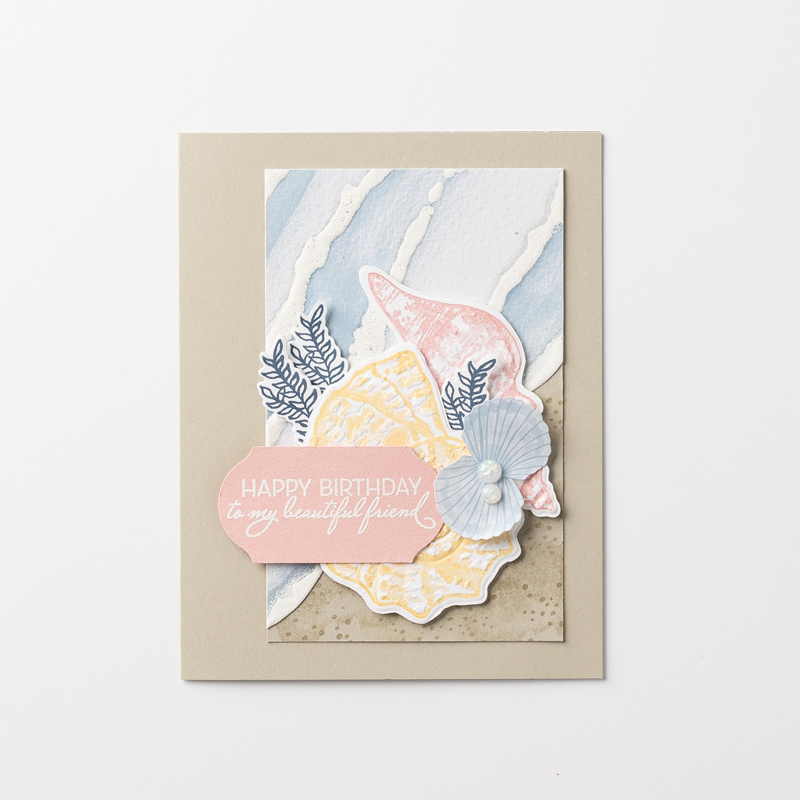
The tutorial below shows a technique that's a fun twist on the traditional heat embossing. Enjoy creating this beautiful card stacked with detail and texture.
Cheers
Sand and Sea Suite
Bring on the beach! Even when the seashore is far away, you can make it feel like a beach holiday with the Sand & Sea Suite. Whether you are chasing away winter blues with a beachy card or reliving vacation fun with memory keeping, you'll love the ultimate coordination of the Sand & Sea Suite.
This suite is unlike any other! The largest die in the coordinating die set can create a card-front-sized focal design or background. It can also be snipped into smaller individual die cuts. All of which coordinate with stamp images. Plus, the Seashells 3D Embossing Folder can emboss the large die cut with incredible detail or it can be used to emboss the smaller coordinating images. This is next-level coordination that you've got to try to believe!
If that wasn't enough, there's a whole collection of gorgeous Designer Series Paper, sticker sheets, Pearlescent Specialty Paper, and Opal Rounds embellishments that will add luxurious luster to your Sand & Sea projects.
You'll love letting your creativity set sail with the Sand & Sea Suite!
The tutorial below shows a technique that's a fun twist on the traditional heat embossing. Enjoy creating this beautiful card stacked with detail and texture.
CheersSharon Davies
Your Independent Stampin’UP! Demonstrator
-------------------------------------------------- Sand & Sea Card - Embossed 3 Ways Card
 Join my Email Newsletter List and receive my tutorials by email. With each mailing you will receive a picture of the finished project, a supply list, card layout, and a step-by-step tutorial.
SUPPLIES:
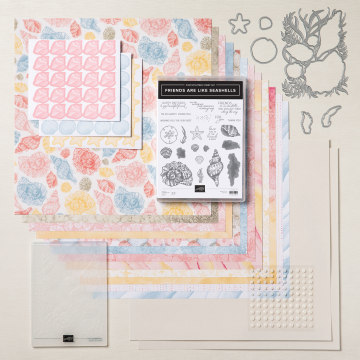
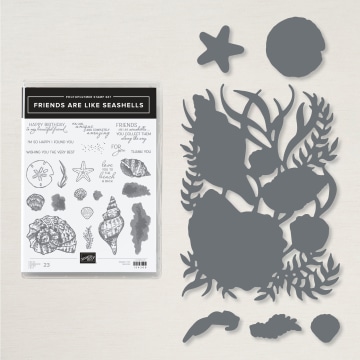
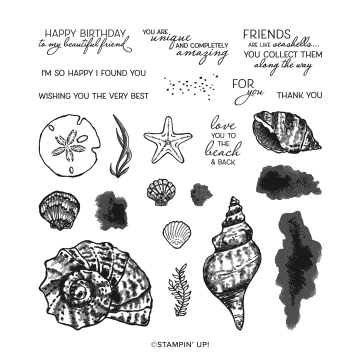
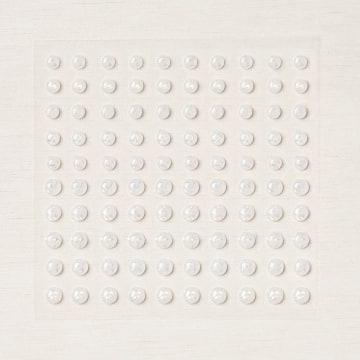
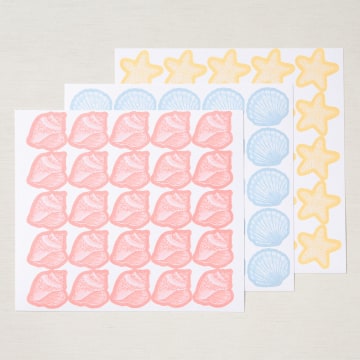
STAMPS Friends Are Like Seashells Photopolymer stamp set (#154368) PAPER Sahara Sand (#121043), Blushing Bride (#131198), Basic White (#159276), Sand & Sea Designer Series Paper (#154288) INK VersaMark Ink Refill (#102193), VersaMark Pad (#102283), Blushing Bride (#147100), So Saffron, (#147109), Sahara Sand Pad (#147117), Misty Moonlight (#153118) TOOLS Timeless Label Punch (#149516), Seashells 3D Embossing Folder (#154309), Seaside Seashells Dies (#156095), Heat Tool (#129053) ADHESIVES Glue Dots (#103683), Stampin’ Dimensionals (#104430), Stampin' SEAL (#152813) EMBELLISHMENTS White Stampin’ Emboss Powder (#109132), Opal Rounds (#154289), Seaside Shells Sticker Sheets (#154290) TIPS: Help die cut images stay in place when embossing with sticky notes. Use the sticky edge of a sticky note to hold the die cut shells pieces in place in the Seashells 3D Embossing Folder.Coordinating Products
 VIEW THE SUITE ONLINE
DOWNLOAD OUR LATEST CATALOGUE
VIEW THE SUITE ONLINE
DOWNLOAD OUR LATEST CATALOGUE
 center>


