Showing posts with label rococo rose. Show all posts

Tuesday, 6 April 2021

Beautiful Moments Thinking of You💕

              Beautiful Moments Thinking of You. 

I find it so relaxing when I water colour. I don’t have to worry about staying in the lines or your colours run together. Cause it really doesn’t matter.
That’s the beauty of water-colouring. Nobody will ever know if you messed up. Can you see my mess up on this card? It’s where the blue is on the dress. The black ink decided to run so I added a touch of blue. And I’m thinking it turned out gorgeous! What do you think?


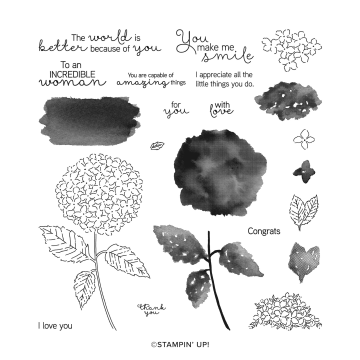
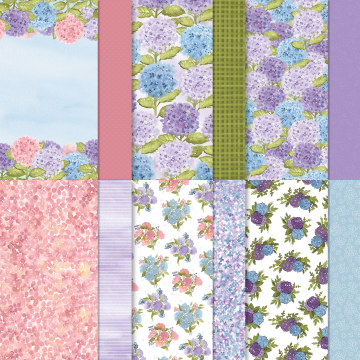
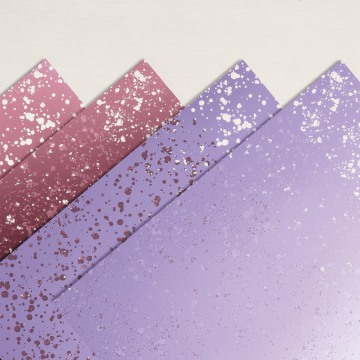
Here’s the bits and bobs that I used.
But by all means change it up. I would love to see your creations. Feel free to post them on Facebook.com/creatinwithsharon
When they’re completed.

Your card base is 8.5” x 5.5” scored at 4.25” and burnished. 
The DSP is 5.25” x 4”. This is adhered to the base. 
I also have a piece card stock that matches your card base and that’s 2.5”x 4.5” 
The shimmering card stock is what you’ll stamp your image on and it’s 2.25”x 4.25”.
You’ll ink up you image using Stazon ink. And then colour the image using the water colour pencils. 
Once you’re happy with the colouring adhere it to the card stock that’s matches your card base. Glue together and add dimensionals to the backside and add to you card base. 
With scraps of basic white stamped sentiment and punch out with the double oval punch. And with a scrap of Rococo Rose punch out with the larger of the double oval punch.
You want to adhere them together using dimensional’s. And add to your card. 

Hoping you enjoyed the making of this card.
Thank you so much fo stopping by.

Stay safe and healthy.

Cheers 🍻 

Sharon
XOXO 
 

Continue Reading
No comments
Share:

Wednesday, 31 March 2021

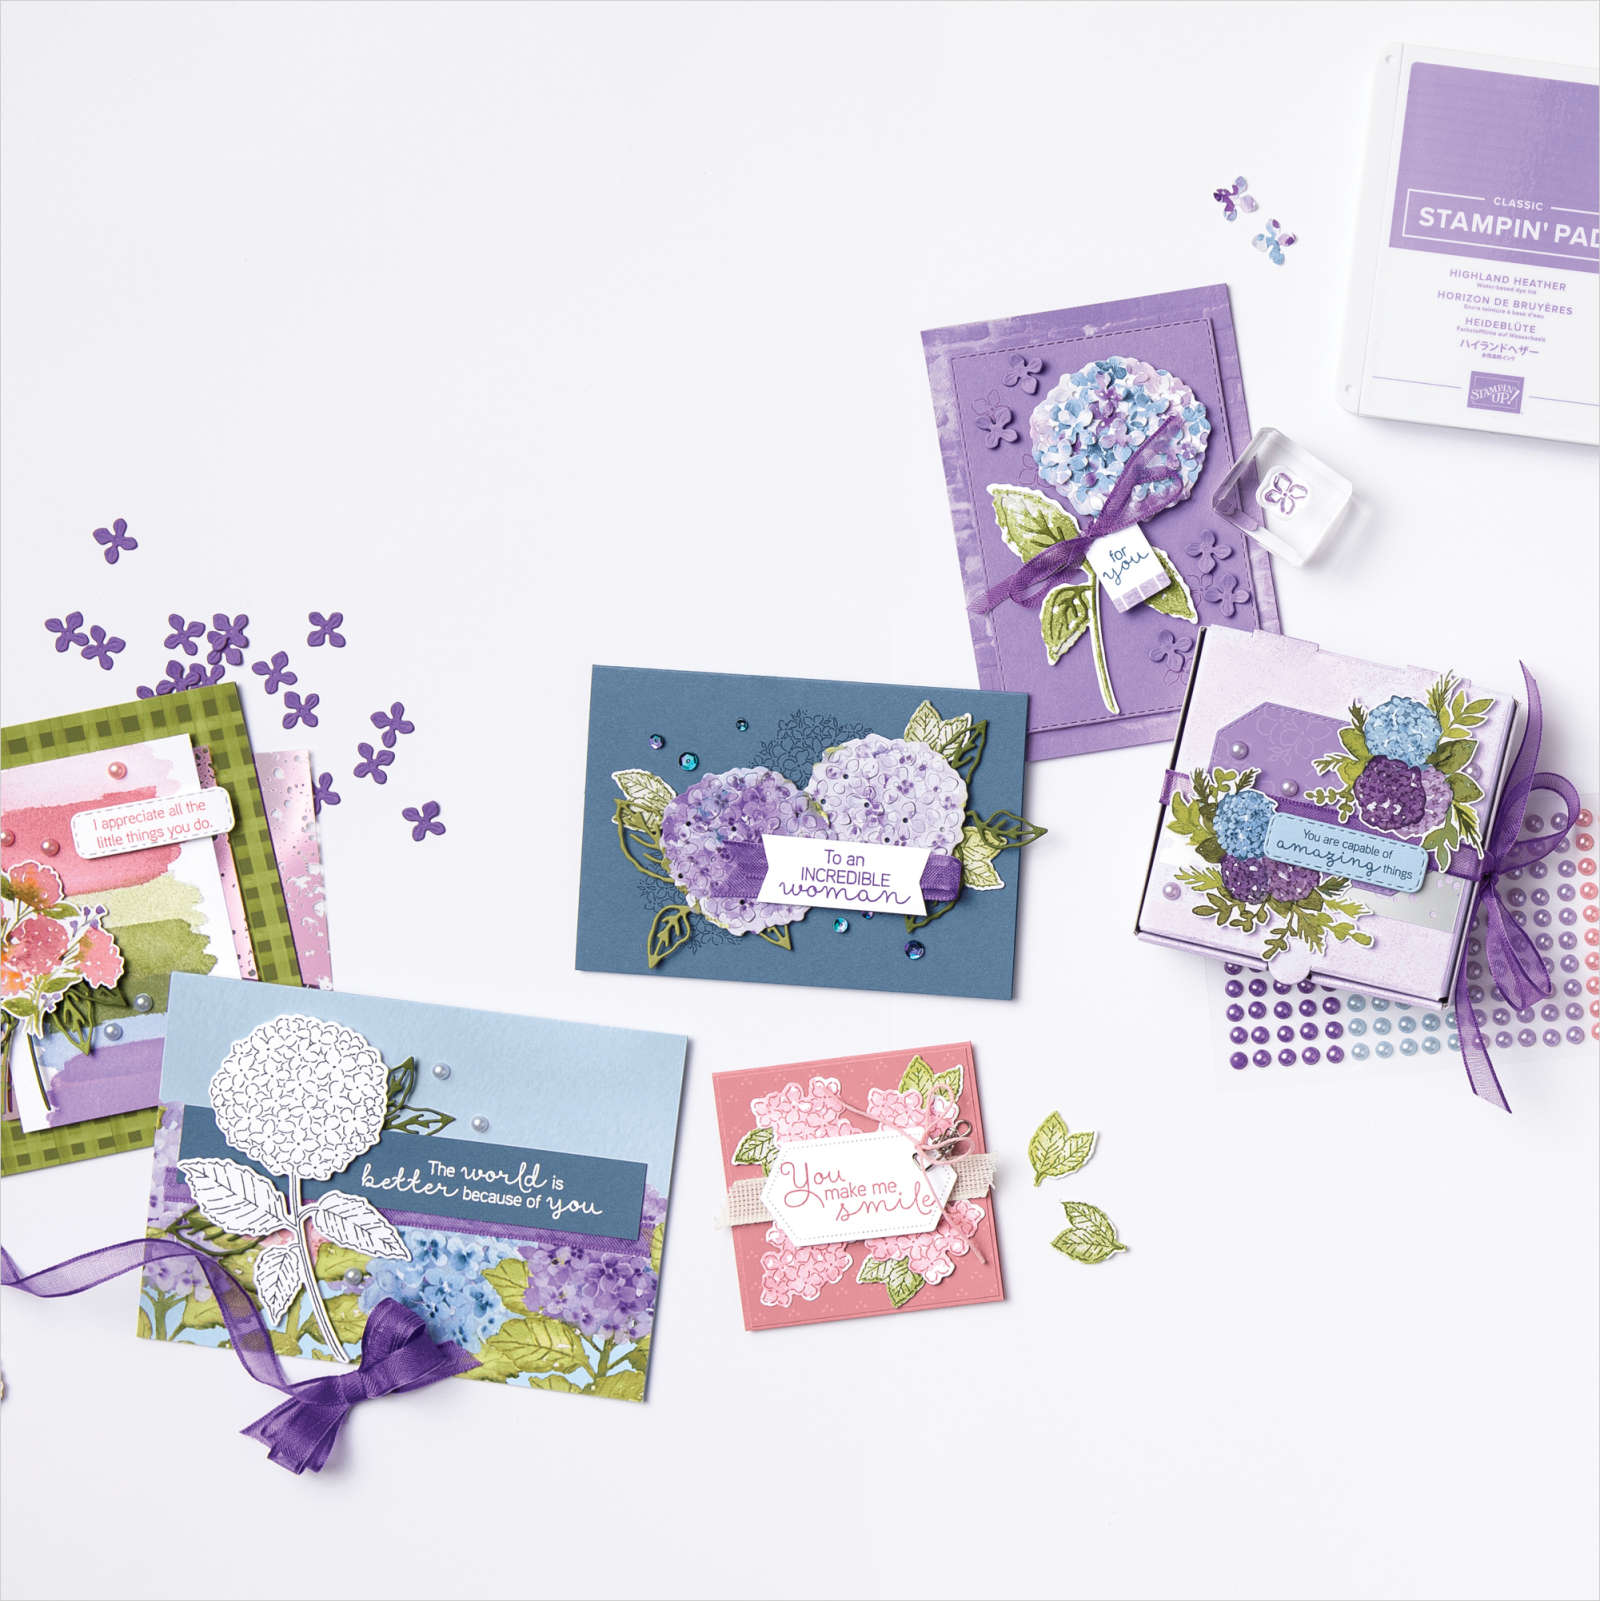
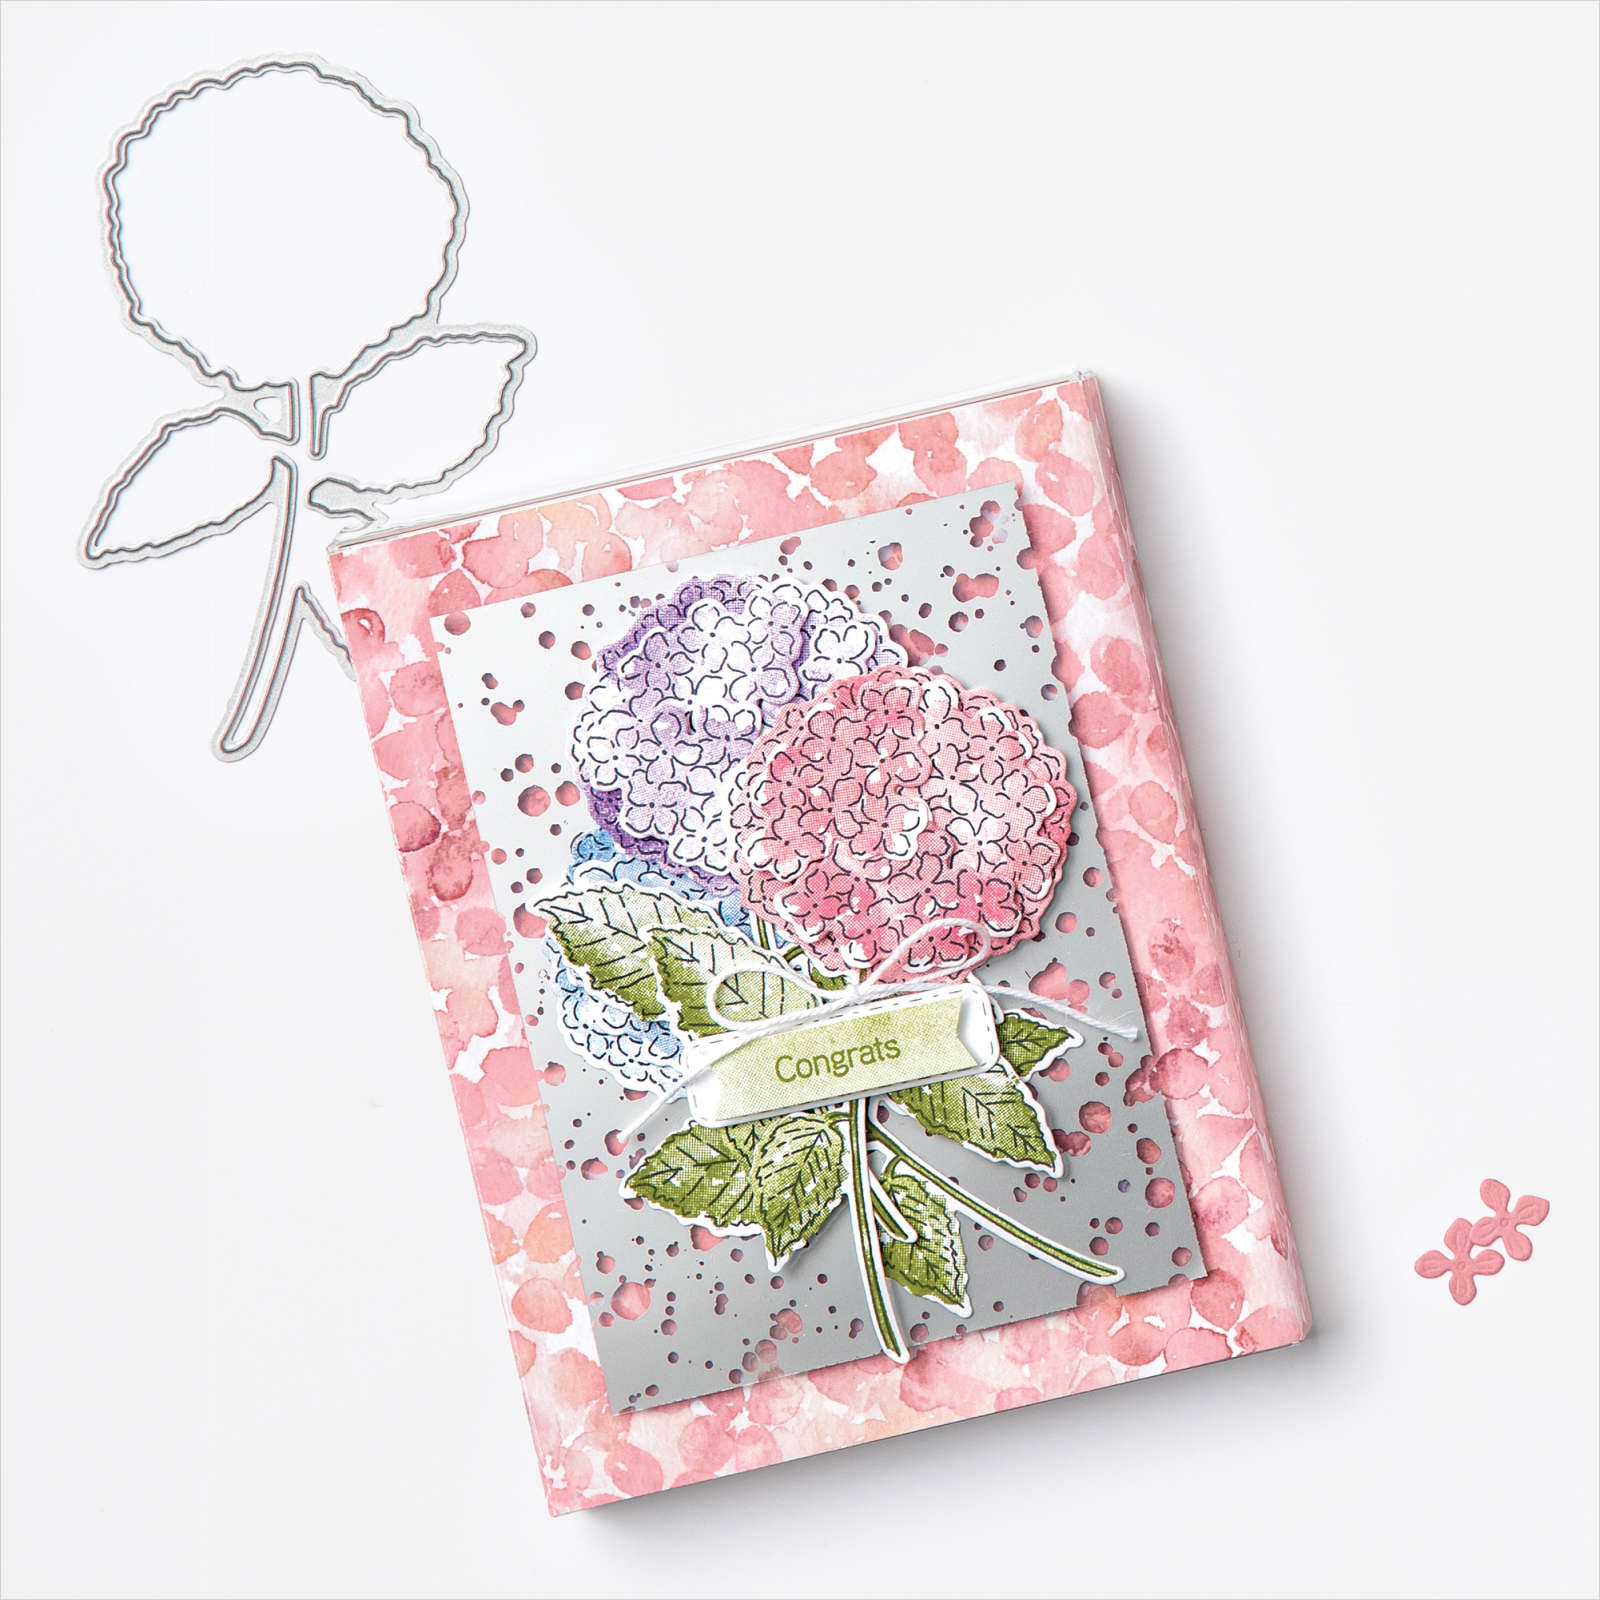
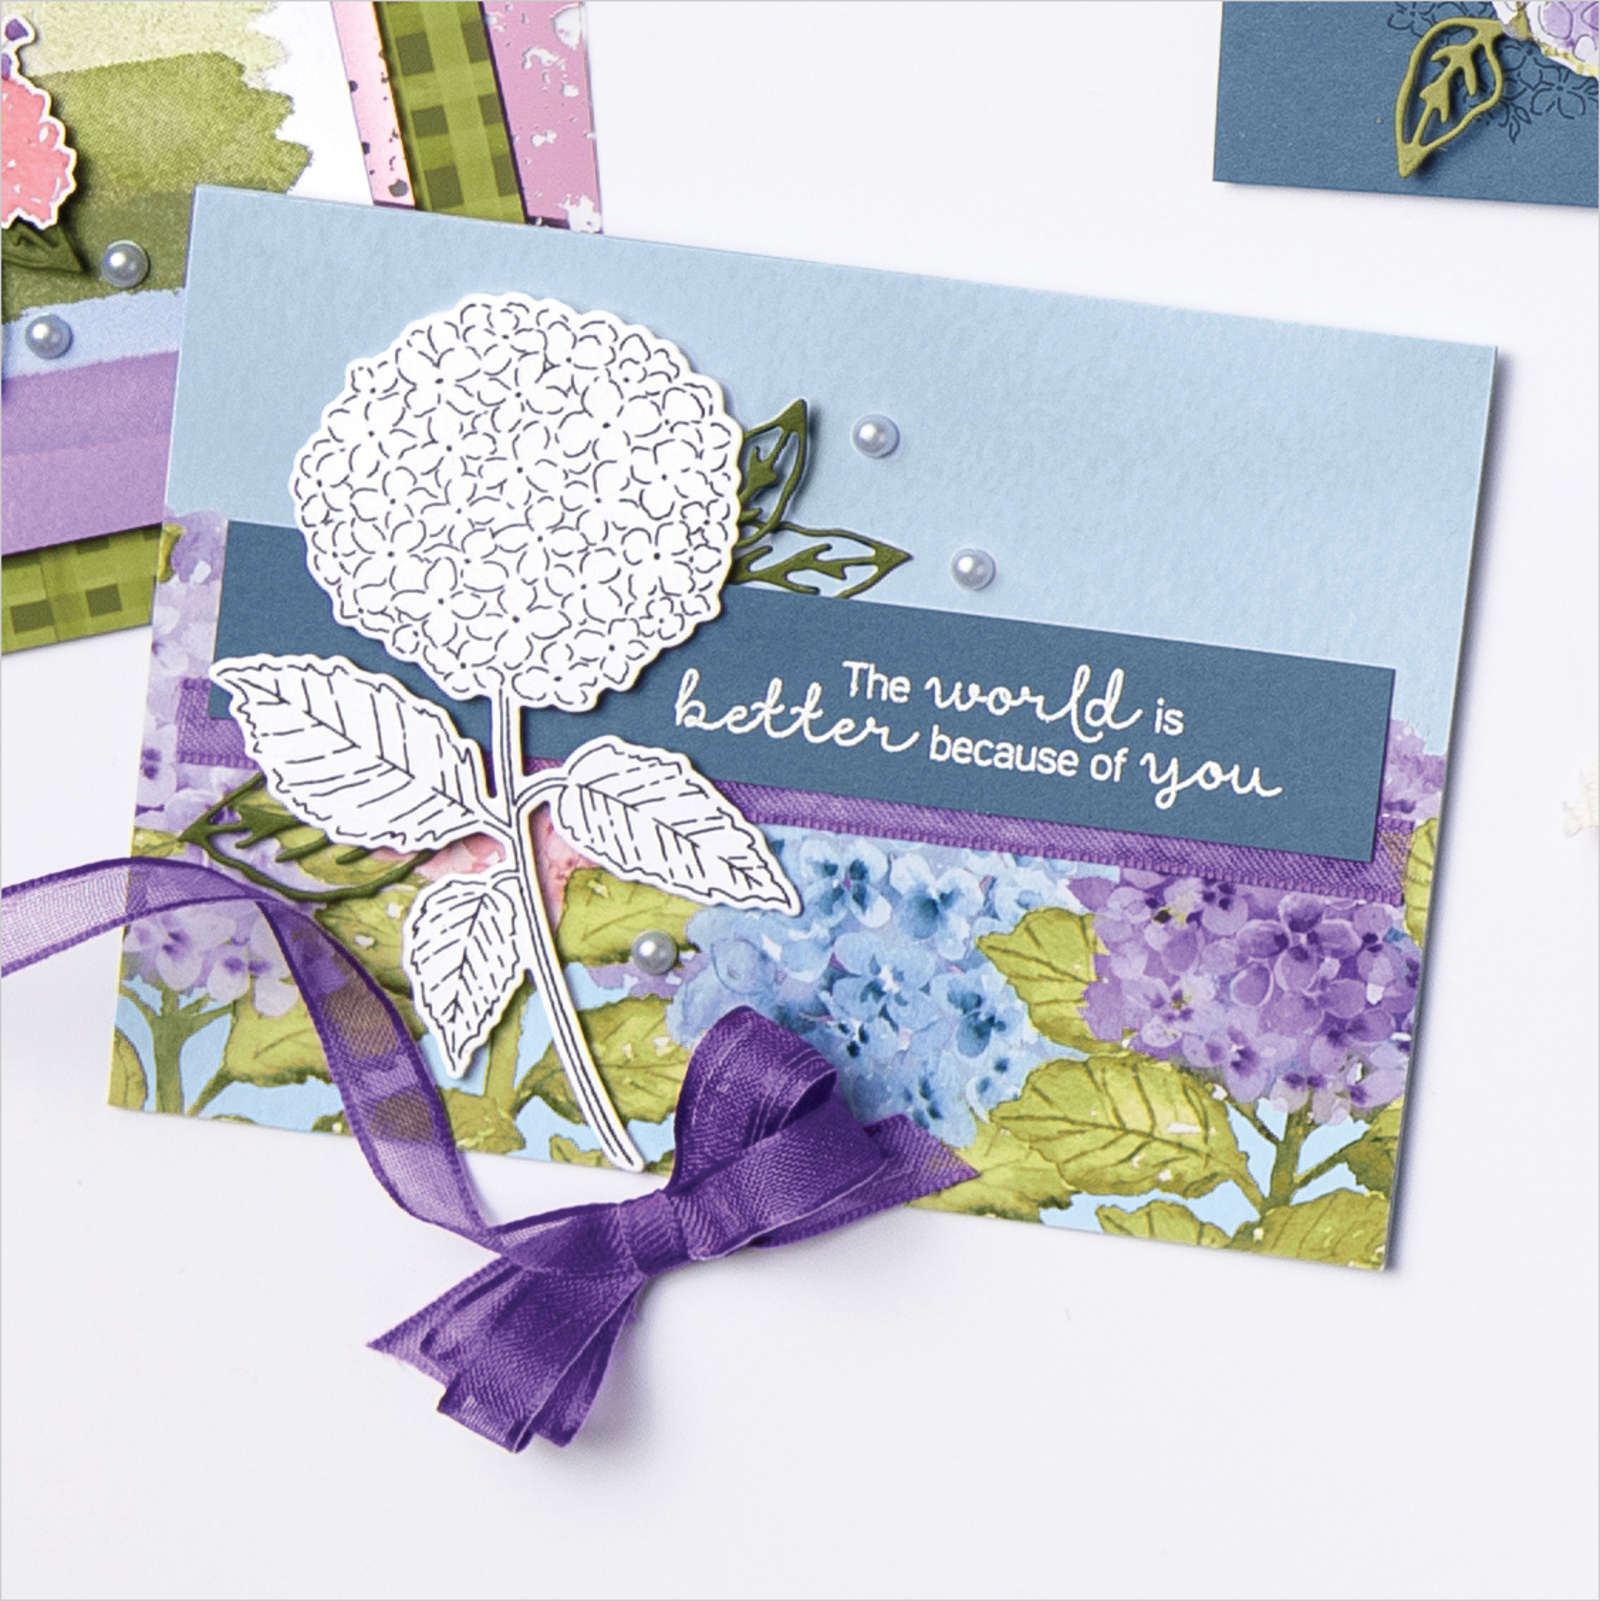
The Annual Catalogue Inspiration Hydrangea Hill Suite Hydrangeas represent gratitude, grace, abundance, and beauty. The Hydrangea Hill Suite makes it simple to add the beauty and grace of hydrangea flowers to your Spring projects of all kinds. The two-step style of this set makes it quick and easy to create simple stamped cards that wow. Add in the coordinating dies, paper, and embellishments from this suite and you can step it up and let your creative style bloom abundantly! Cheers

Sharon Davies
Your Independent Stampin’UP!  Demonstrator 
-------------------------------------------------- Hydrangea Hill Card/Gift Box Hydrangea Hill Card/Gift Box Join my Email Newsletter List and receive my tutorials by email. With each mailing you will receive a picture of the finished project, a supply list, card layout, and a step-by-step tutorial.

SUPPLIES:

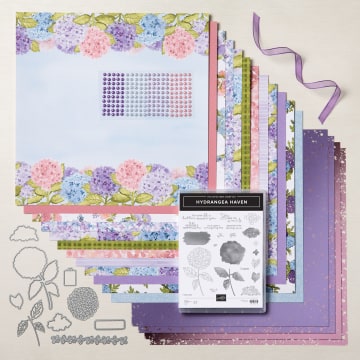
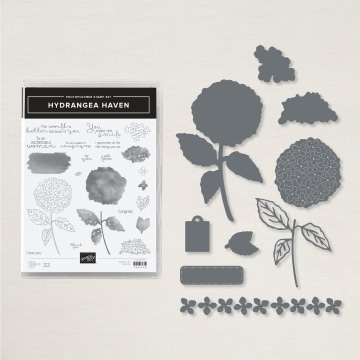
BUNDLE Hydrangea Haven stamp & dies bundle (#156251) STAMPS Hydrangea Haven Photopolymer Stamp Set (#154470) PAPER Hydrangea Hill Designer Series Paper (#154570), Hydrangea Hill Mercury Glass Designer Acetate (#154574), Basic White (#159276) INK Tuxedo Black Memento (#132708), Old Olive (# 147090), Highland Heather (#147103), Rococo Rose (#150080), Seaside Spray (#150085) TOOLS Hydrangea Dies (#154326), Stamping Sponges (#141337) or Sponge Daubers (#133773) ADHESIVES Glue Dots (#103683), Stampin’ Dimensionals (#104430), Tear & Tape Adhesive (#138995) or Stampin' SEAL+ (#149699) EMBELLISHMENTS Acetate Card Boxes (#144628), Snail Mail Twine Combo Pack (#154579)

Coordinating Products

  January-June Mini Catalogue - Hydrangea Hill Suite January-June Mini Catalogue - Hydrangea Hill Suite January-June Mini Catalogue - Hydrangea Hill Suite January-June Mini Catalogue - Hydrangea Hill Suite January-June Mini Catalogue - Hydrangea Hill Suite January-June Mini Catalogue - Hydrangea Hill Suite January-June Mini Catalogue - Hydrangea Hill Suite January-June Mini Catalogue - Hydrangea Hill Suite   Hydrangea Hill Suite VIEW THE SUITE ONLINE DOWNLOAD OUR LATEST CATALOGUE January - June Mini Catalogue

Continue Reading
No comments
Share:

Tuesday, 30 March 2021

An A Line Wrapped Bouquet Card

                                                              An A Line Wrapped Bouquet 

When I first saw this card sketch I thought it was so hard to do. So I watched a few videos and I got it down pat. And it seems pretty super simple now. There’s so many ways that you could decorate this to suit any occasion. Also a good way to use up the DSP. As it  only takes a 5”x 4” piece.


Measurements…

  • Whisper White Cardstock
    • 8-1/2” x 5-1/2” scored at 4-1/4” and folded in half
    • Scrap for stamping 
  • Flowers for Every Season you’re going to need two pieces 
    • 5” x 4”

The how to’s 

  • With a ruler Mark the bottom front of the folded horizontal Whisper White card base at 2-3/4″. Mark each of the sides of the front of the card at 2-1/4”
  • With your trimmer and the scoring blade. Connect the 2-3/4″ mark to each of the upper corners. Now connect each of the 2-1/4” marks to the 2 3/4” mark. Repeat this on both sides.
  • With the Fold the outer score lines forward. Then fold the inner score lines backward to create the arrow. Use a Bone Folder to make the crease lines crisp. Use Multipurpose Liquid Glue to adhere the folded over sections of the arrow in place.
  • I would definitely watch the Live again to see how I’ve folded.
  • Mark the bottom of the Flowers for Every Season DSP  in the middle at 2-1/2” on both pieces.  Cut from this point diagonally to each of the top corners to make three triangular pieces.  You’ll use one piece of the DSP for the front to the card and only the larger of the second for the inside of the card. (check out the below photo) 
  • I didn’t like the way it looked on the inside so I thought I’d hide it by putting a piece of designer series paper to cover it.
  • Adhere these to the card.

Here’s the Stampin’Up! products I used. 
If you have any questions please let me know. 
Stay safe and healthy. 

Cheers 🍻 

Sharon 
XOXO


Continue Reading
No comments
Share:

Wednesday, 21 October 2020

Rococo Rose Meets Copper Foil

Rococo Rose Meets Copper Foil
So what do you think of the colour combo? It’s not your traditional Christmas colours but I love it. 
With this card we have a little of everything. I had done some embossing, die cutting, punching with a punch and water colouring. Watercolouring is one of my favourite techniques to do. I find it soooo relaxing. There’s also a few different textures on this card. We have card stock, Vellum, Some foil, and of course a little bit of bling! Every card needs a little bit of bling wouldn’t you agree! 


Now for the bits and bobs.

Please note that all measurements are in inches.

-Card base which is 8 1/2“ x 5 1/2“. Scored on the 8 1/2 inch side at 4 1/4inches.

-First layer is Whisper White 5“ x 3.75” embossed with the scripty embossing folder. 

-Rocco Rose cut 2“ x 4“ rip all the way around the circumference of it. With your Subtle embossing folder and run  through your embossing machine.

-With a piece of Vellum and the leaves from the Christmas Layers dies run them through your die cutting machine.

 -Punch out a tree from the Copper Foil with the Pine Tree punch. Now place the Tree into the Hammered Metal 3D folder, backwards. 

-Let’s work on the poinsettia. With the full Poinsettia from the set. Stamp it in Rocco Rose ink onto your shimmer paper. 

-Now comes the fun part. Watercolouring! With your water painters, you want to colour the poinsettia with  Rococo Rose ink. I started with colouring the whole Poinsettia letting it dry. Then starting with the center and moving out to the edges of the Poinsettia. 

-Now let’s put it together. 

-Scripty  embossed piece onto your card base. 

-Adhere the Rococo rose piece onto the  card using your favourite adhesive. 
-With glue dots on the back of the vellum leaves and add to the Rococo Rose piece. 

-Add dimensional’s to the back of the Poinsettia and tree. 

-Placed the Poinsettia onto the card along with your tree.

-Finish off the card by adding a little bling with the Champagne Rhinestones. 

Wahoo! Another card for your Christmas Card Collection. 

Think that your well on you way with you Christmas Cards. And it’s only October! 

Hoping you have a fantastic day. Stay safe.

Cheers 🍻
Sharon

Product List

Continue Reading
No comments
Share: