

Create an adorable card to make anyone smile! This super cute bunny is the focal point of this pretty card. This is a fun project if you love to use our Stampin' Blends to color.
All images © 1990-2023 Stampin’ Up!®
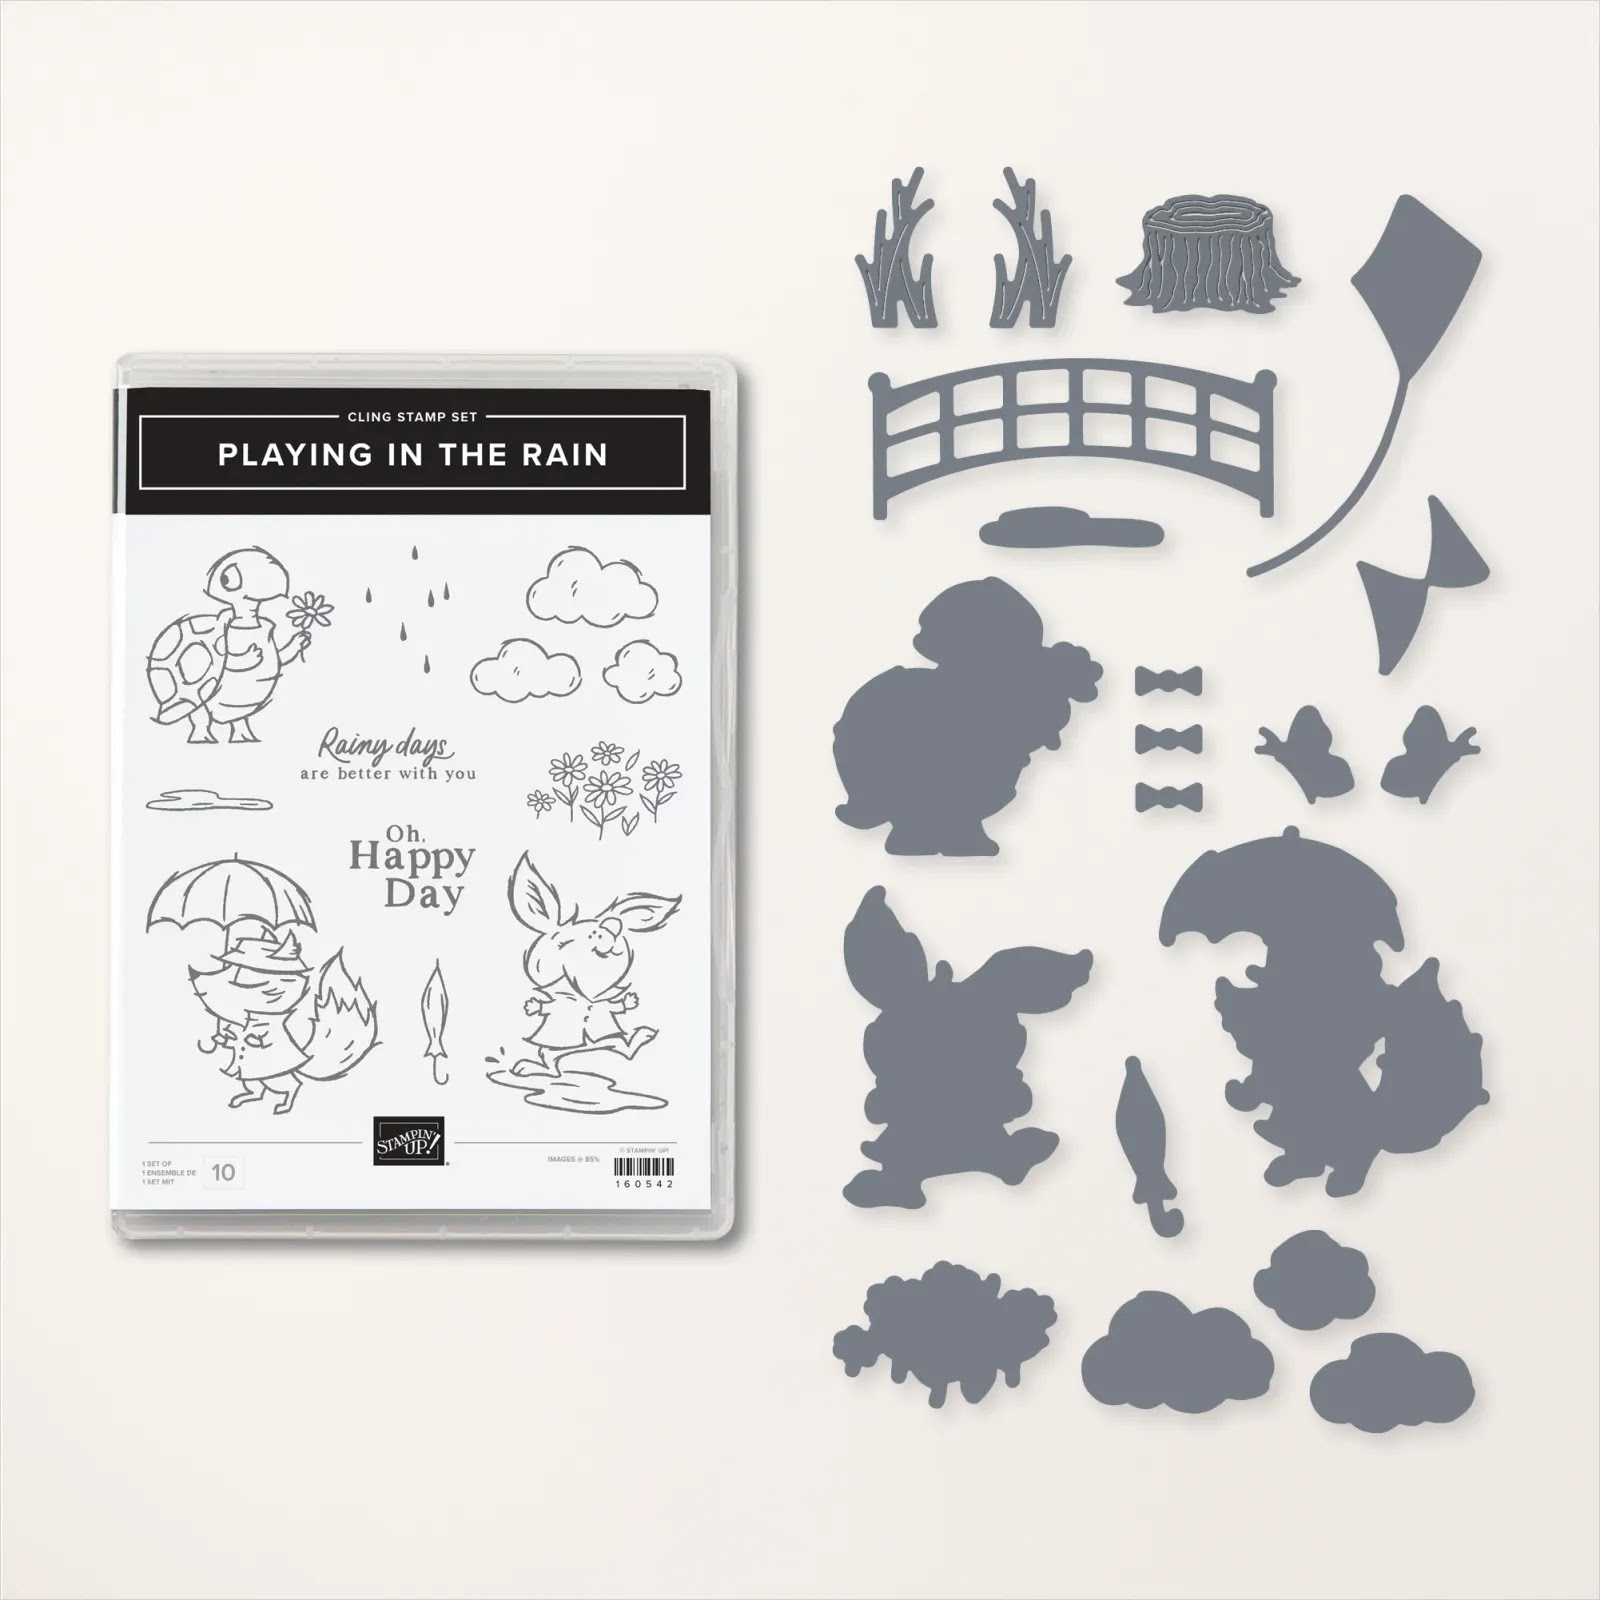
Playing in the Rain Bundle
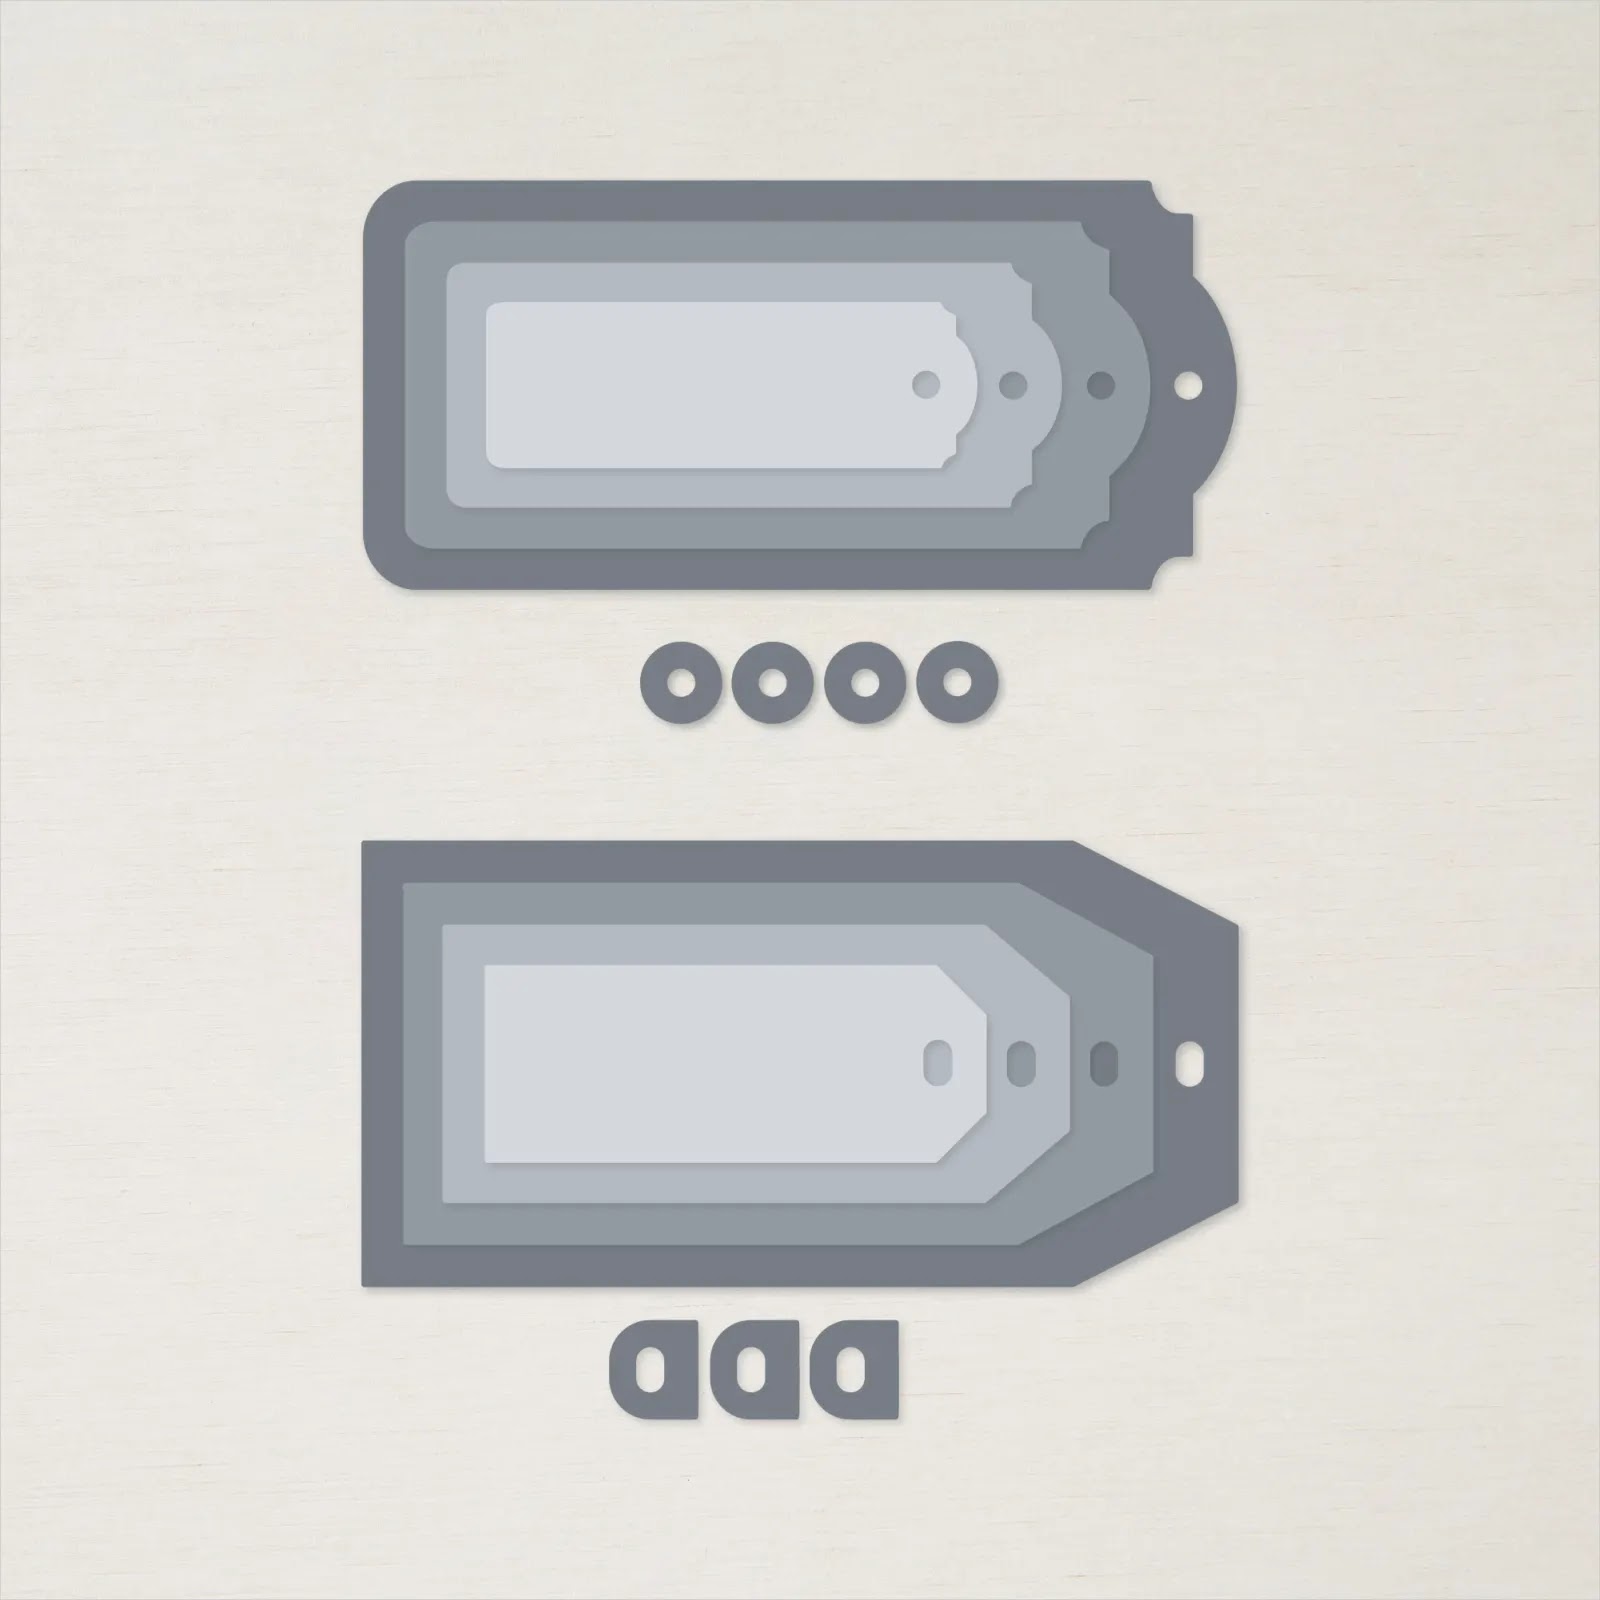
Tailor Made Dies
Measurements:
Flirty Flamingo card stock: 5 ½” x 8 ½”, scored at 4 ¼”Basic White card stock: 4” x 5 ¼” (cut 3)
DSP of your choice containing Flirty Flamingo: 4” x 6”
DSP of your choice containing Raindrop pattern (or similar): 3” x 3”
Ribbon: 6” (cut 2)
Instructions:
- Cut the 4” x 6” Flirty Flamingo DSP into a 4” x 5” piece and a 1” piece. Then trim one side of the 4” x 5” to make it 3 ¾” x 5”.
- Using Tuxedo Black ink to stamp rabbit, sentiment, two flower bunches and two umbrellas on one of the 4” x 5 ¼” Basic White pieces. NOTE: If you can get all images stamped while leaving at least ¼” around the outside edges, you can use this piece as your front matting.
- Color all images using Stampin' Blends. For the umbrella, color with the Light Flirty Flamingo and then color over with the Dark Pale Papaya. This will give you a color closer to the Mango Melody raindrops. Color the leaves using Dark Granny Apple Green Blends.
- Die cut all stamped images using the Playing in the Rain dies and the sentiment using the smallest Tailored Tag die.
- Die cut the raindrops DSP using the 2 ¾” Scallop Circle from the Layering Circles dies.
- Attach the flower bunches to the bottom left and top right of the Raindrops Scallop Circle.
- Attach flowers and Raindrops Scalloped Circle to the 3 ¾” x 5” Flirty Flamingo DSP using Multi Purpose Liquid Glue.
- Attach the 4” x 5 ¼” Flirty Flamingo DSP to the Basic White piece that you die cut the images from if you can use it. If not, use one of the other 4” x 5 ¼” Basic White pieces. Attach to front of card.
- Color one 6” piece of the seam binding ribbon using the Light Flirty Flamingo Blends Marker and repeat with the Dark Pale Papaya Blends Marker. Thread it through the tag and tie a bow.
- Attach tag to front of card.
- Take one large loose flower and color the center using Dark Pale Papaya Blends and the petals using the Dark Flirty Flamingo Blends. Repeat color several times to get a dark color. Attach to tag using Multipurpose Liquid Glue.
- Using Stampin' Dimensionals and Mini Dimensionals, attach the rabbit to the Scalloped Circle and the umbrella using a Mini Dimensional at the bottom and one which is cut in half and stacked at the top of the umbrella.
- Color the second 6” piece of Seam Binding Ribbon using the Dark Flirty Flamingo Blends. Tie in a bow and adhere at the top of the DSP.
- Using Multipurpose Liquid Glue and attach the umbrella.
- Attach the 1” x 4” Flirty Flamingo DSP to the 4” x 5 ¼” Basic White piece and adhere to the inside of the card.
Product List
 |  |  |  | ||
 | |||||
 |  |
")

 Crinkled Seam Binding Ribbon")


.jpeg)
.jpeg)


No comments:
Post a Comment