
A Classic Canadian card.
Nothing says Canadian then a little bit of plain and a Moose, right!
This weeks card we’ll be using the Merry Moose Bundle and the Best Plaid Builder Dies.
And add a little texture with the Evergreen Forest 3D embossing folder.

Here’s the Bits and Bobs for this card
Your Real Red Card Base is 5 1/2“ x 8 1/2“ scored on the
8 1/2” side at 4 1/4 “. Then with a piece of Whisper White card stock, that’s cut at 5 1/2 x 4 1/4“ and with the larger square die from the Best Plaid Builder Die. Place them together and run them through your Diecut machine.
With the other Square die from the Best Plaid Builder Die set and a piece of Basic Black Card Stock that’s cut 5 1/2“ x 4 1/4“. Place these two together and run them through your diecut machine. With your adhesive (I used a liquid adhesive) lightly run it around the whisper white diecut piece and adhere it onto the Real Red card base. Once that’s done take the Basic Black die cut piece and glue it on top of the whisper white. Again, use a liquid adhesive because it gives you a little give put your pieces into place.
With the small trees from the In The Pines, stamp them in the Memento ink and onto left hand side of a piece of 1 1/2“ x 5 1/2“ Old Olive card stock. Let’s add a little dimension to your card. Take the Evergreen Forest Embossing folder and the Old Olive piece through your die cut machine. Once you’ve embossed this piece, added to your card. Place it in the centre of the plaid.
It’s time to add the sentiment.
Take a piece of scrap Whisper White and the largest oval die from with Stitched Shaped dies. And run them through your die cutting machine. Stamp the little trees to the left and your sentiment above them. Add a few dimensions on the backside and adhere it onto the card. Be sure to line up the trees up with the trees on the piece of Old Olive.
Grab a scape piece of Basic Black card stock and the Merry Moose pouch. And punch yourself a moose. Cut a 6 inch piece of ribbon for the scarf and tied it around the neck of the moose. I just tied a knot. Add a few dimensions to the backside of the Moose and adhere him onto the card.
Tata your done. Isn’t the Card the cutest!
Oh, we need to finish the inside of the card, don’t we!
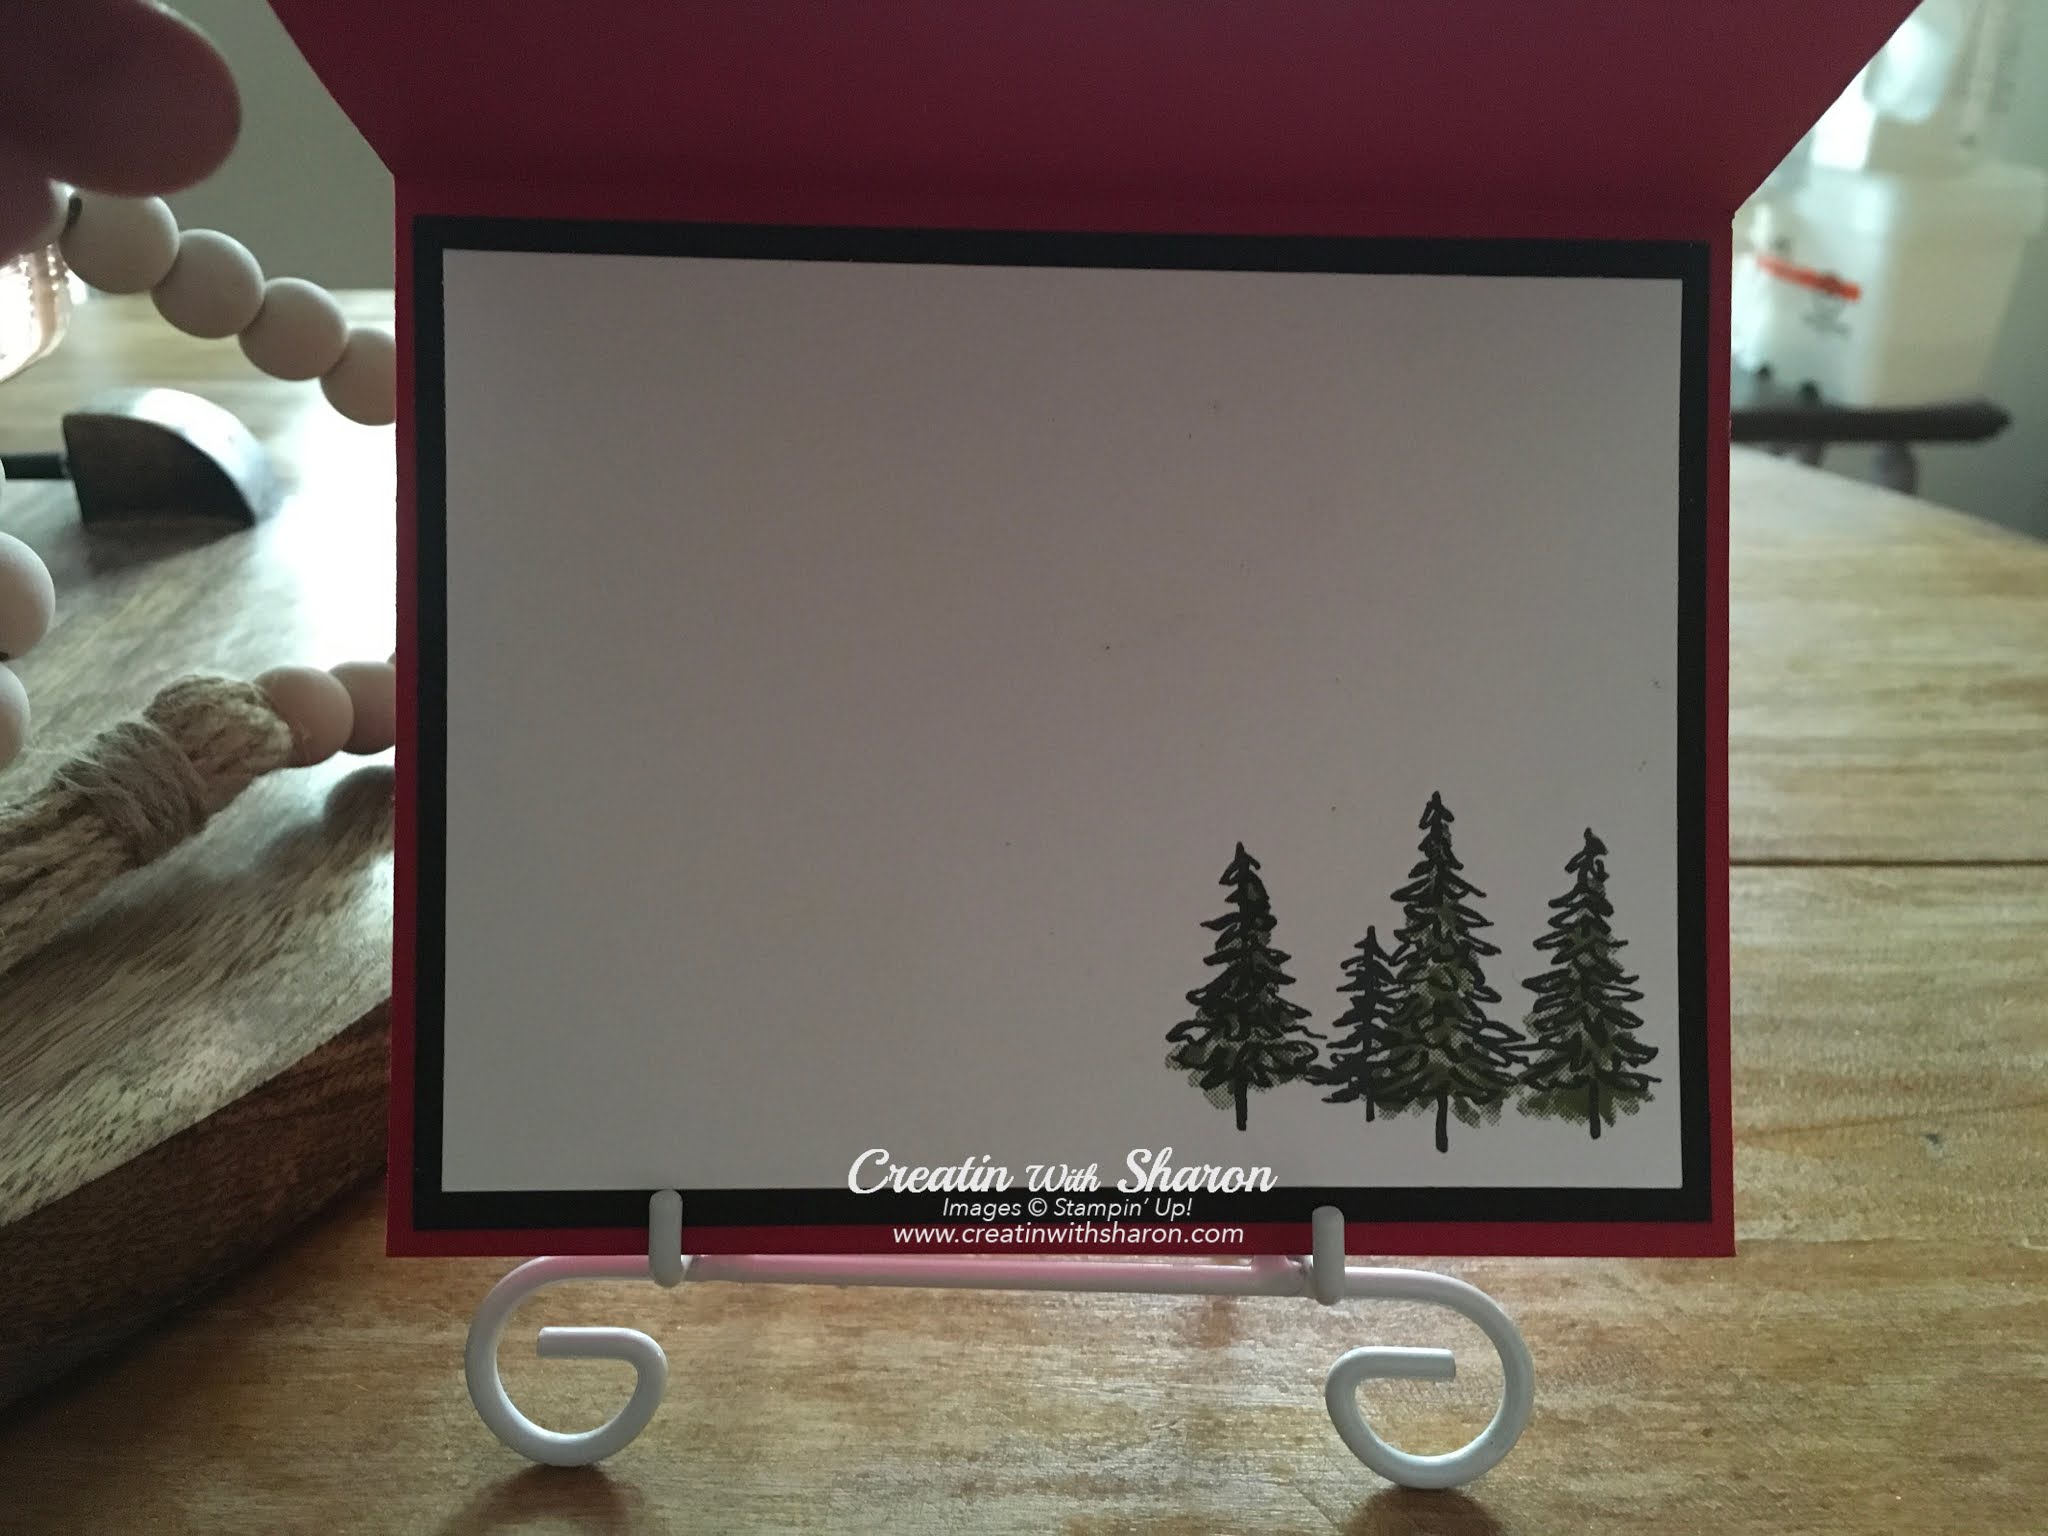
With a piece of basic black card stock that is cut at 5 1/4“ x 4“ and a piece of whisper white card stock that is 5“ x 3 3/4. Glue them together and adhere them to the inside of the card.
With the Mini trees that you used for the front of the card, stamp the inside right hand corner.
WAHOO! We’re done.
Hoping you enjoyed the first project for my 12 Weeks of Christmas.
See ya’ll next Wednesday
 |  |  | ||
 |  |  |  | |
 |  |


 Braided Linen Trim")


.jpeg)
.jpeg)


No comments:
Post a Comment