

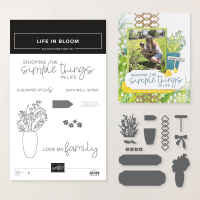
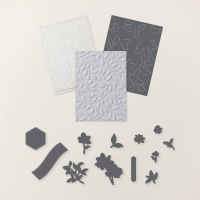
Make your pages bloom with the Life in Bloom Bundle! This playful stamp and die duo features scrapbook titles and floral accents for layered designs.
From labels to trellises and tiny bows, this is memory keeping made easy and fun.All images © 1990-2026 Stampin’ Up!®
Measurements:
Cardstock:
Basic White Thick Card Base: 8 1/2” x 5 1/2”, scored at 4 1/4”, folded and burnished with the Bone Folder
Basic White: 4” x 5 1/4”, 2 1/4” x 4”
Soft Sea Foam: 3” x 4 1/2”, 1 3/4” x 2”
Designer Series Paper:
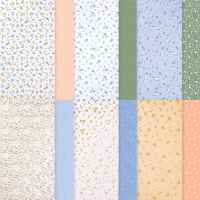
Bloom Boutique Specialty: 1 1/4” x 2”
Instructions:
- Emboss the Basic White panel with the Paradise Garden Hybrid Embossing Folder and adhere to the Basic White Thick card base.
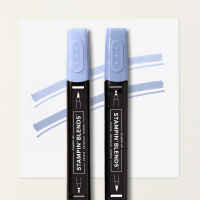
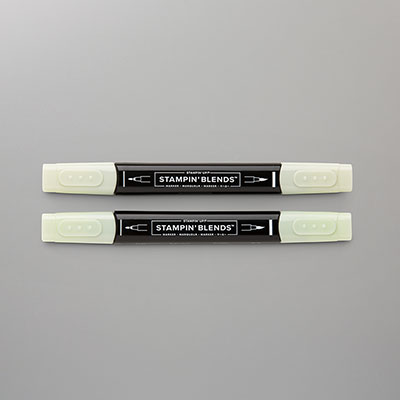
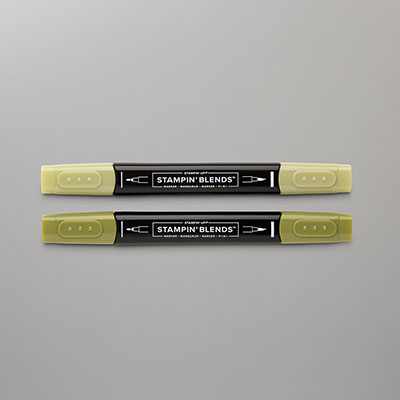
- Stamp the floral/vase image in Basic Black ink. Color flowers with Hydrangea Hue Light Stampin’ Blends, large leaves with Soft Sea Foam Light, and small leaves with Old Olive Light. Die cut.
- Using the same die, align it along the edge of the DSP and die cut the vase section only. Trim any stray edges with scissors and adhere DSP piece to the vase portion of the floral die cut with glue.
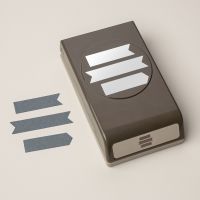
- Stamp “Happy Birthday” in Hydrangea Hue ink on Hydrangea Hue cardstock. Punch with the Three Banner Punch, leaving space on the flat end for attaching.
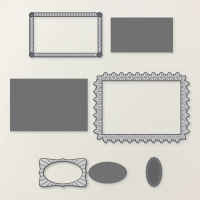
- Die cut the frame from Soft Sea Foam cardstock using the Phrases & Frames Dies. Die cut the bow from Soft Sea Foam cardstock using the Life in Bloom Dies.
- Attach bow to the right side of the vase with a Mini Glue Dot.
- Add thin lines of glue to the right side of the floral spray, bow, and bow tail. Adhere to the right side of the Soft Sea Foam frame. Add a small amount of glue to the flat end of the sentiment and attach behind the vase. Allow to dry.
- Turn assembled piece over and add Foam Adhesive Strips around the frame plus behind the vase and sentiment. Adhere to card front.
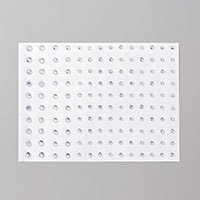
- Color three Rhinestones with the Dark Hydrangea Hue Stampin’ Blends marker and add to card front.
Product List
 |  | |||
 |  |  | ||
 |  |  | ||
 |  |  | ||
 |  |



.heic)


No comments:
Post a Comment