
Garden Wishes.
Once again I did do a little research on Dragonfly and here’s what I found.
A dragonfly is a symbol of change, transformation and self-realization. It teaches us to love life, to rejoice and have faith even amidst difficulties. So, dragonfly meaning is no doubt significant.
And A perfect symbol of what we all have been going through over the last year. It’s hard to believe what we’ve done through. The hardest part for me has not being able to visit with family. With our family living all over Canada and visiting them at least once a year,
Zoom just doesn’t cut it. But on the bright side everyone is healthy, safe and happy. And for me that’s the main thing in life.
Oh....here’s another tidbit on Dragonflies
Dragonflies are natural predators for mosquitoes. In fact, they eat them at all stages of life. An individual dragonfly can eat hundreds of mosquitoes each day. ...
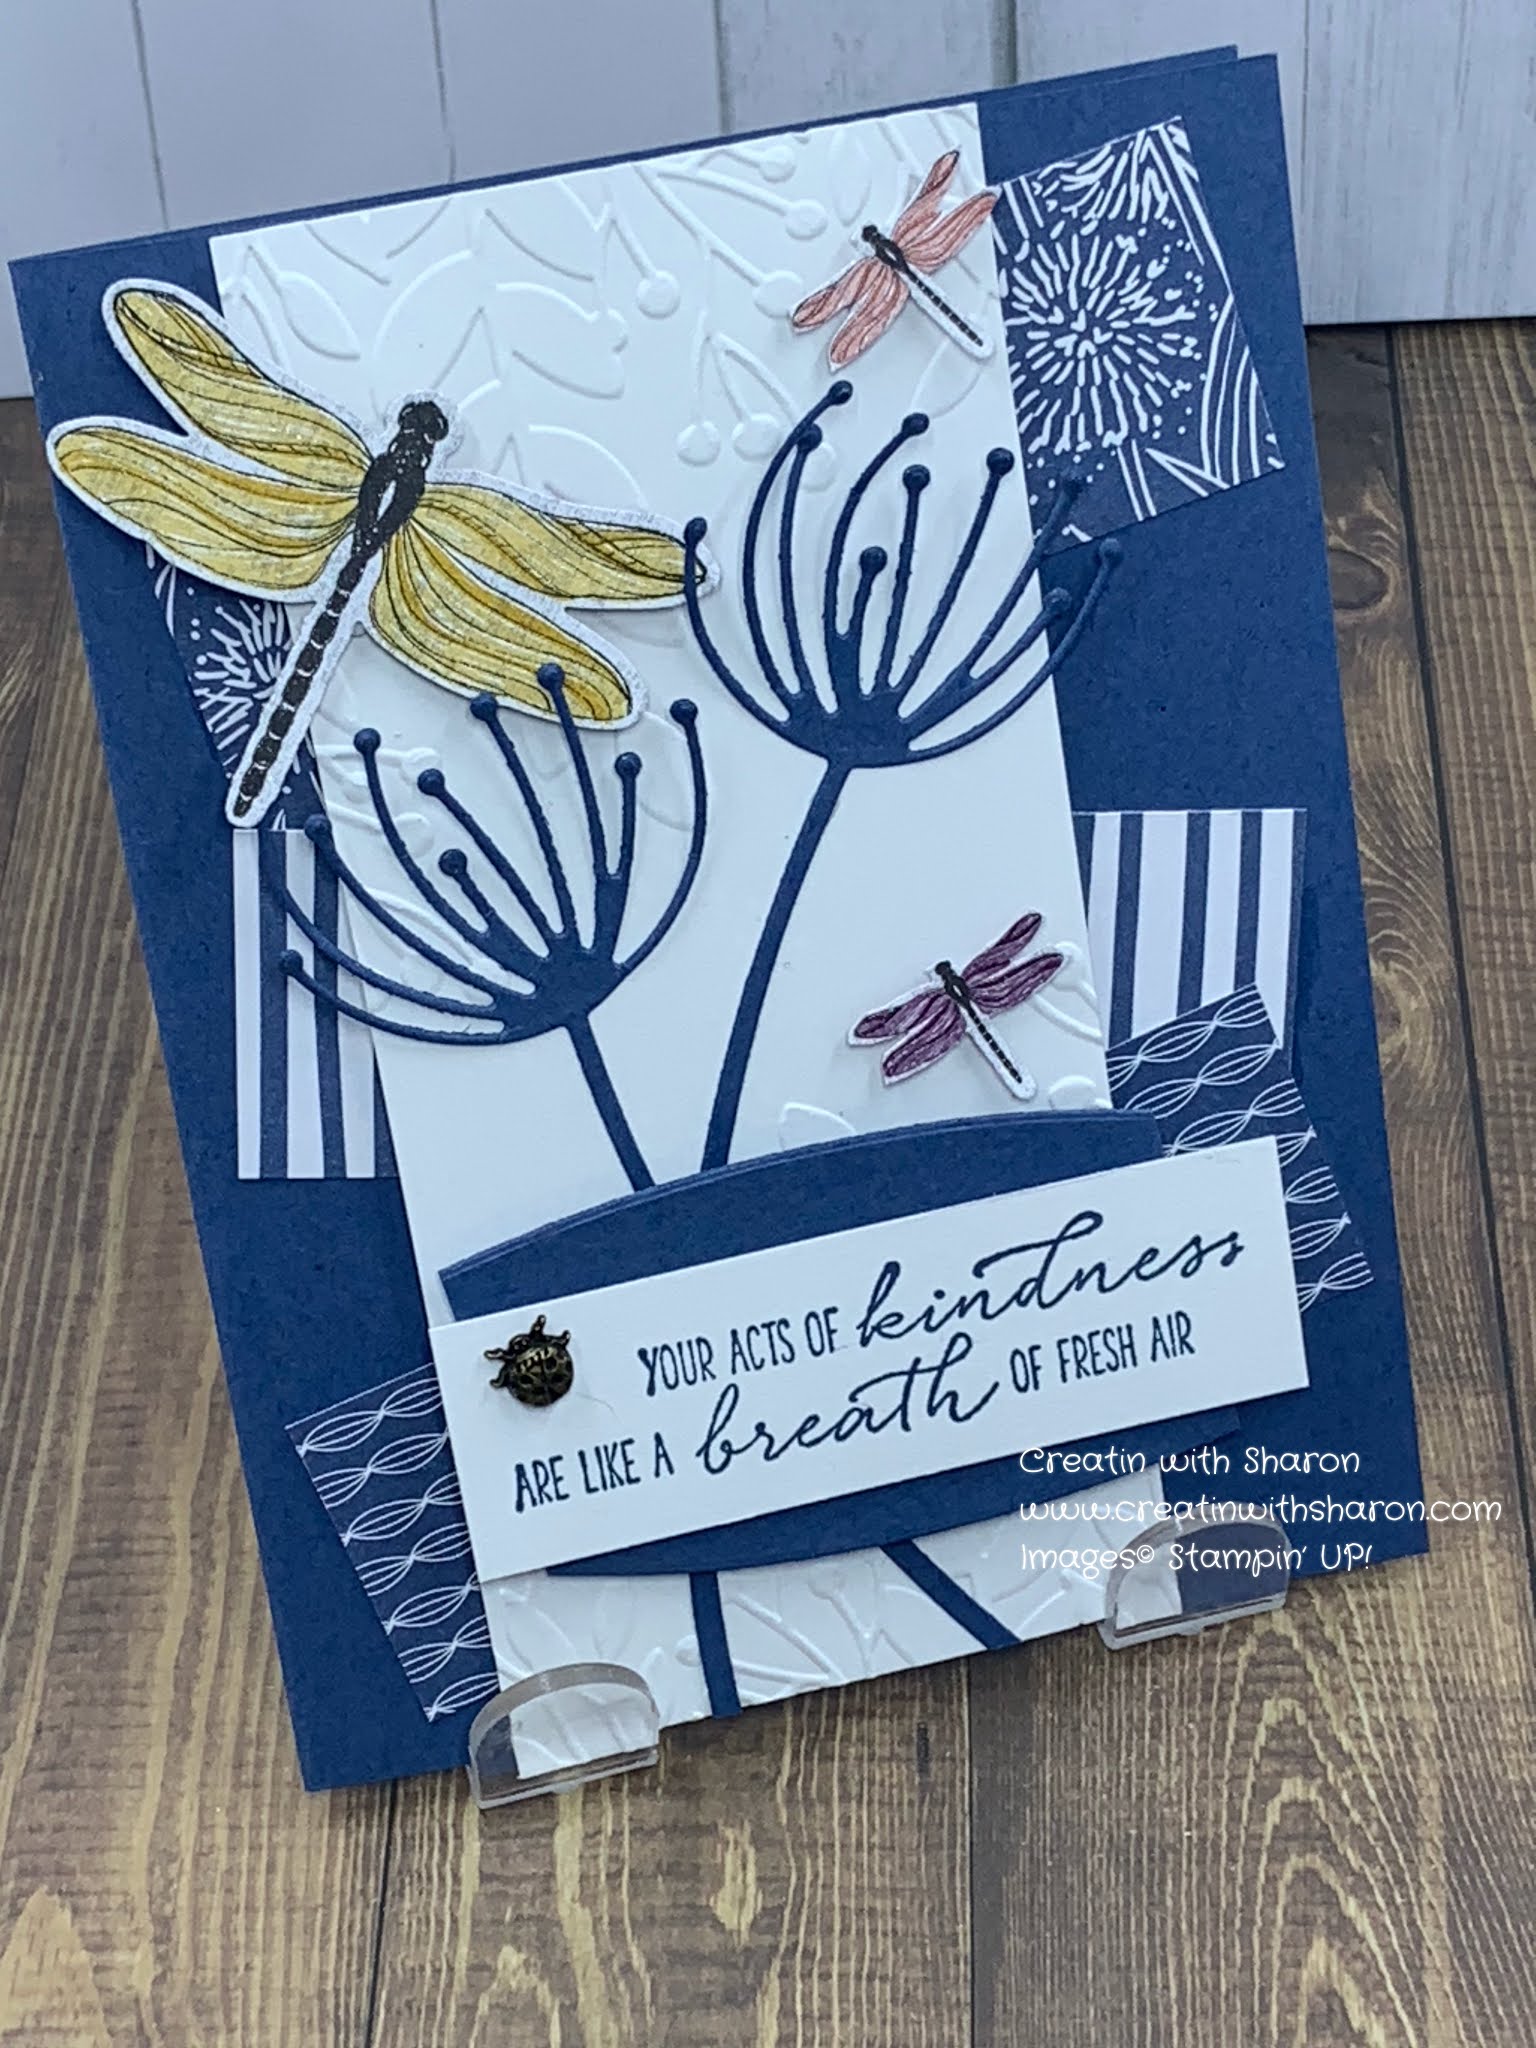
Cutting Instructions
Cardstock
Misty Moonlight 5 ½” X 8 ½” Card base
Scraps Dandelion flowers
Basic White 3” x 5 ½” Card front
2 ½ “ x 5 1/2 “ Card inside
Scrap Sentiment and large dragonfly
DSP
Dandy Garden 4” x 5 ¼” Card inside
3 ¾” x 1 ¼” Card front – 3 pieces
Scraps Dragonflies – 3 pieces
Assembly Instructions
Card base
1. Fold the card base in half and burnish with your bone folder.
2. Adhere the three pieces of DSP to the card front, positioning at different angles.
3. Using the Greenery embossing folder, run the narrow piece of Basic White cardstock through your die cut and emboss machine. Adhere to the card front.
4. Take a scrap of Misty Moonlight cardstock and the dandelion flower die from the Dandy Wish dies, cut out two flowers. Adhere to the card front.
5. Colour the tips of the flowers with a Wink of Stella brush.
6. From a piece of the DSP, punch out one large dragonfly and two small dragonflies.
7. Using the clear Wink of Stella pen, colour the 3 dragonflies as well as the tips of the dandelion flowers.
8. Adhere the dragonflies to the card front using small pieces of dimensionals.
9. Using Misty Moonlight ink, stamp the sentiment on a 1” x 3” piece of Basic White cardstock.
10. Adhere the sentiment to one of the pieces of Misty Moonlight scrap that the dandelion flowers were cut from. Position it so you don’t see any of the cut out shape underneath.
11. Adhere to the card front using dimensionals.
12. Adhere a ladybug trinket to the sentiment using a Mini Glue Dot.
Card Inside

13. Adhere the larger piece of DSP to the card inside.
14. Stamp the dandelion thistle stamp onto the larger piece of Basic White cardstock using Tuxedo Black Memento ink.
15. Colour the flowers using the dark Mango Melody Stampin’ Blend and the leaves using the dark Old Olive Stampin’ Blend.
16. Adhere to inside of the card.
A HUGE Thank you for stopping by.
Have a wonderful week and stay safe.
Cheers 🍻
Sharon
XOXO
These are the Stampin’ Up! products I used for this project:
") |  |  | ||
 |  |  | ||
 Mango Melody Combo Pack Stampin' Blends [147945] $12.00 |  |  |
 Designer Series Paper")


.jpeg)
.jpeg)


No comments:
Post a Comment