

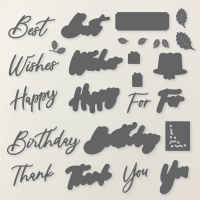
Celebrate every occasion with the Words & Wishes Dies! Featuring happy birthday and thank-you sentiments and delightful dies like cakes, presents, and labels, this set lets you add heartfelt messages and fun accents to your cards and crafts.
It’s perfect for making every project feel warm, festive, and uniquely yours.All images © 1990-2026 Stampin’ Up!®
Measurements:
Cardstock:Secret Sea: 5 ½” x 8 ½” scored @ 4 ¼” & 2 1/8”, 4 ¼” x 3”
Barely Blush: 4” x 5 ¼”, 4 ½” x 3 ¼” (die cut center)
Flirty Flamingo: 4 ¼” x 3”
Basic White: 4” x 5 ¼”
Designer Series Paper:
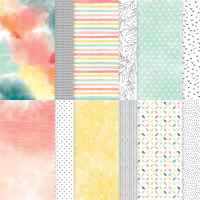
Beautiful Ordinary Life: 3 ¾” x 5”
Instructions:
- Measure, score, and cut paper with your Paper Trimmer.
- Die cut the outline of “Happy” and “Birthday” with the Barely Blush center (avoid the edges).
- Put the Adhesive Sheet on the back of the Flirty Flamingo cardstock and die cut the “Happy” and “Birthday”.
- Remove the backing and attach to the Barley Blush die cut outline. *Tip: The “i” is hard to get the sticker sheet off. I just used liquid glue for the dot instead.
- Emboss the 4 1/4” x 3” Secret Sea and emboss the far-right edge (on the 4 inch side) of the Basic White (about 1 inch).
- Assembly: Attach the DSP to the Barely Blush matte. Put Stampin’ Seal Adhesive to just the lower half of the back of the Barely Blush and attach to the cardbase below the 2 1/8” score line. Glue the embossed Secret Sea to the Barely Blush and attach it to the DSP with Stampin’ Dimensionals. Use Stampin’ Dimensionals to attach the “Happy” and “Birthday”. Glue the Basic White to the inside of the card.
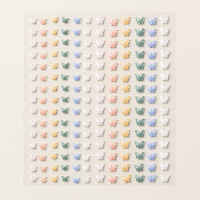
- Embellish with 4 of the Barely Blush butterflies - two on the front and one inside to help the easel card stay standing.
Product List
 |  | |||
 |  |  |  | |
 |  |  |


.jpeg)

.jpeg)


No comments:
Post a Comment