

Whether you’re documenting everyday moments or special memories, this bundle makes scrapbooking feel creative, easy, and so much fun to put together.
All images © 1990-2021 Stampin’ Up!®
Measurements:
Cardstock:
Darling Duckling: 11” x 4 ¼”, 3 ¾” x 8 1/8”, 2” x 4”
Basic White: 5 ¼” x 4”, 1” x 3 ½”
Lemon Lime Twist: 3” x 3”
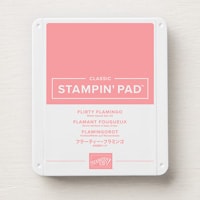
Flirty Flamingo:1” x 4”
Designer Series Paper:
White Patterned Image: 4” x 1 1/8” (6), 4” x 2 ½”,
Solid Image: 5 ¼” x 1 1/8” (3) 1 ¼” x 1 1/8” (3)
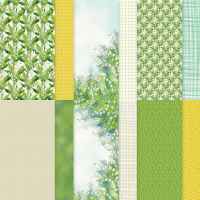
Darling Duckling Patterned Image: 5 ¼” x 3/8”, 2” x 1 ½”
Embellishments:
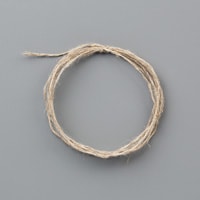
Linen Thread: 6-8”
Instructions:
1. Score the 3 ¾” x 8 ⅛” cardstock on the long side at 1 ⅜” and 2 ¾”. Turn the cardstock 90 degrees and cut into three equal strips measuring 1 ¼” x 8 ⅛”.
2. Score the 11” x 4 ¼” card base on the long side at 1 ⅜”, 2 ¾”, 8 ¼”, and 9 ⅝”.
3. Adhere the six White patterned DSP pieces to the card base — one between each scored section and one on both the right and left side of the center section.
4. Adhere the three solid cardstock pieces to the 1 ¼” strips in the coordinating sections. Adhere the 1 ¼” x 1 ⅛” piece to the small adjacent section, leaving the final scored section on the end open.
5. Fold the strips as shown in the sample below.
- Add glue/tape where indicated below.- Fold the left side of the card base closed and adhere the first strip flush to the top right corner of the card base.- Lay the opposite side of the strip flat so it lines up with the inside score line.- Repeat with the second strip, positioning it flush to the bottom of the card.
- For the third strip, flip the strip so it folds in the opposite direction between the top and bottom strips and repeat the process.
6. Adhere the final White DSP piece to the center section of the card base to cover the strip mechanisms.
7. Add Adhesive Sheets to the back of the 2” x 4” Darling Duckling cardstock piece.
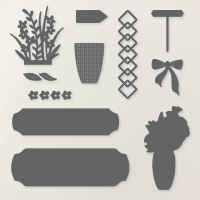
Die cut two Interlocking Diamond Borders. Remove the backing and adhere one to the upper panel and one to the lower panel, flush with the left side of the DSP.
8. Adhere the 5 ¼” x ⅜” DSP strip to the middle panel.
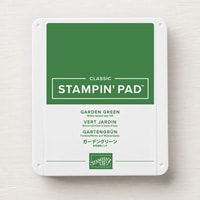
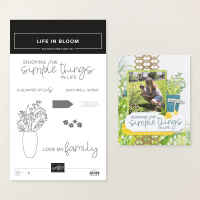
9. Die cut the label from Basic White cardstock. Stamp the greeting in Garden Green ink and adhere to the middle panel using Stampin’ Dimensionals.
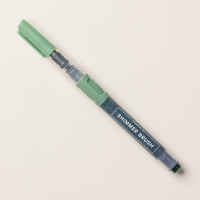
10. Die cut the leaves from Lemon Lime Twist cardstock. Highlight the leaves using the Peaceful Pine Shimmer Brush.
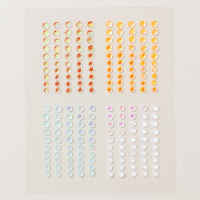
11. Die cut the flowers from Flirty Flamingo cardstock and adhere them over the leaf image as shown. Add a small sequin to the center of each flower.
12. Die cut the flower pot from Darling Duckling DSP.
Adhere the leaves behind the pot. Add a row of three Stampin’ Dimensionals to the back where the pot overlaps the leaves. Remove the backing and stack three additional Dimensionals directly on top to create a double layer so the card folds flat properly.
13. Stamp your 5 ¼” x 4” piece of Basic White cardstock with your “inside” message and adhere to the back of your card.
Product List
 | ||||
 |  | |||
 |  |  |  |  |


.heic)


No comments:
Post a Comment