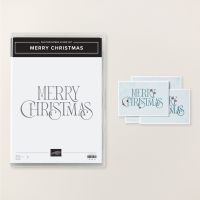
Say Merry Christmas with style! The Merry Christmas Stamp has one sentiment in a modern, elegant font on a single stamp. It’s big and bold enough to stand alone on a card front.
Or you can combine it with your favourite image stamps from other sets for a custom look.
All images © 1990-2021 Stampin’ Up!®
Merry Christmas Photopolymer Stamp Set
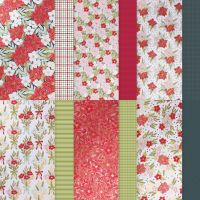
Traditions of Christmas DSP
Measurements:
Cardstock:
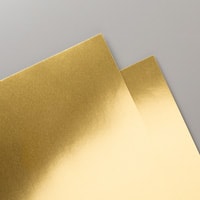
Cherry Cobbler: 8 ½” x 5 ½”, scored in half and 4 ¾” x 3 ¼”Gold Foil Sheets: 4 ½” x 3” and scraps
Designer Series Paper:
Traditions of Christmas: 5 ¼” x 4”
Instructions:
- Fold card base on score lines and burnish.
- Adhere DSP to card front.
- Adhere Gold Foil Sheet panel on to the card front, centered, and using Stampin' Dimensionals.
- Stamp the Merry Christmas sentiment on to the Cherry Cobbler panel using Versamark Ink.
- Sprinkle Gold Metallics WOW! Embossing Powder on the Versamark ink and heat using Heat Tool.
- Die cut this panel using the 4 ¼” x 2 ¾" Textured Notes die.
- Adhere to Gold Foil Sheet on card front.
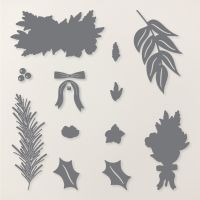
- Die cut 2 hollies from the Christmas Greenery die set and adhere to card front.
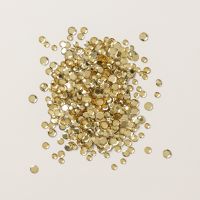
- Add 3 Loose Gold Sequins using Multipurpose Liquid Glue.


![Cherry Cobbler 8-1/2" X 11" Cardstock [ 119685 ] Cherry Cobbler 8-1/2" X 11" Cardstock [ 119685 ]](https://assets1.tamsnetwork.com/images/EC042017NF/119685s.jpg)
![Textured Notes Dies [ 165555 ] Textured Notes Dies [ 165555 ]](https://assets1.tamsnetwork.com/images/EC042017NF/165555s.jpg)
![Metallics Wow! Embossing Powder [ 165678 ] Metallics Wow! Embossing Powder [ 165678 ]](https://assets1.tamsnetwork.com/images/EC042017NF/165678s.jpg)




![Multipurpose Liquid Glue [ 110755 ] Multipurpose Liquid Glue [ 110755 ]](https://assets1.tamsnetwork.com/images/EC042017NF/110755s.jpg)


.jpeg)

.jpeg)


No comments:
Post a Comment