

Kids will not only love receiving a Party Piggy birthday card—they’ll love making one too! Add a shaker dome with fun embellishments for even more pizzazz!


All images © 1990-2025 Stampin’ Up!®
Party Piggy Bundle

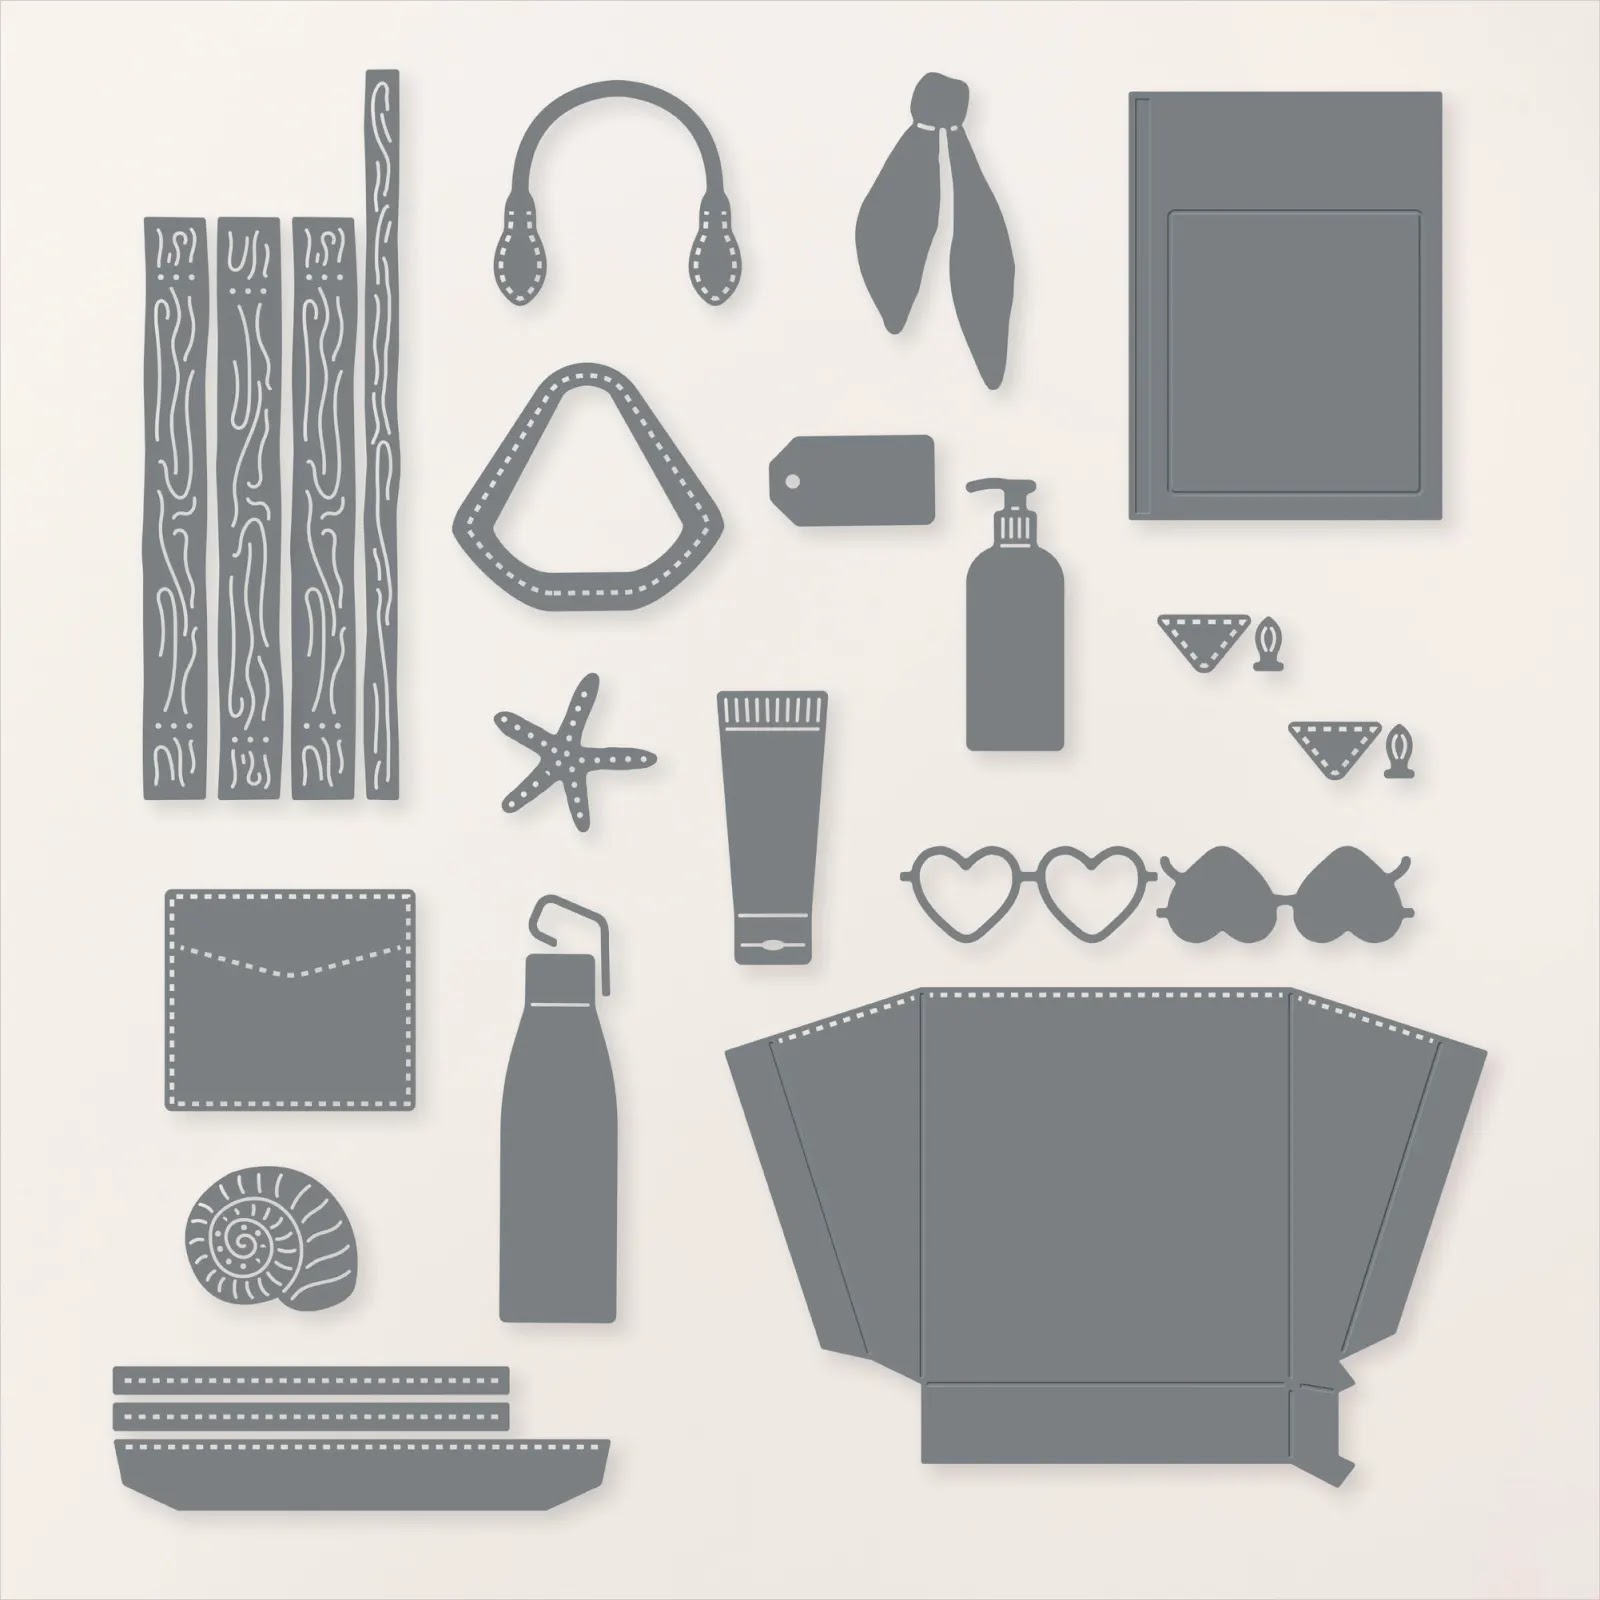
Notes and Totes Dies
Measurements:
Cardstock:Crumb Cake: 5 ½” x 8 ½” card base
Basic White: 4” x 4 ½” for pig and flag & approx. 7/8” x 2 1/8” for sentiment
Pecan Pie: 4 ¾” x 1 ¾”
Basic White: 4” x 4 ½” for pig and flag & approx. 7/8” x 2 1/8” for sentiment
Pecan Pie: 4 ¾” x 1 ¾”
Designer Series Paper:
Floral Impressions DSP: 5 ¼” x 4”
Instructions:
- Score Crumb Cake card base on the long side at 4 ¼” and fold.
- Attach the piece of DSP to the card front using Stampin’ SEAL.
- Die cut the fence pieces using the Notes & Totes Dies and Pecan Pie cardstock. Cut the long skinny piece, from the die cuts, in half.
- Adhere the fence as shown to the card front to the right side using liquid glue. No need to make it perfect, a little wonky is good!
- Stamp the piggy head, body, and flag using Secret Sea ink on Basic White cardstock. NOTE: if you want to die cut the piggy using the dies you will need to stamp the head and body separately. I stamped them together and used my Paper Snips to cut out.
- Using a Blending Brush and Pretty in Pink ink color the piggy. Then, using Pecan Pie and Melon Mambo Stampin’ Blends color the mud, snout, and flag.
- Die cut the piggy and flag using the dies or Paper Snips.
- Attach the piggy to the card front using Stampin’ Dimensionals.
- Attach the flag using Stampin’ Dimensionals.
- Stamp the sentiment on the piece of Basic White using Secret Sea ink.
- Attach to the card using liquid glue and Stampin’ Dimensionals.
- Lastly, add a few Strawberry Slush & Pretty in Pink Gems to your card.
Product List
![Party Piggy Bundle (English) [ 165483 ]](https://assets1.tamsnetwork.com/images/EC042017NF/165483s.jpg "Party Piggy Bundle (English) [ 165483 ]") | ![Notes & Totes Dies [ 165240 ]](https://assets1.tamsnetwork.com/images/EC042017NF/165240s.jpg "Notes & Totes Dies [ 165240 ]") | ![Crumb Cake 8-1/2" X 11" Cardstock [ 120953 ]](https://assets1.tamsnetwork.com/images/EC042017NF/120953s.jpg "Crumb Cake 8-1/2\" X 11\" Cardstock [ 120953 ]") | ![Basic White 8 1/2" X 11" Cardstock [ 166780 ]](https://assets1.tamsnetwork.com/images/EC042017NF/166780s.jpg "Basic White 8 1/2\" X 11\" Cardstock [ 166780 ]") | |
![Secret Sea Classic Stampin' Pad [ 165285 ]](https://assets1.tamsnetwork.com/images/EC042017NF/165285s.jpg "Secret Sea Classic Stampin' Pad [ 165285 ]") | ![Pretty In Pink Classic Stampin Pad [ 163807 ]](https://assets1.tamsnetwork.com/images/EC042017NF/163807s.jpg "Pretty In Pink Classic Stampin Pad [ 163807 ]") | |||
![Paper Snips [ 103579 ]](https://assets1.tamsnetwork.com/images/EC042017NF/103579s.jpg "Paper Snips [ 103579 ]") | ![Stampin' Cut & Emboss Machine [ 149653 ]](https://assets1.tamsnetwork.com/images/EC042017NF/149653s.jpg "Stampin' Cut & Emboss Machine [ 149653 ]") | ![Blending Brushes [ 153611 ]](https://assets1.tamsnetwork.com/images/EC042017NF/153611s.jpg "Blending Brushes [ 153611 ]") | ![Stampin' Dimensionals [ 104430 ]](https://assets1.tamsnetwork.com/images/EC042017NF/104430s.jpg "Stampin' Dimensionals [ 104430 ]") | ![Stampin' Seal [ 152813 ]](https://assets1.tamsnetwork.com/images/EC042017NF/152813s.jpg "Stampin' Seal [ 152813 ]") |
![Multipurpose Liquid Glue [ 110755 ]](https://assets1.tamsnetwork.com/images/EC042017NF/110755s.jpg "Multipurpose Liquid Glue [ 110755 ]") |
![Floral Impressions 12" X 12" (30.5 X 30.5 Cm) Designer Series Paper [ 165603 ]](https://assets1.tamsnetwork.com/images/EC042017NF/165603s.jpg "Floral Impressions 12\" X 12\" (30.5 X 30.5 Cm) Designer Series Paper [ 165603 ]")
![Strawberry Slush & Pretty In Pink Gems [ 165615 ]](https://assets1.tamsnetwork.com/images/EC042017NF/165615s.jpg "Strawberry Slush & Pretty In Pink Gems [ 165615 ]")
![Pecan Pie Stampin’ Blends Combo Pack [ 161674 ]](https://assets1.tamsnetwork.com/images/EC042017NF/161674s.jpg "Pecan Pie Stampin’ Blends Combo Pack [ 161674 ]")
![Melon Mambo Stampin' Blends Combo Pack [ 153112 ]](https://assets1.tamsnetwork.com/images/EC042017NF/153112s.jpg "Melon Mambo Stampin' Blends Combo Pack [ 153112 ]")


.jpeg)
.jpeg)


No comments:
Post a Comment