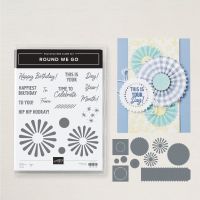
One of the standout features of the Round We Go Stamp Set is its ability to create stunning all-occasion cards. The set includes a variety of pinwheel designs that can be stamped in different colours to create vibrant and eye-catching greetings. Pair these designs with heartfelt sentiments to craft the perfect message, no matter the occasion. From birthdays to anniversaries, your cards will never look the same twice!
Make all your projects fun and airy with the Round We Go Dies! These versatile tools allow you to create die-cut pinwheels in various sizes and colors, adding depth and dimension to your crafts. The intricate peek-through diamond and circle details, along with the circle dies, enhance your designs with creative flair. Layering different shapes and colors can elevate your projects to new heights.
All images © 1990-2024 Stampin’ Up!®
Round We Go Bundle
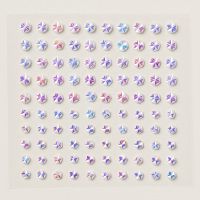
Iridescent Faceted Gems
Measurements:
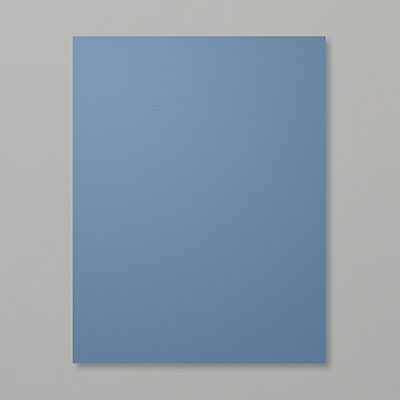
Misty Moonlight cardstock: 5 ½” x 8 ½” card base, 2” x 4” & 3” x ¾”
Basic White cardstock: 4” x 5 ¼” layer & 2” x 4”
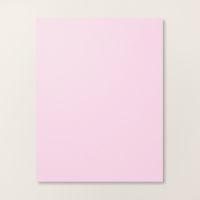
Bubble Bath cardstock: 2” x 6” & 2 ¼” x ½”
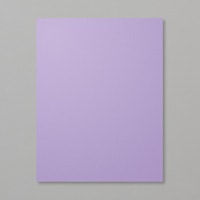
Highland Heather cardstock: 2” x 6”
Basic White cardstock: 4” x 5 ¼” layer & 2” x 4”
Bubble Bath cardstock: 2” x 6” & 2 ¼” x ½”
Highland Heather cardstock: 2” x 6”
Instructions:
- Score Misty Moonlight card base on the long side at 4 ¼” and fold.
- Die cut small pinwheel/flower shapes for all colors: 2 in Misty Moonlight (2” x 4”),
- 2 in Basic White (2” x 4”), 3 in Highland Heather (2” x 6”), and 3 in Bubble Bath (2” x 6”).
- Adhere the flower shapes to the Basic White layer (4” x 5 ¼”) only adding liquid glue to the center of the flowers. Make sure all flower centers are fully adhered to the card. Then, turn the Basic White layer over and trim the petals that are hanging over the edge.
- Attach the Basic White layer to the Misty Moonlight card front using Multipurpose Liquid Glue.
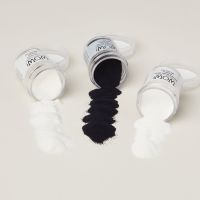
- Stamp the sentiment on the Misty Moonlight strip using VersaMark ink. Sprinkle white embossing powder over the sentiment and heat set.
- Snip the right side of the sentiment at an angle using your paper snips.
- Die cut the small strip of Bubble Bath cardstock using the rosette die making sure to get the scalloped edge. Then, attach the small scalloped trim piece to the backside of the sentiment using Multipurpose Liquid Glue.
- Add Stampin’ Dimensionals to the back of the sentiment and add to card front as shown.
- Lastly, add 3 Iridescent Faceted Gems to your card.
You can display and print the tutorial here:







.jpeg)

.jpeg)


No comments:
Post a Comment