
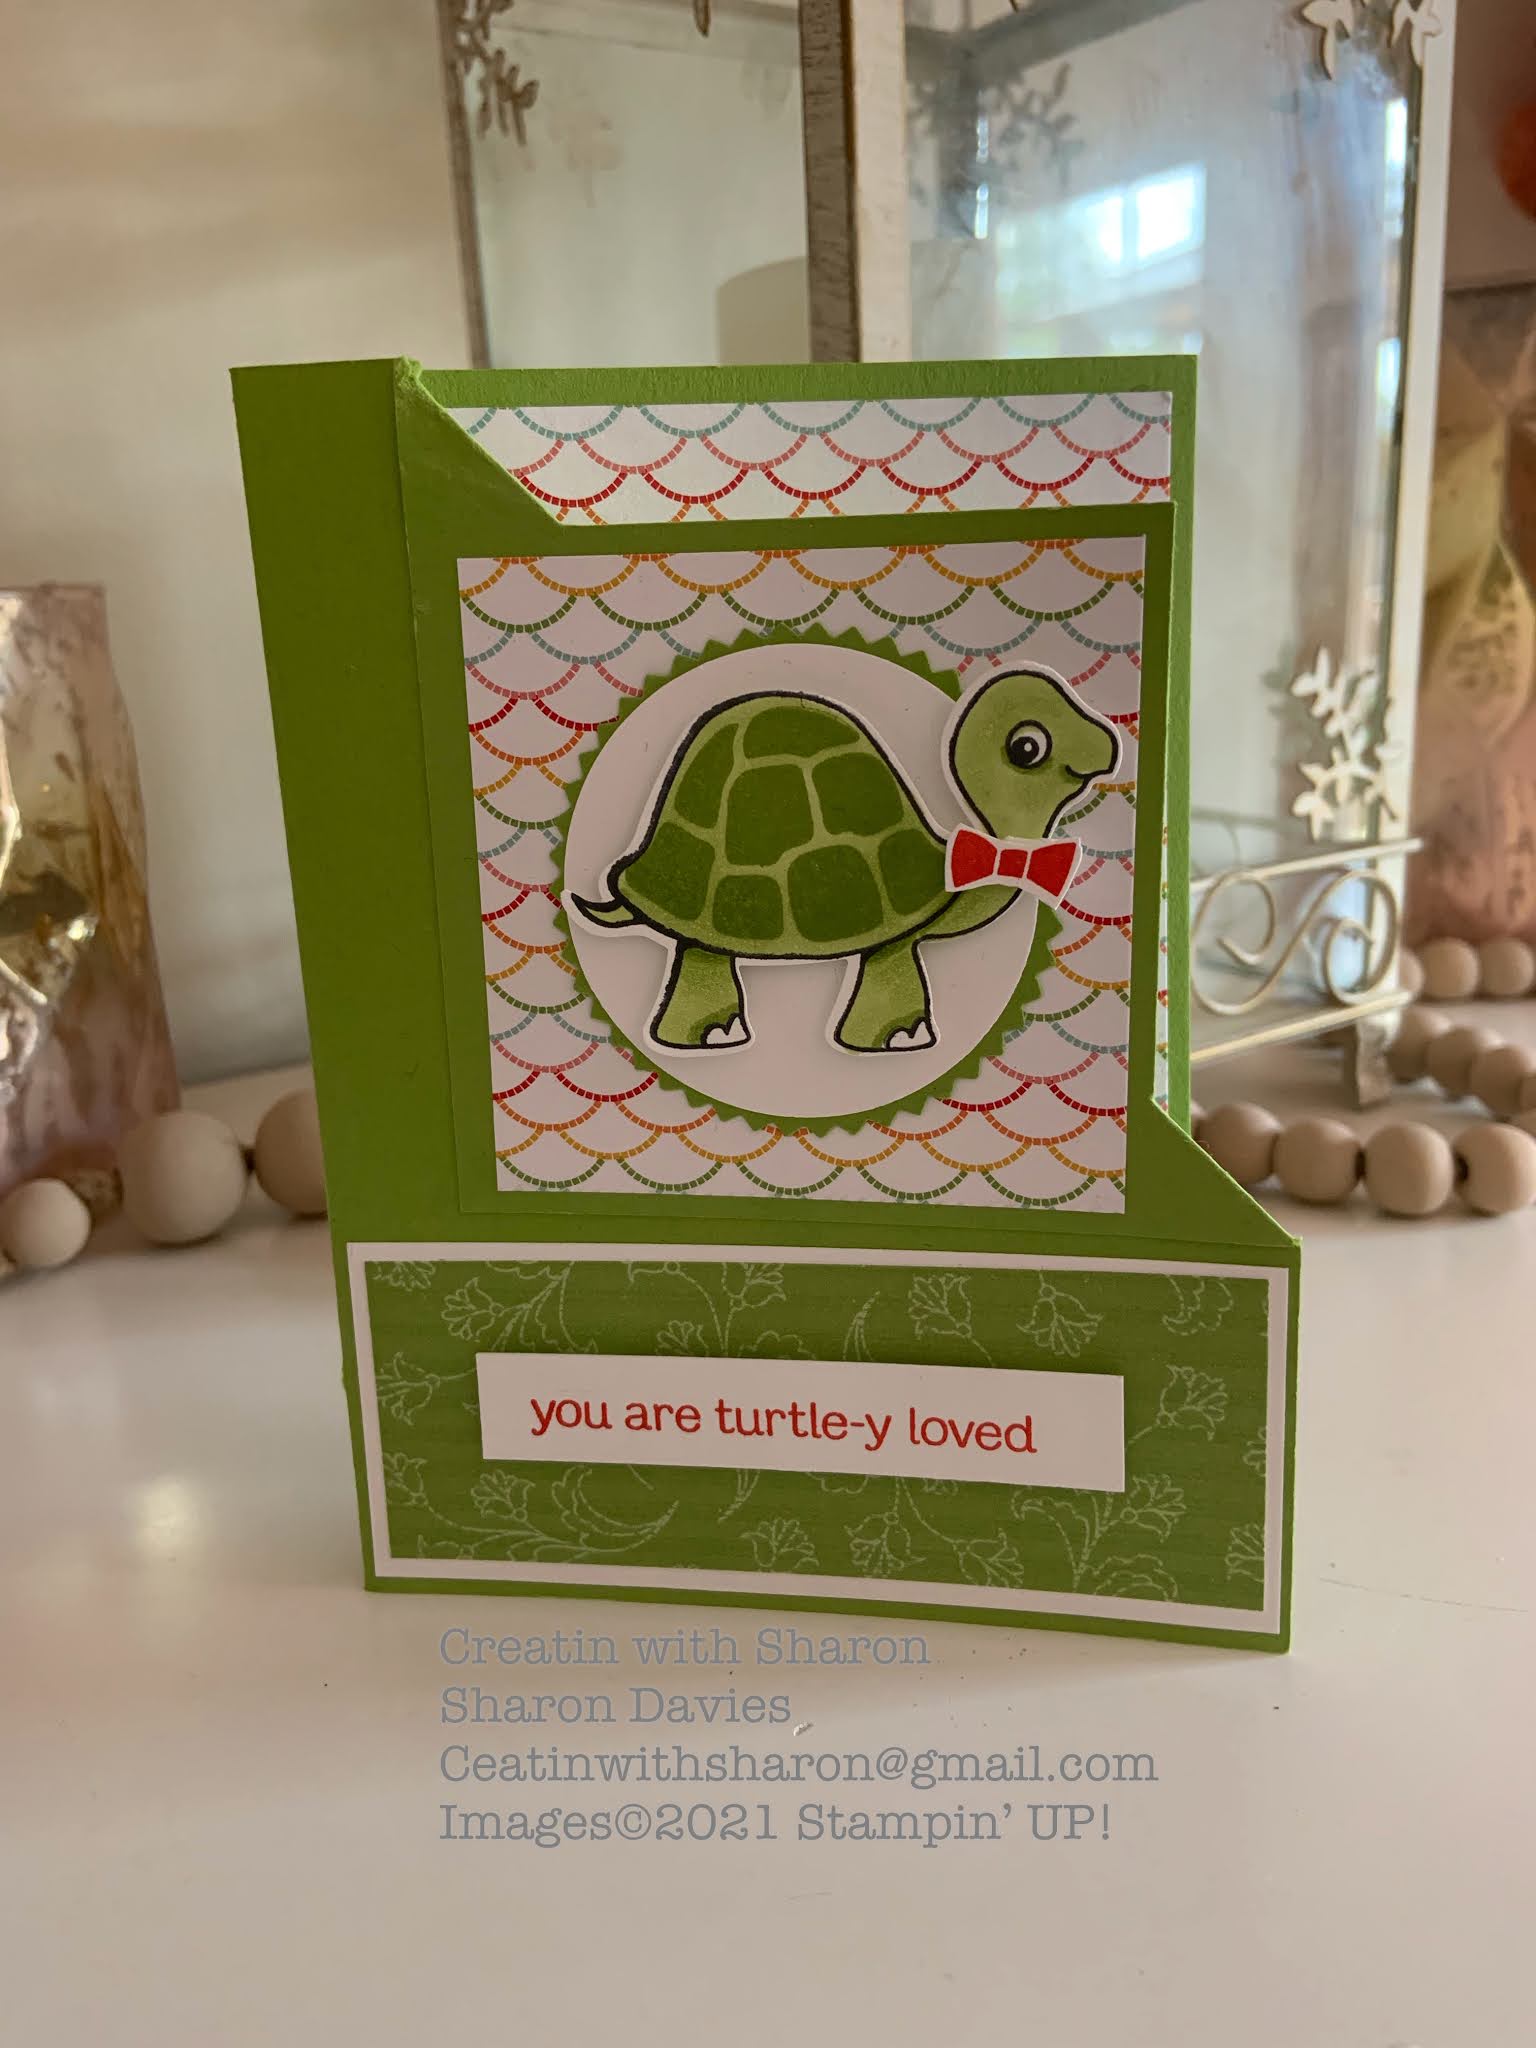
A Fun Corner Flip Card.
The first time I made this card it was pretty easy.
But when I practice it for my Facebook Live.
I took me about 7 tries to get it down pat.
Now hoping that all goes well with my Live.🤪😜🤪
Here’s what the inside looks like.

The Bits and Bobs
Card Base 8.5”x 5.5” Scored on the long side at 4.25”
Inside DSP is 4” x 5.25”
The Basic White insert for the inside is 2.5”x 4”.
The Turtle is sitting on the 2 inch circle with the scallop die the fits snug behind.
The sentiment is stamped on a piece of Basic White the is 1/2” x 3”. You may what to trim it to fit in the centre of the following piece.
Which is a piece of Basic White that is 4”x 1.75” and the DSP is 4”x 1.5”
Now the how Too’s
Step 1
Place the corner of the card base on your trimmer at 3" with the long edge along the ruler. Make a cut inside the card base from 3" to 5/8".
Step 2
Rotate the card base clockwise and place the corner at 2 1/2". Make a cut from 3" to 5/8", meeting the first cut.
Step 3
Measure in 5/8" from card base fold and mark with pencil. Measure up from bottom right corner 1 7/8" and mark with pencil.
Step 4
Score between the cut lines and the marks as shown.
Step 5
Stamp the un-flipped card front if desired.
Step 6
Add double sided tape to corners.
Step 7
Flip down the corner on the score lines.
Step 8
Embellish the card as desired. The layering panel for the flipped area is 2 3/4" square.
") |  | |||
 |  |  |  |

 Host Designer Series Paper")


.jpeg)
.jpeg)


No comments:
Post a Comment